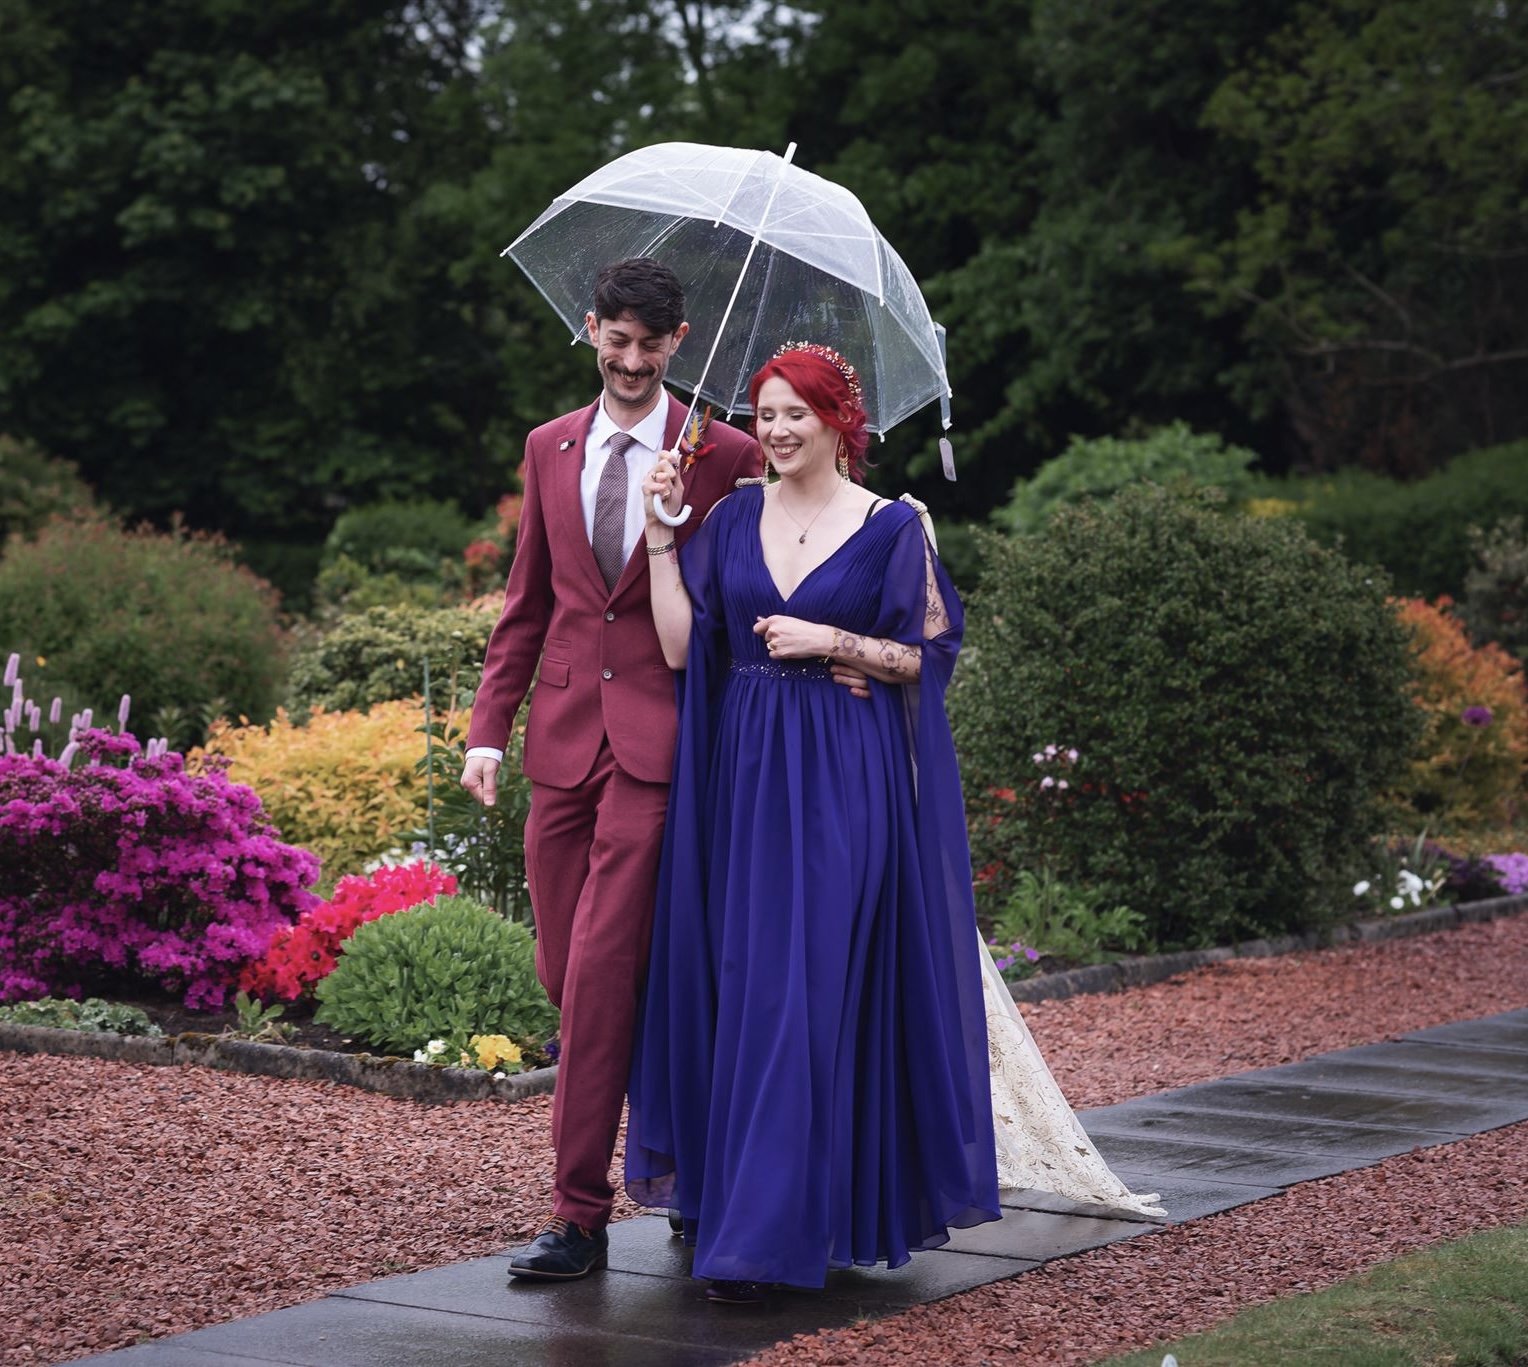
We did it! Finally our wedding was on the 16th of May (in the rain) I still plan to update this blog with some more crafts because I did so many ,so that’s not the end of wedding nonsense you’ll hear from me!
How to Make: A Dried Flower Corsage
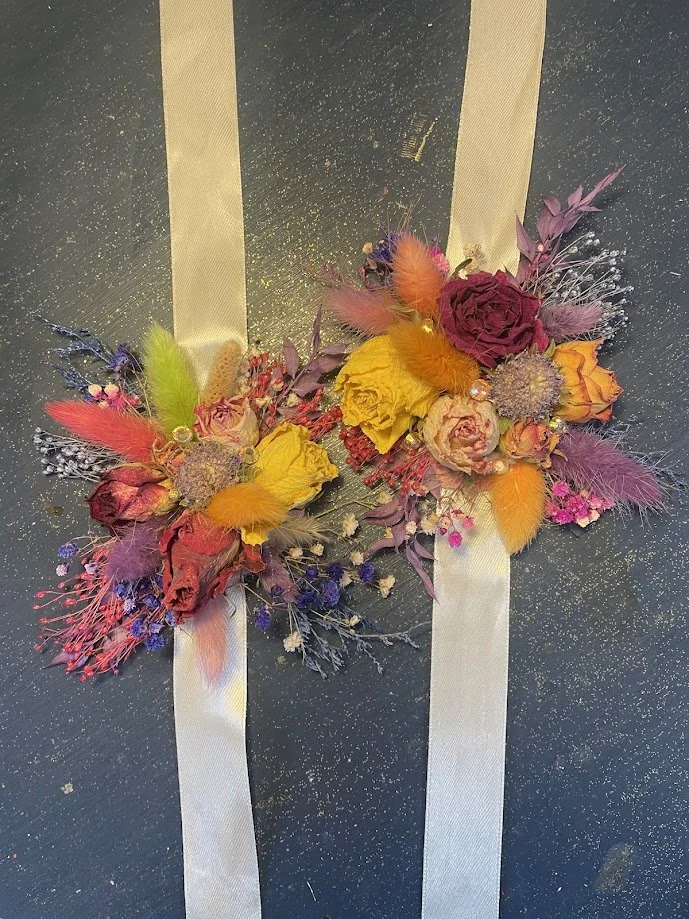
At my mum’s request, I made both mums a colourful dried flower corsage.
You will need:
1 metre satin ribbon (approx 2.5-3cm wide)
A piece of felt
Dried flowers of your choice
Hot glue gun
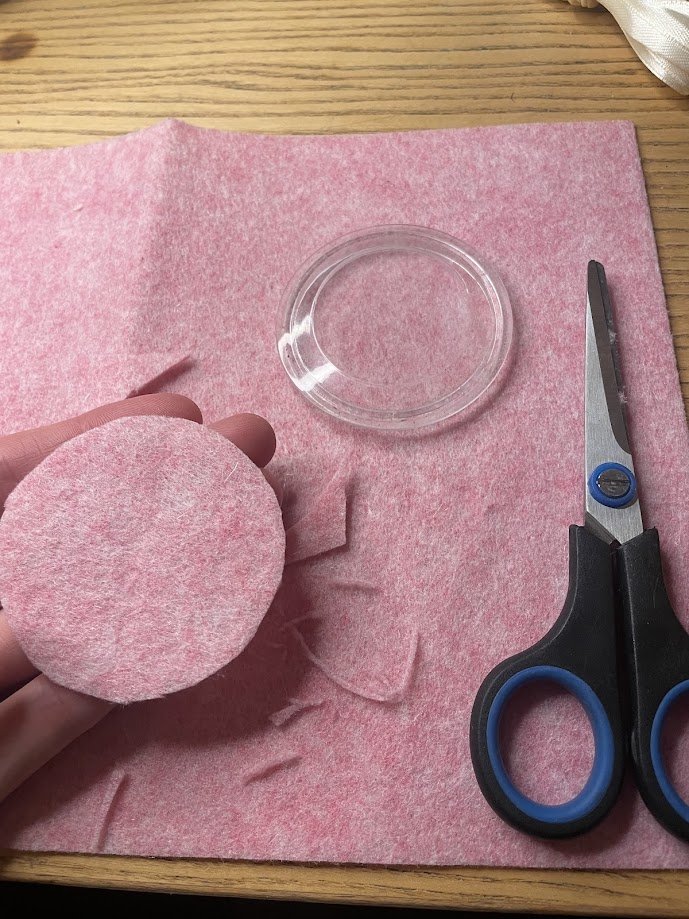
Cut a small circle from felt, around 5-6cm in diameter.
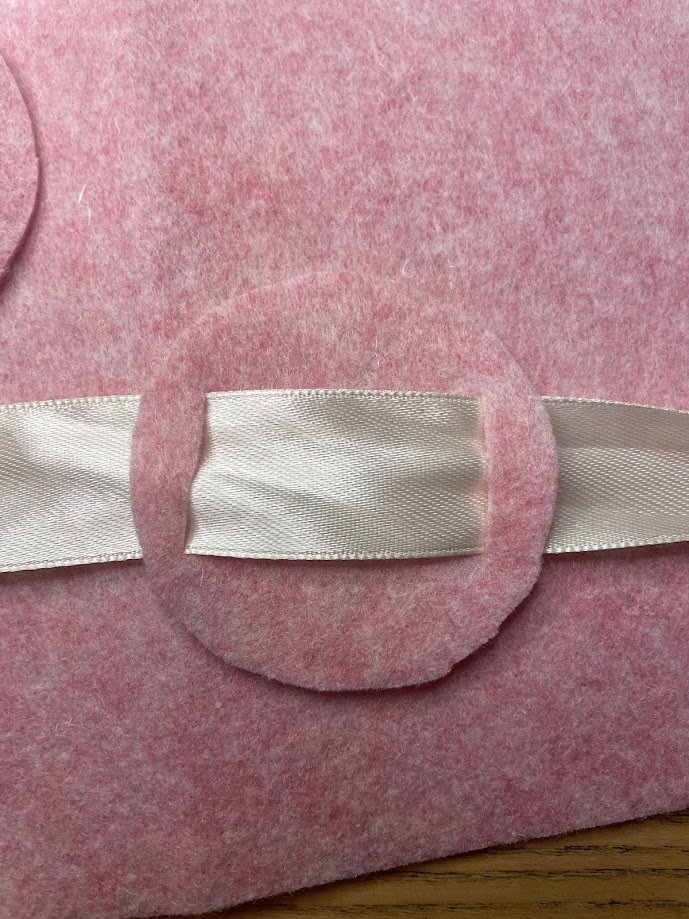
Fold the circle into quarters and snip a small cut at the top of the quarter. Unfold the circle and you will have two slits opposite each other. Feed the piece of ribbon through the slits to form the bracelet part of the corsage. Keep the ribbon longer than you need, then trim it to size once it’s finished, you need enough ribbon to tie a bow around the wrist. Remember to carefully melt the edges of the ribbon with a lighter after to stop it fraying.
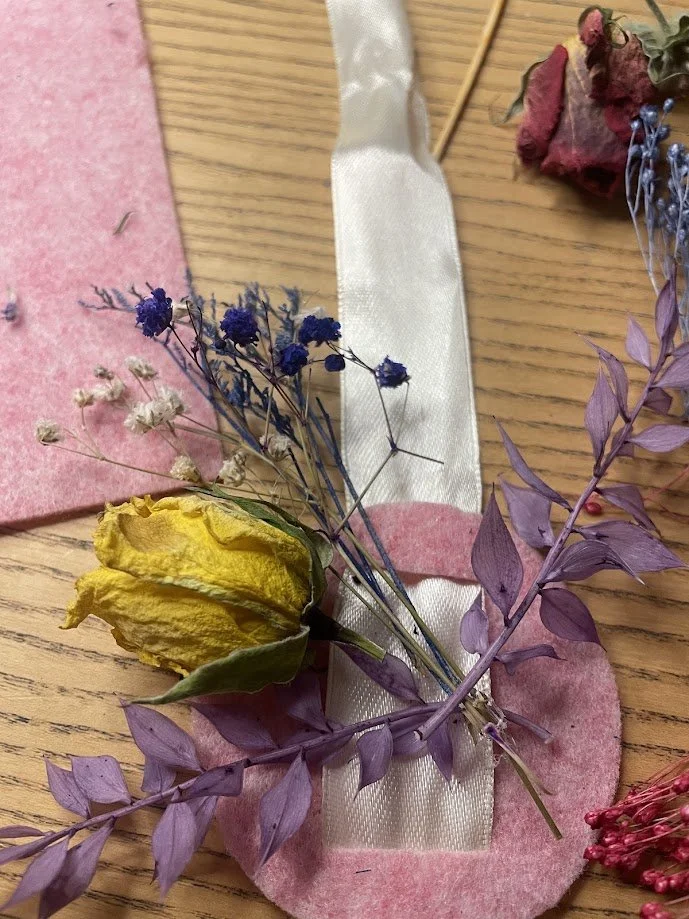
Lay out your flowers first to make sure of your design. Once you’re happy with how it looks, start gluing them into place with a hot glue gun.
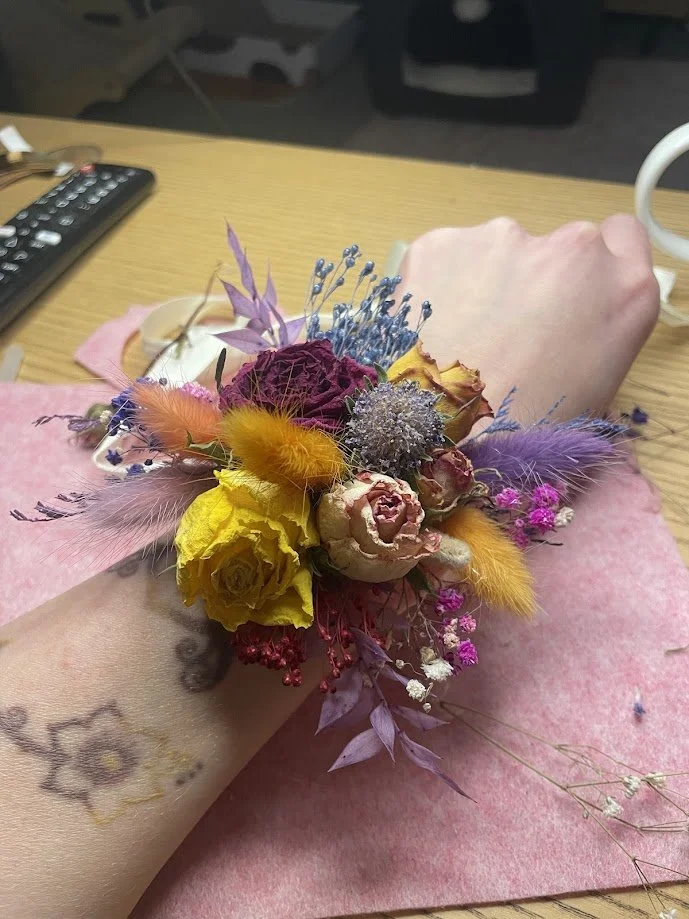
It’s really that simple!
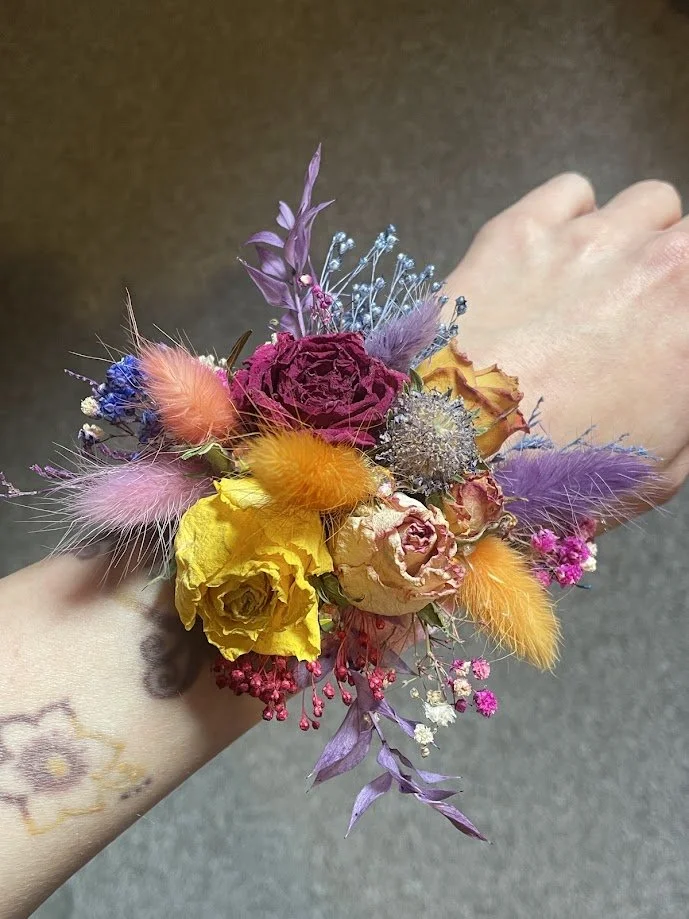
I added some gems to mine because me and my mum love sparkles!
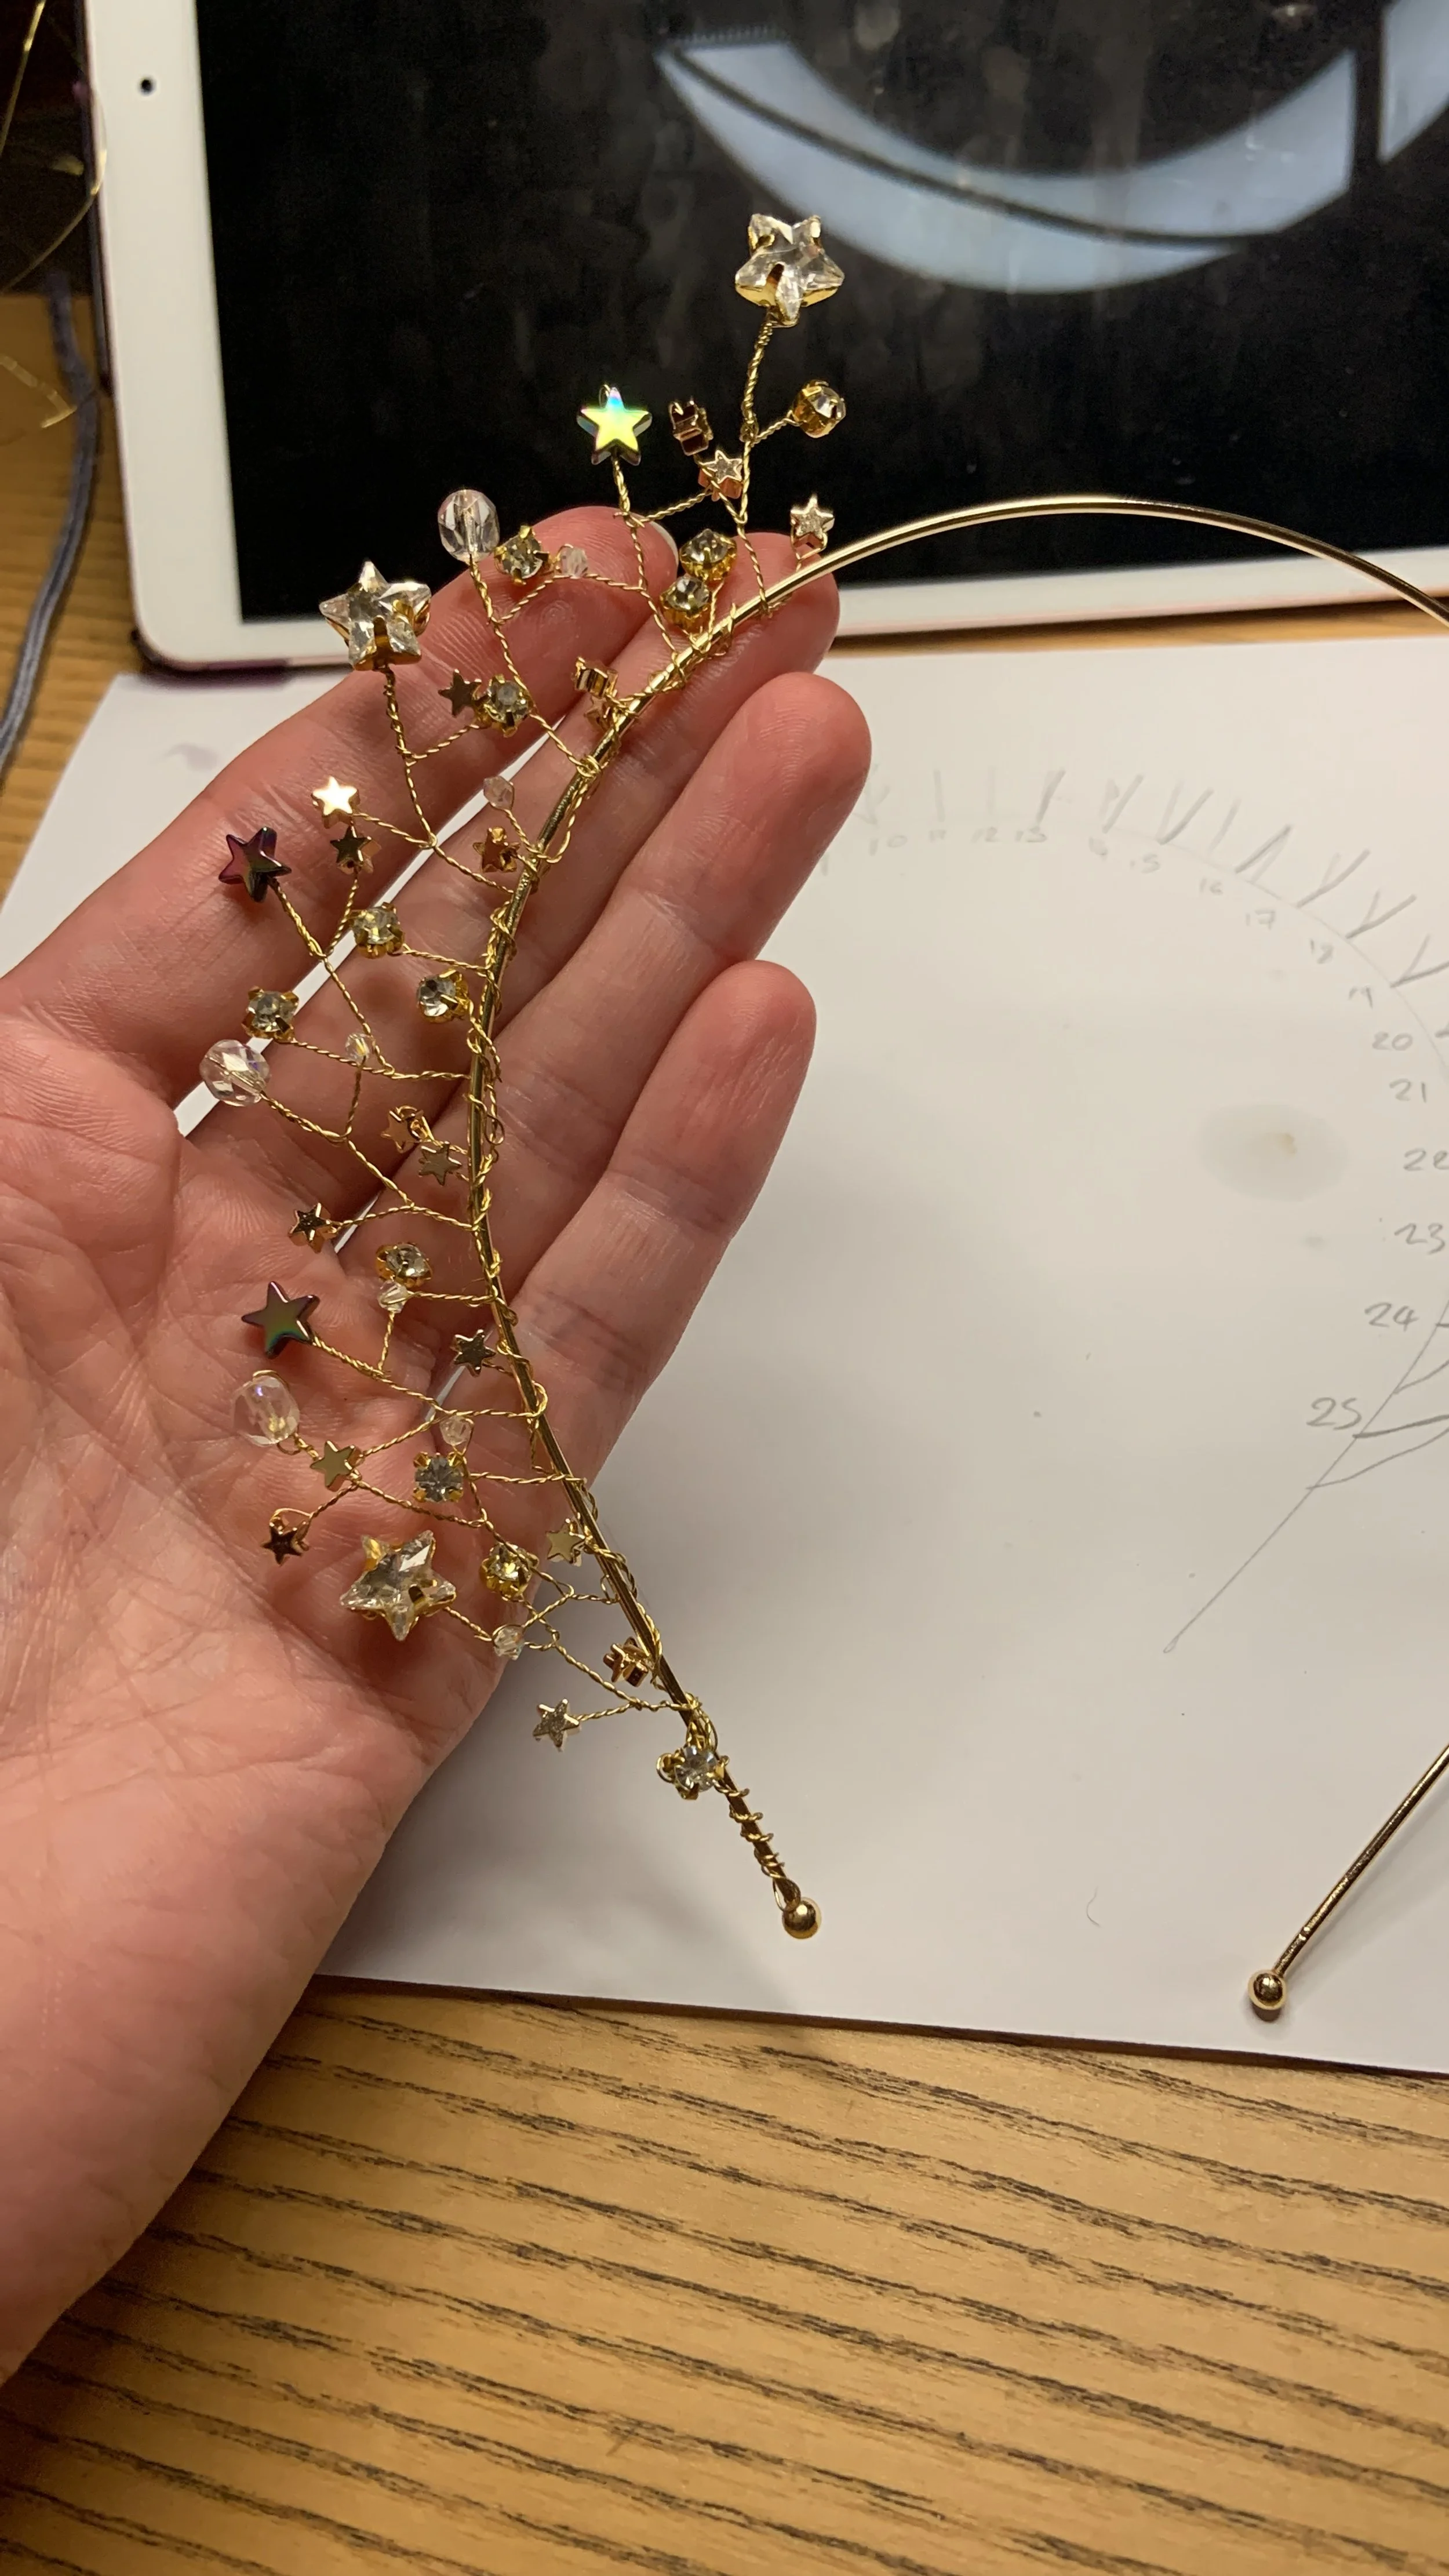
How to Make: A Twisted Wire Crystal Crown
“On silver necklaces they strung
The flowering stars, on crowns they hung
The dragon-fire, in twisted wire
They meshed the light of moon and sun”
-Far Over the Misty Mountains Cold (The Hobbit)
I am nothing if not extra. And my wedding is the ultimate reason for me to dress more extra than I ever had in my life. In deciding what to do with my hair, I had a lot of ideas, and even made another hair accessory before this one but decided it didn’t have enough height. Here’s how I made my crystal crown!
You will need
Gold plated beading wire-0.3mm
A tiara base headband
Beads and crystals of your choice
Ribbon
Wire snippers
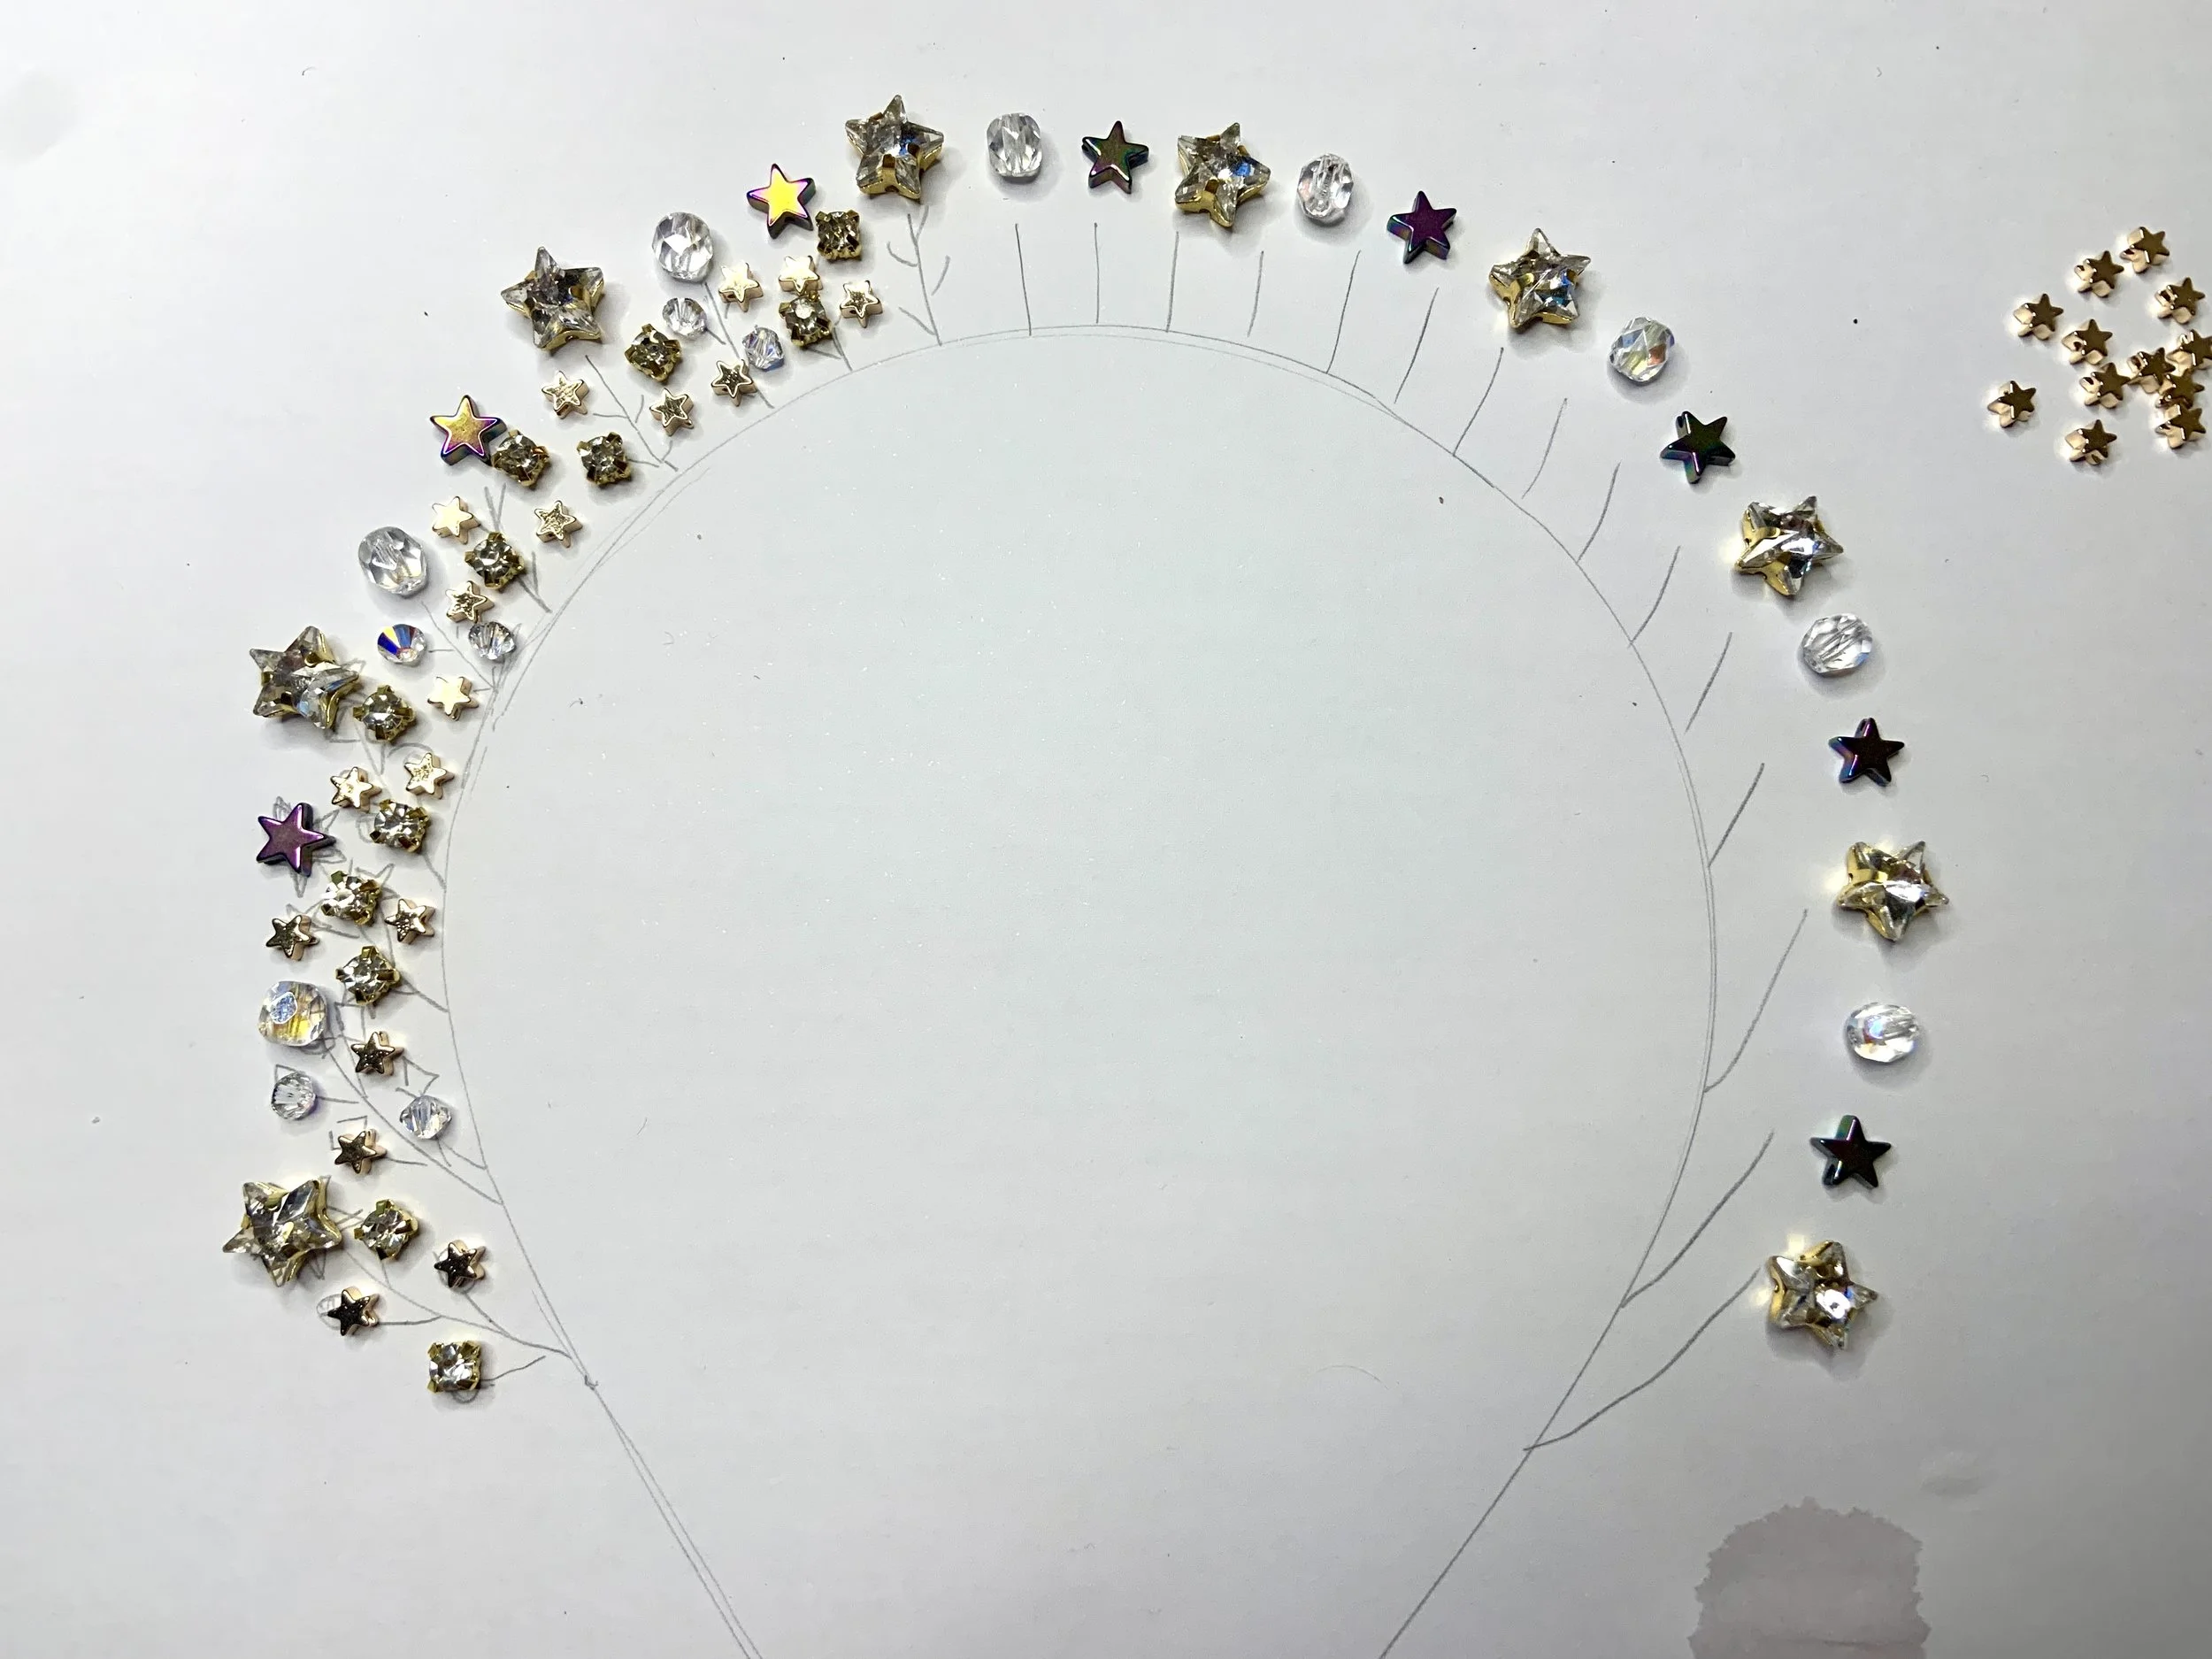
Map out how you want the crown to look first. Mine has little ‘branches’ of wire with five crystals and beads on each branch.
Now this is the fiddly bit!
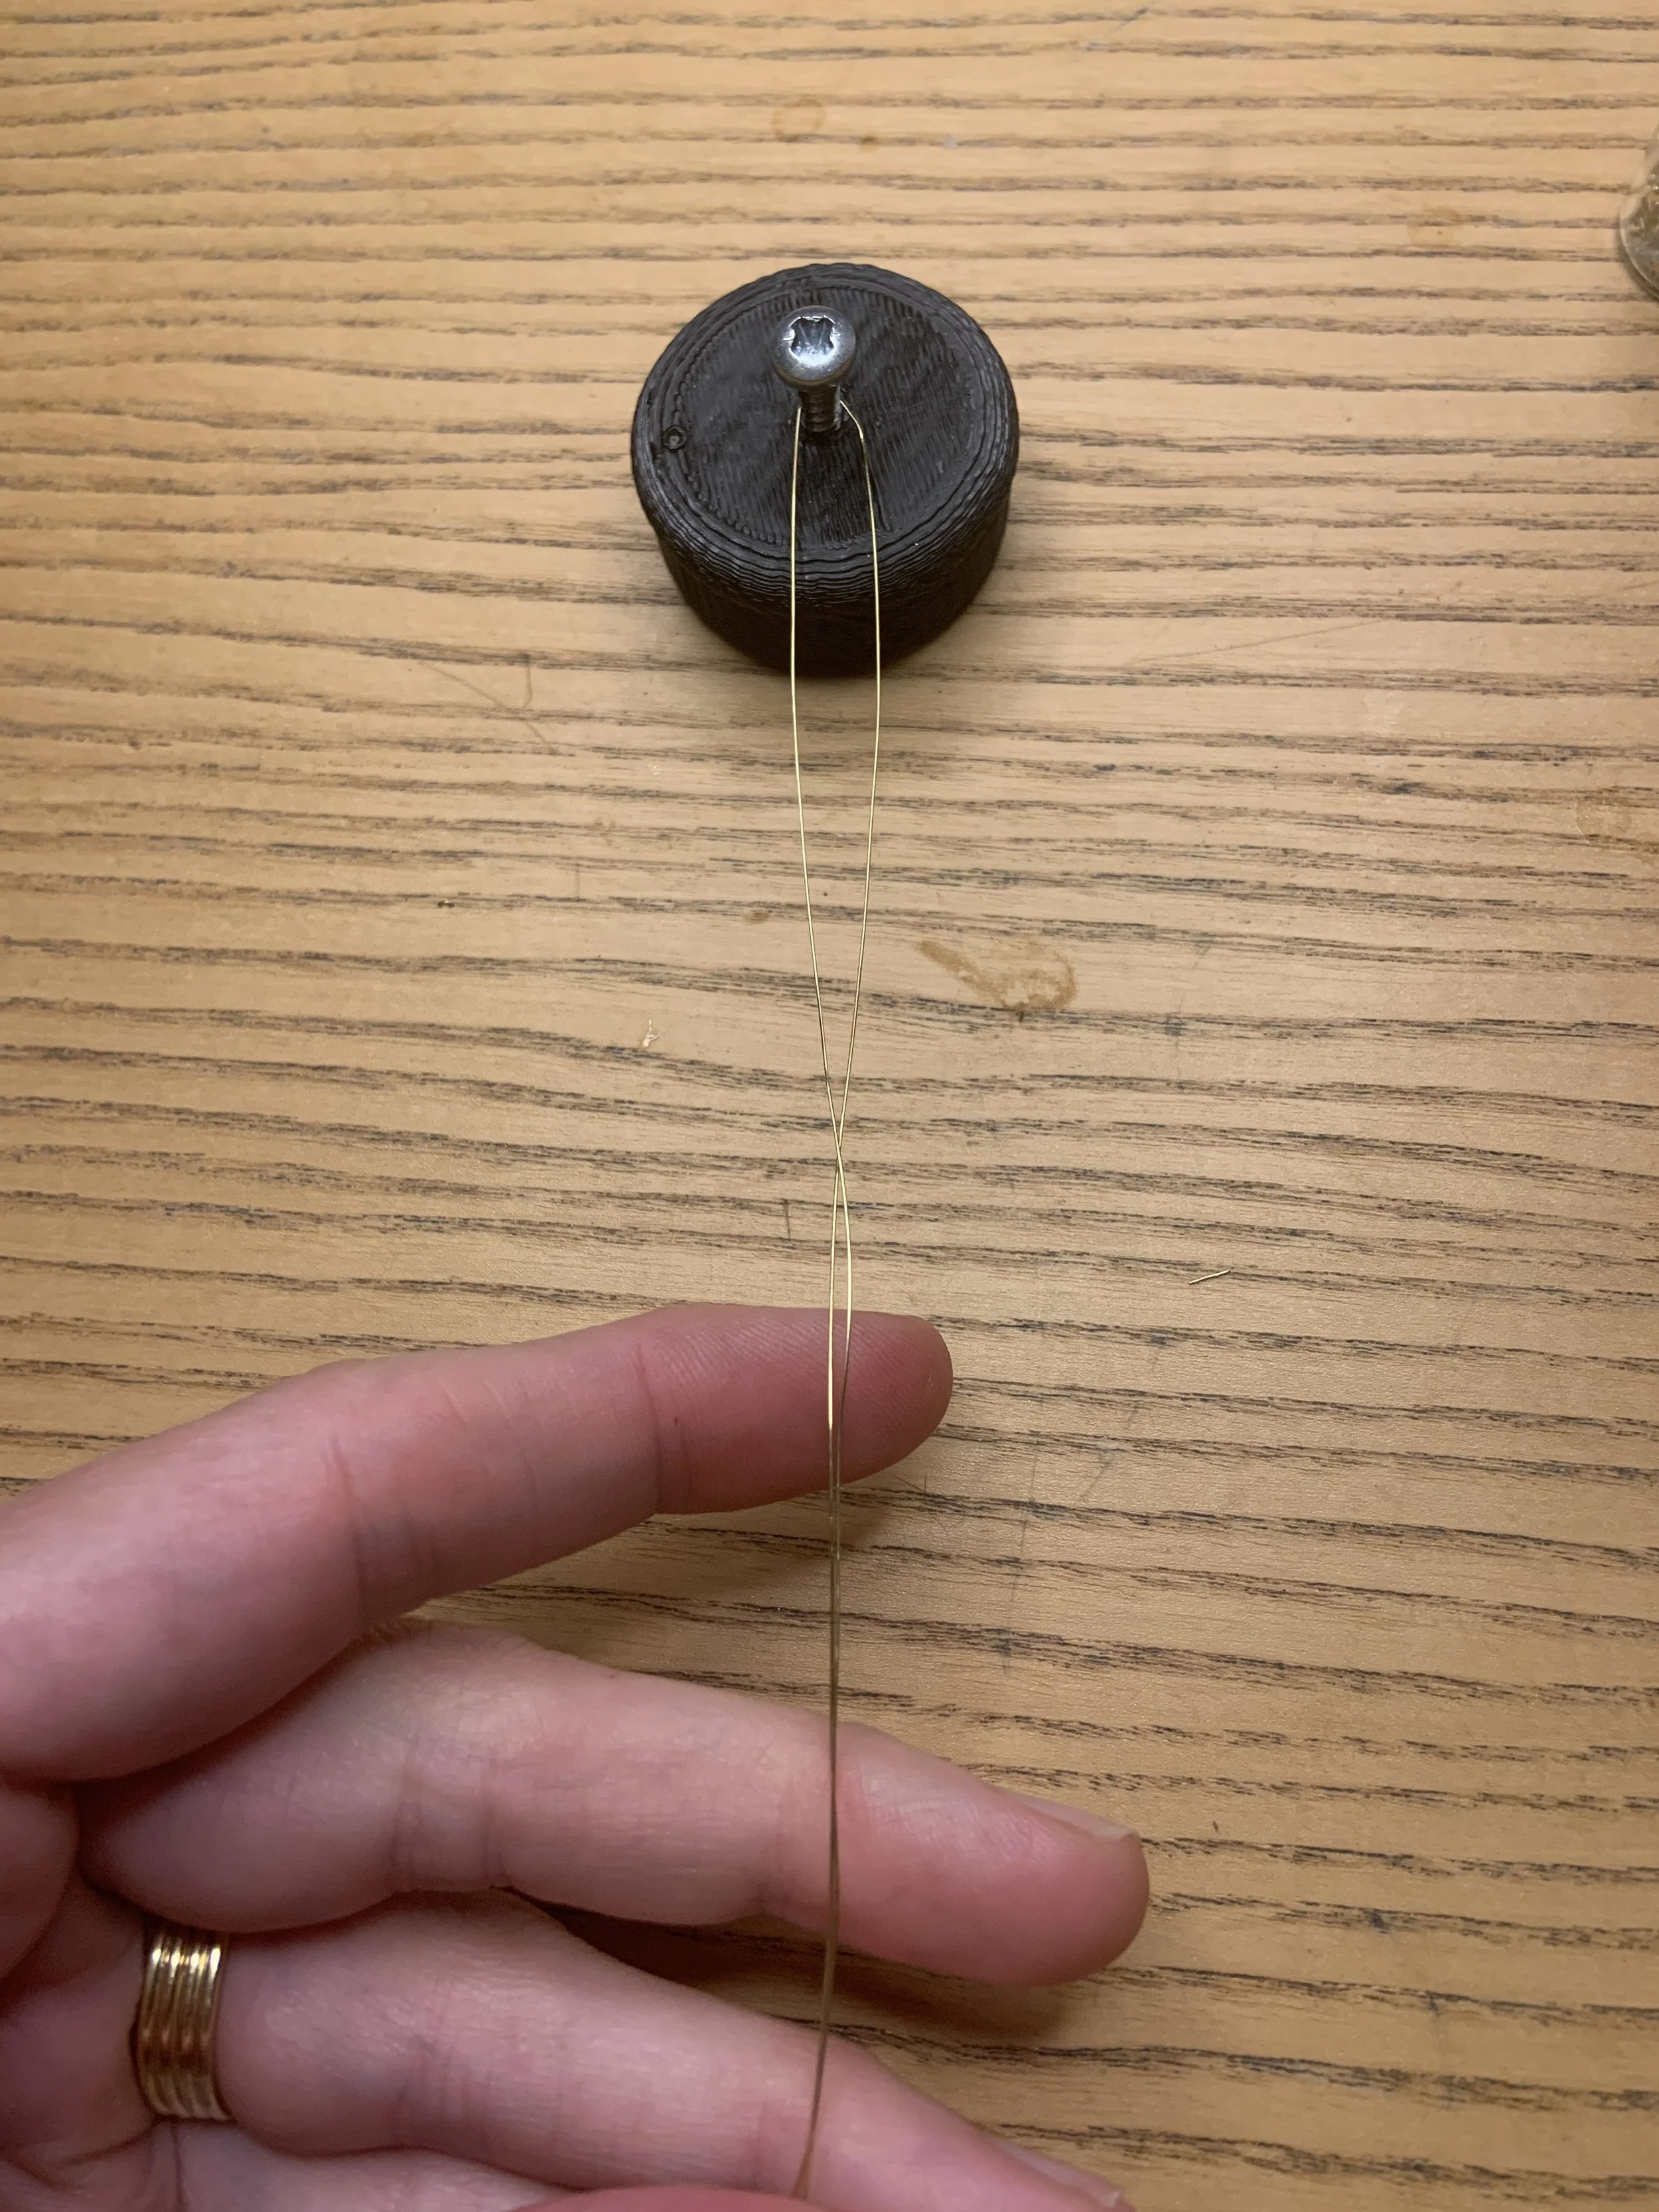
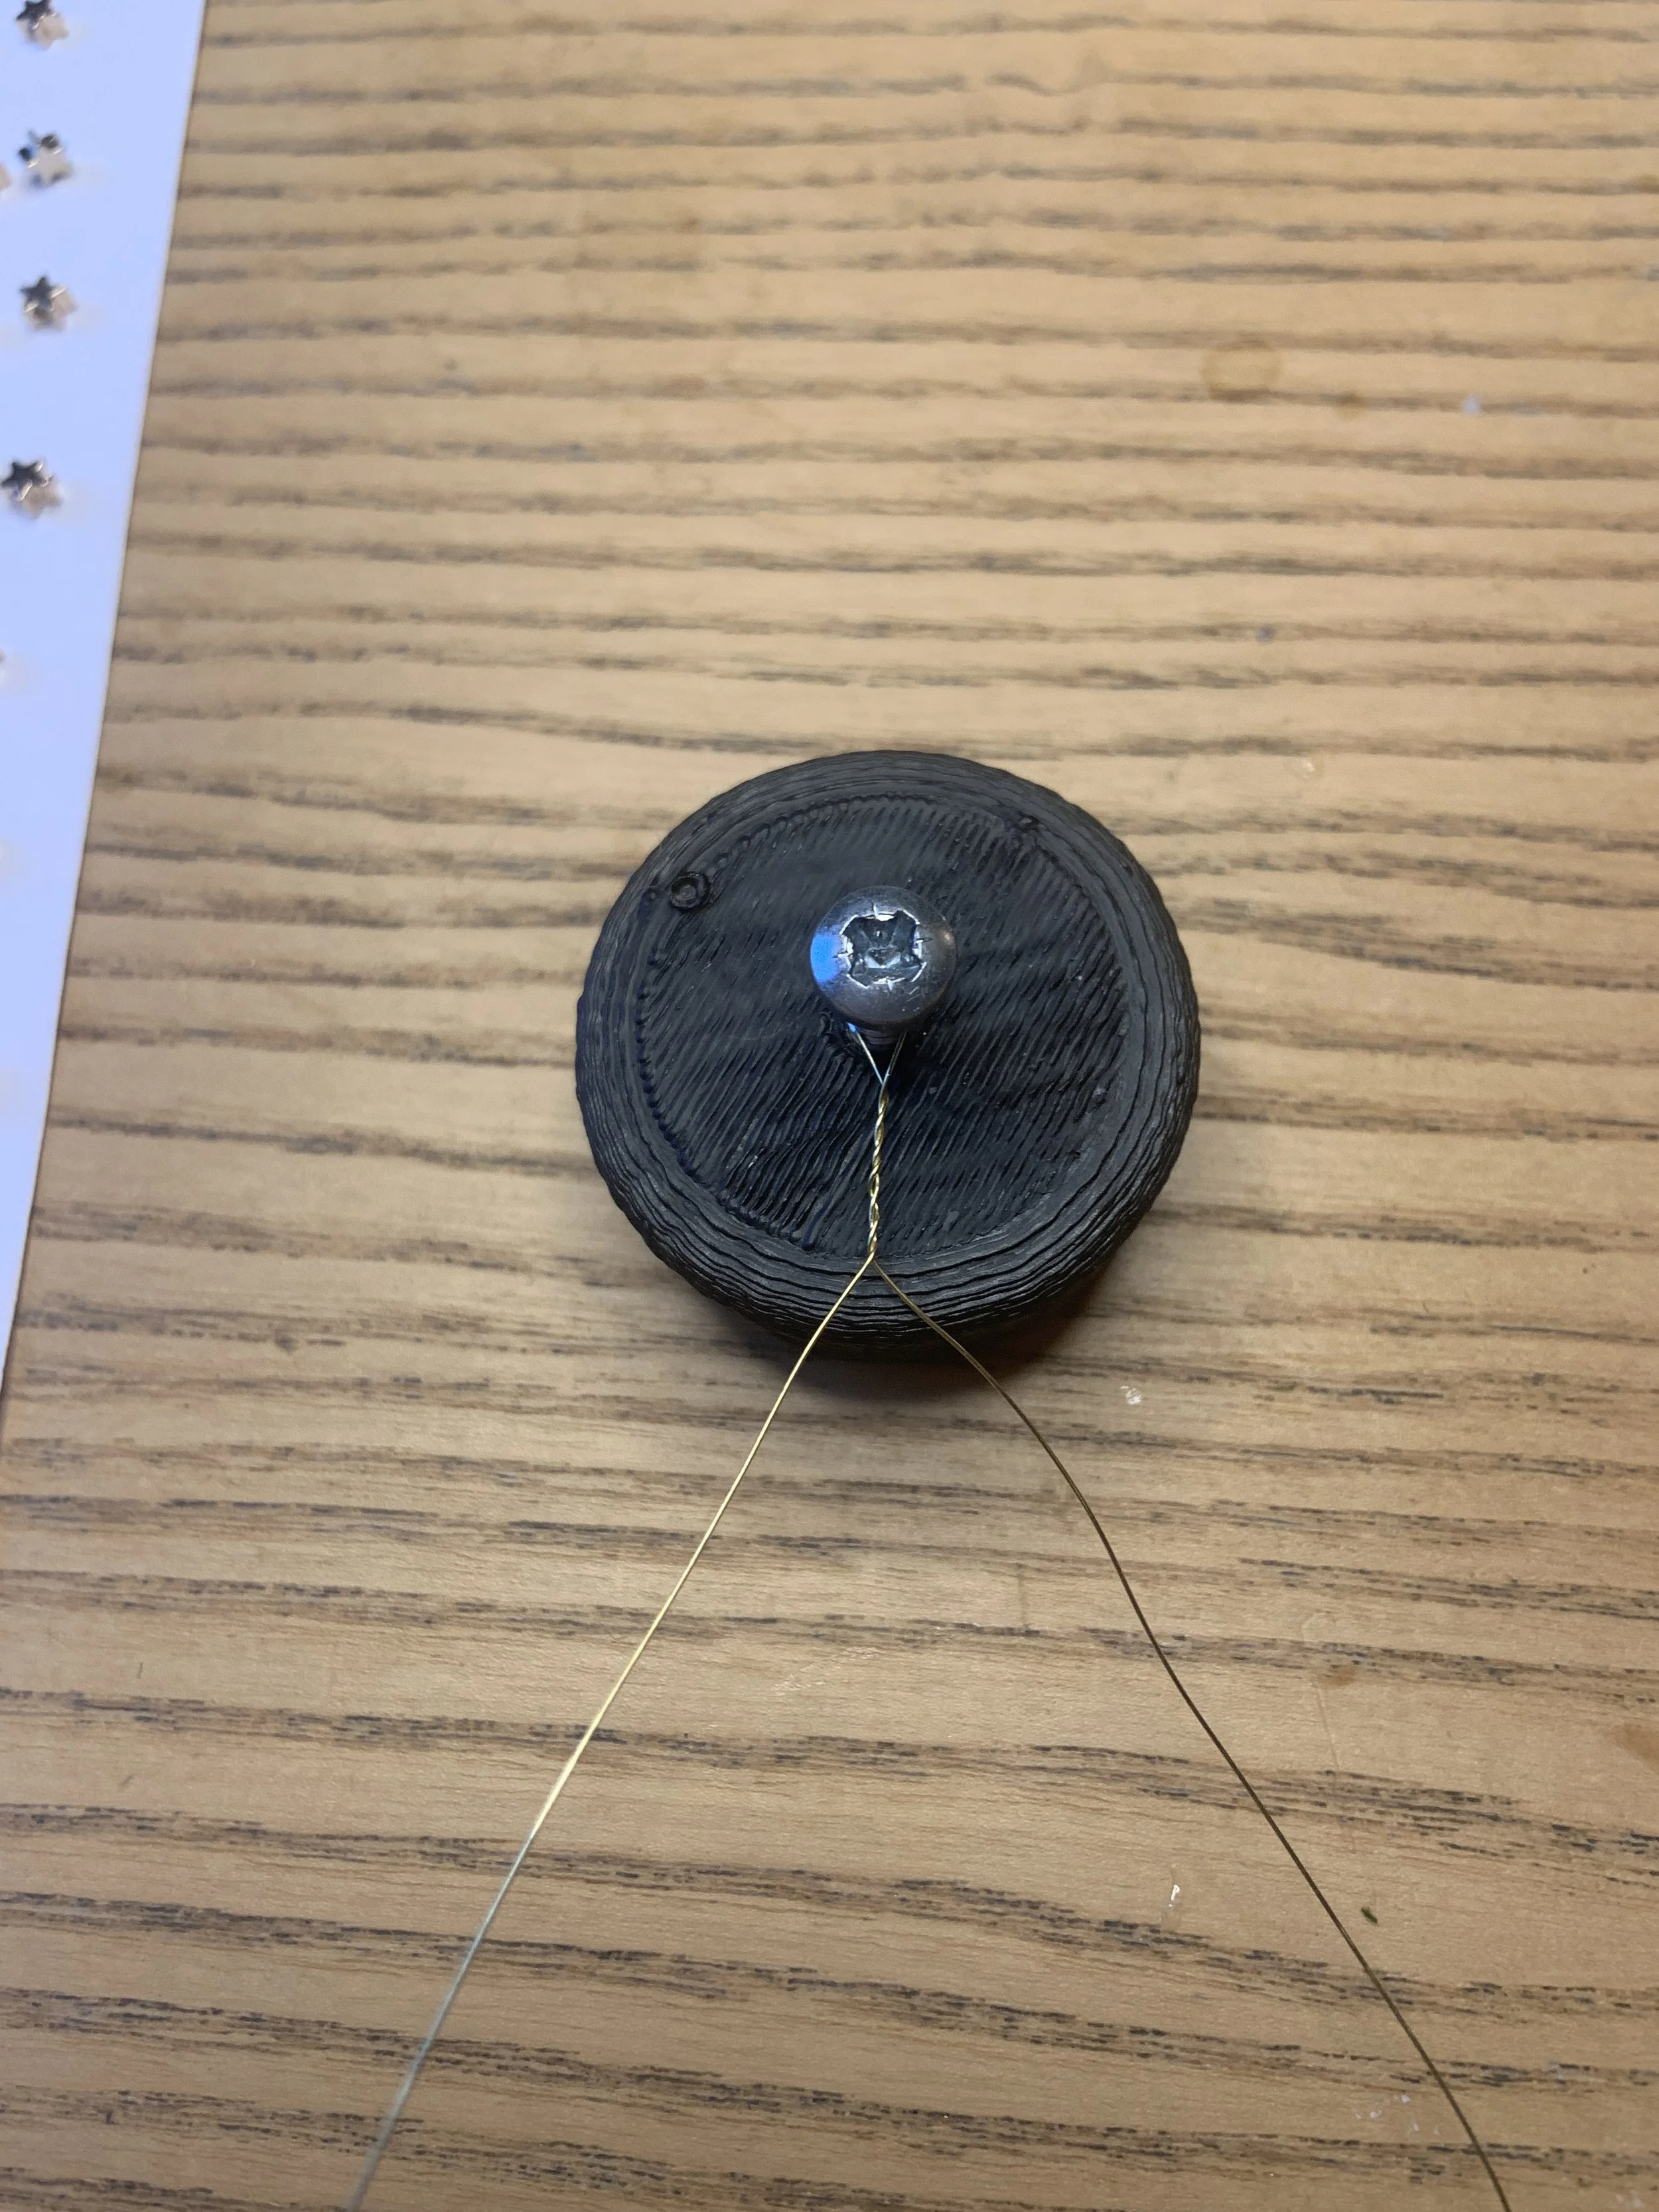
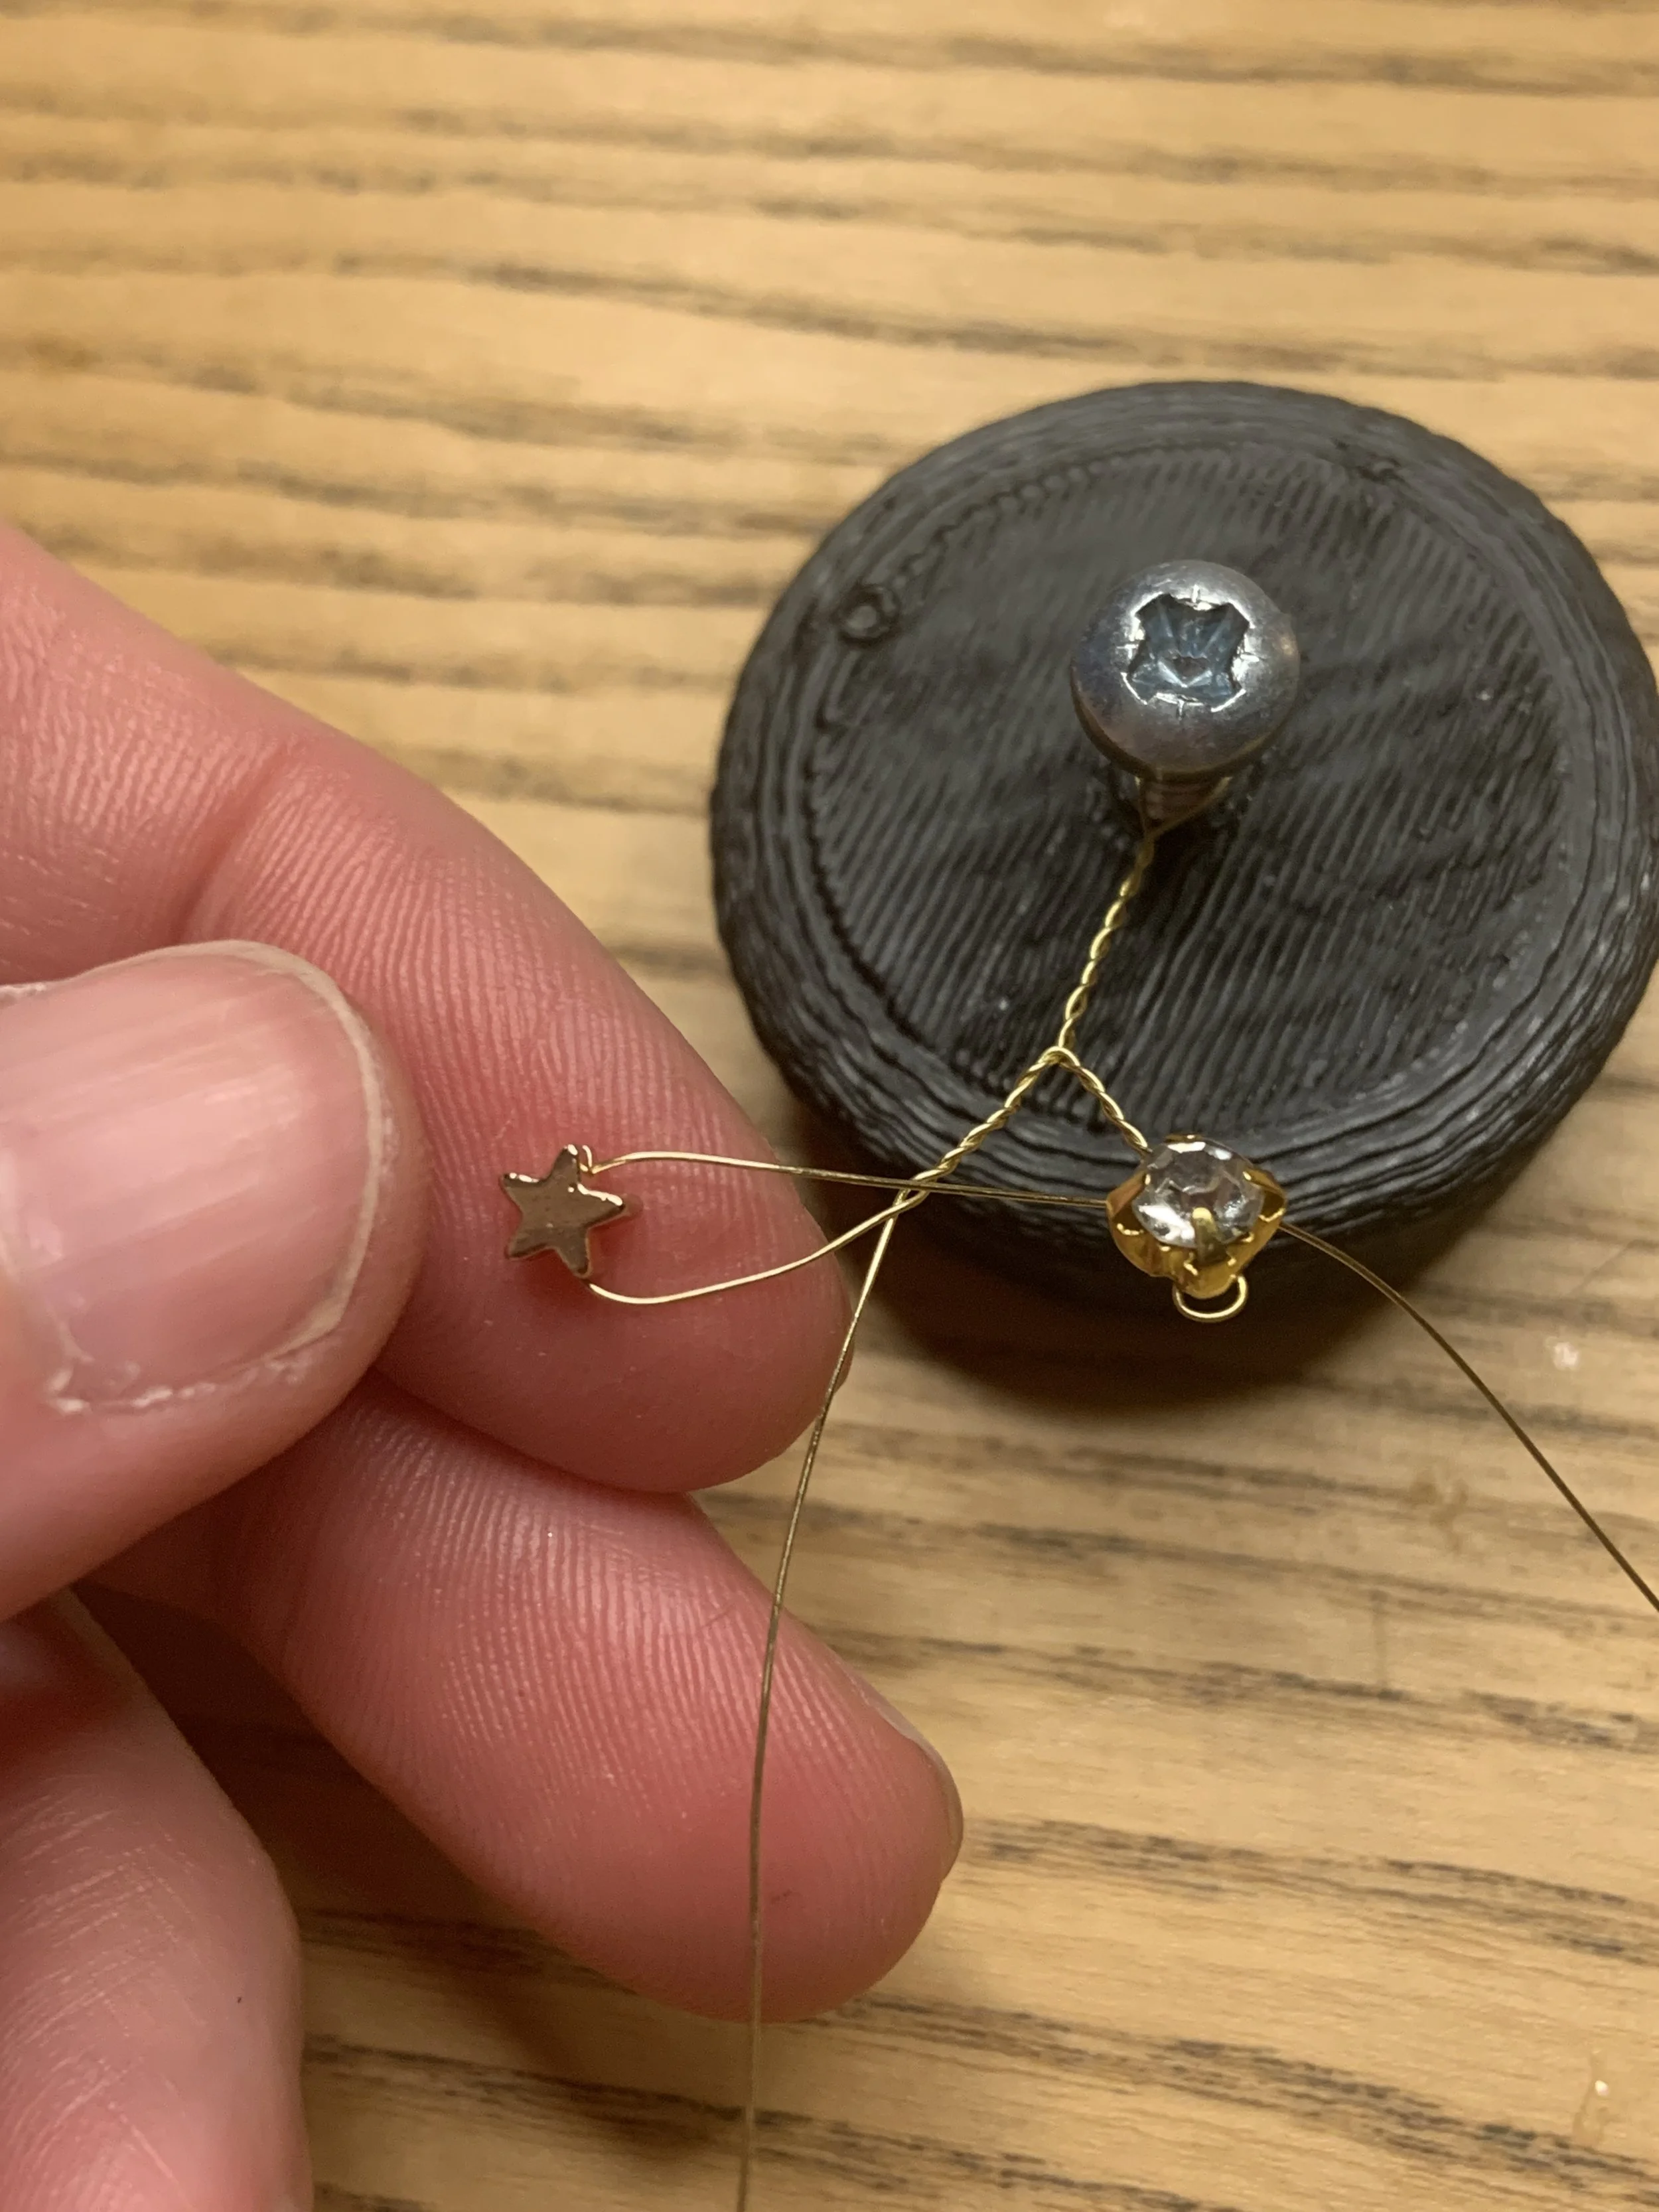
Find yourself an ‘anchor’ Mine is a piece of 3D printed plastic with a screw in it. Stick it down to a surface as you need some tension. Take a long piece of wire, around 20cm in length and loop it around the anchor in the middle. Twist the wire quite tightly for about 2cm as you will need this length later to attach it to the hairband.
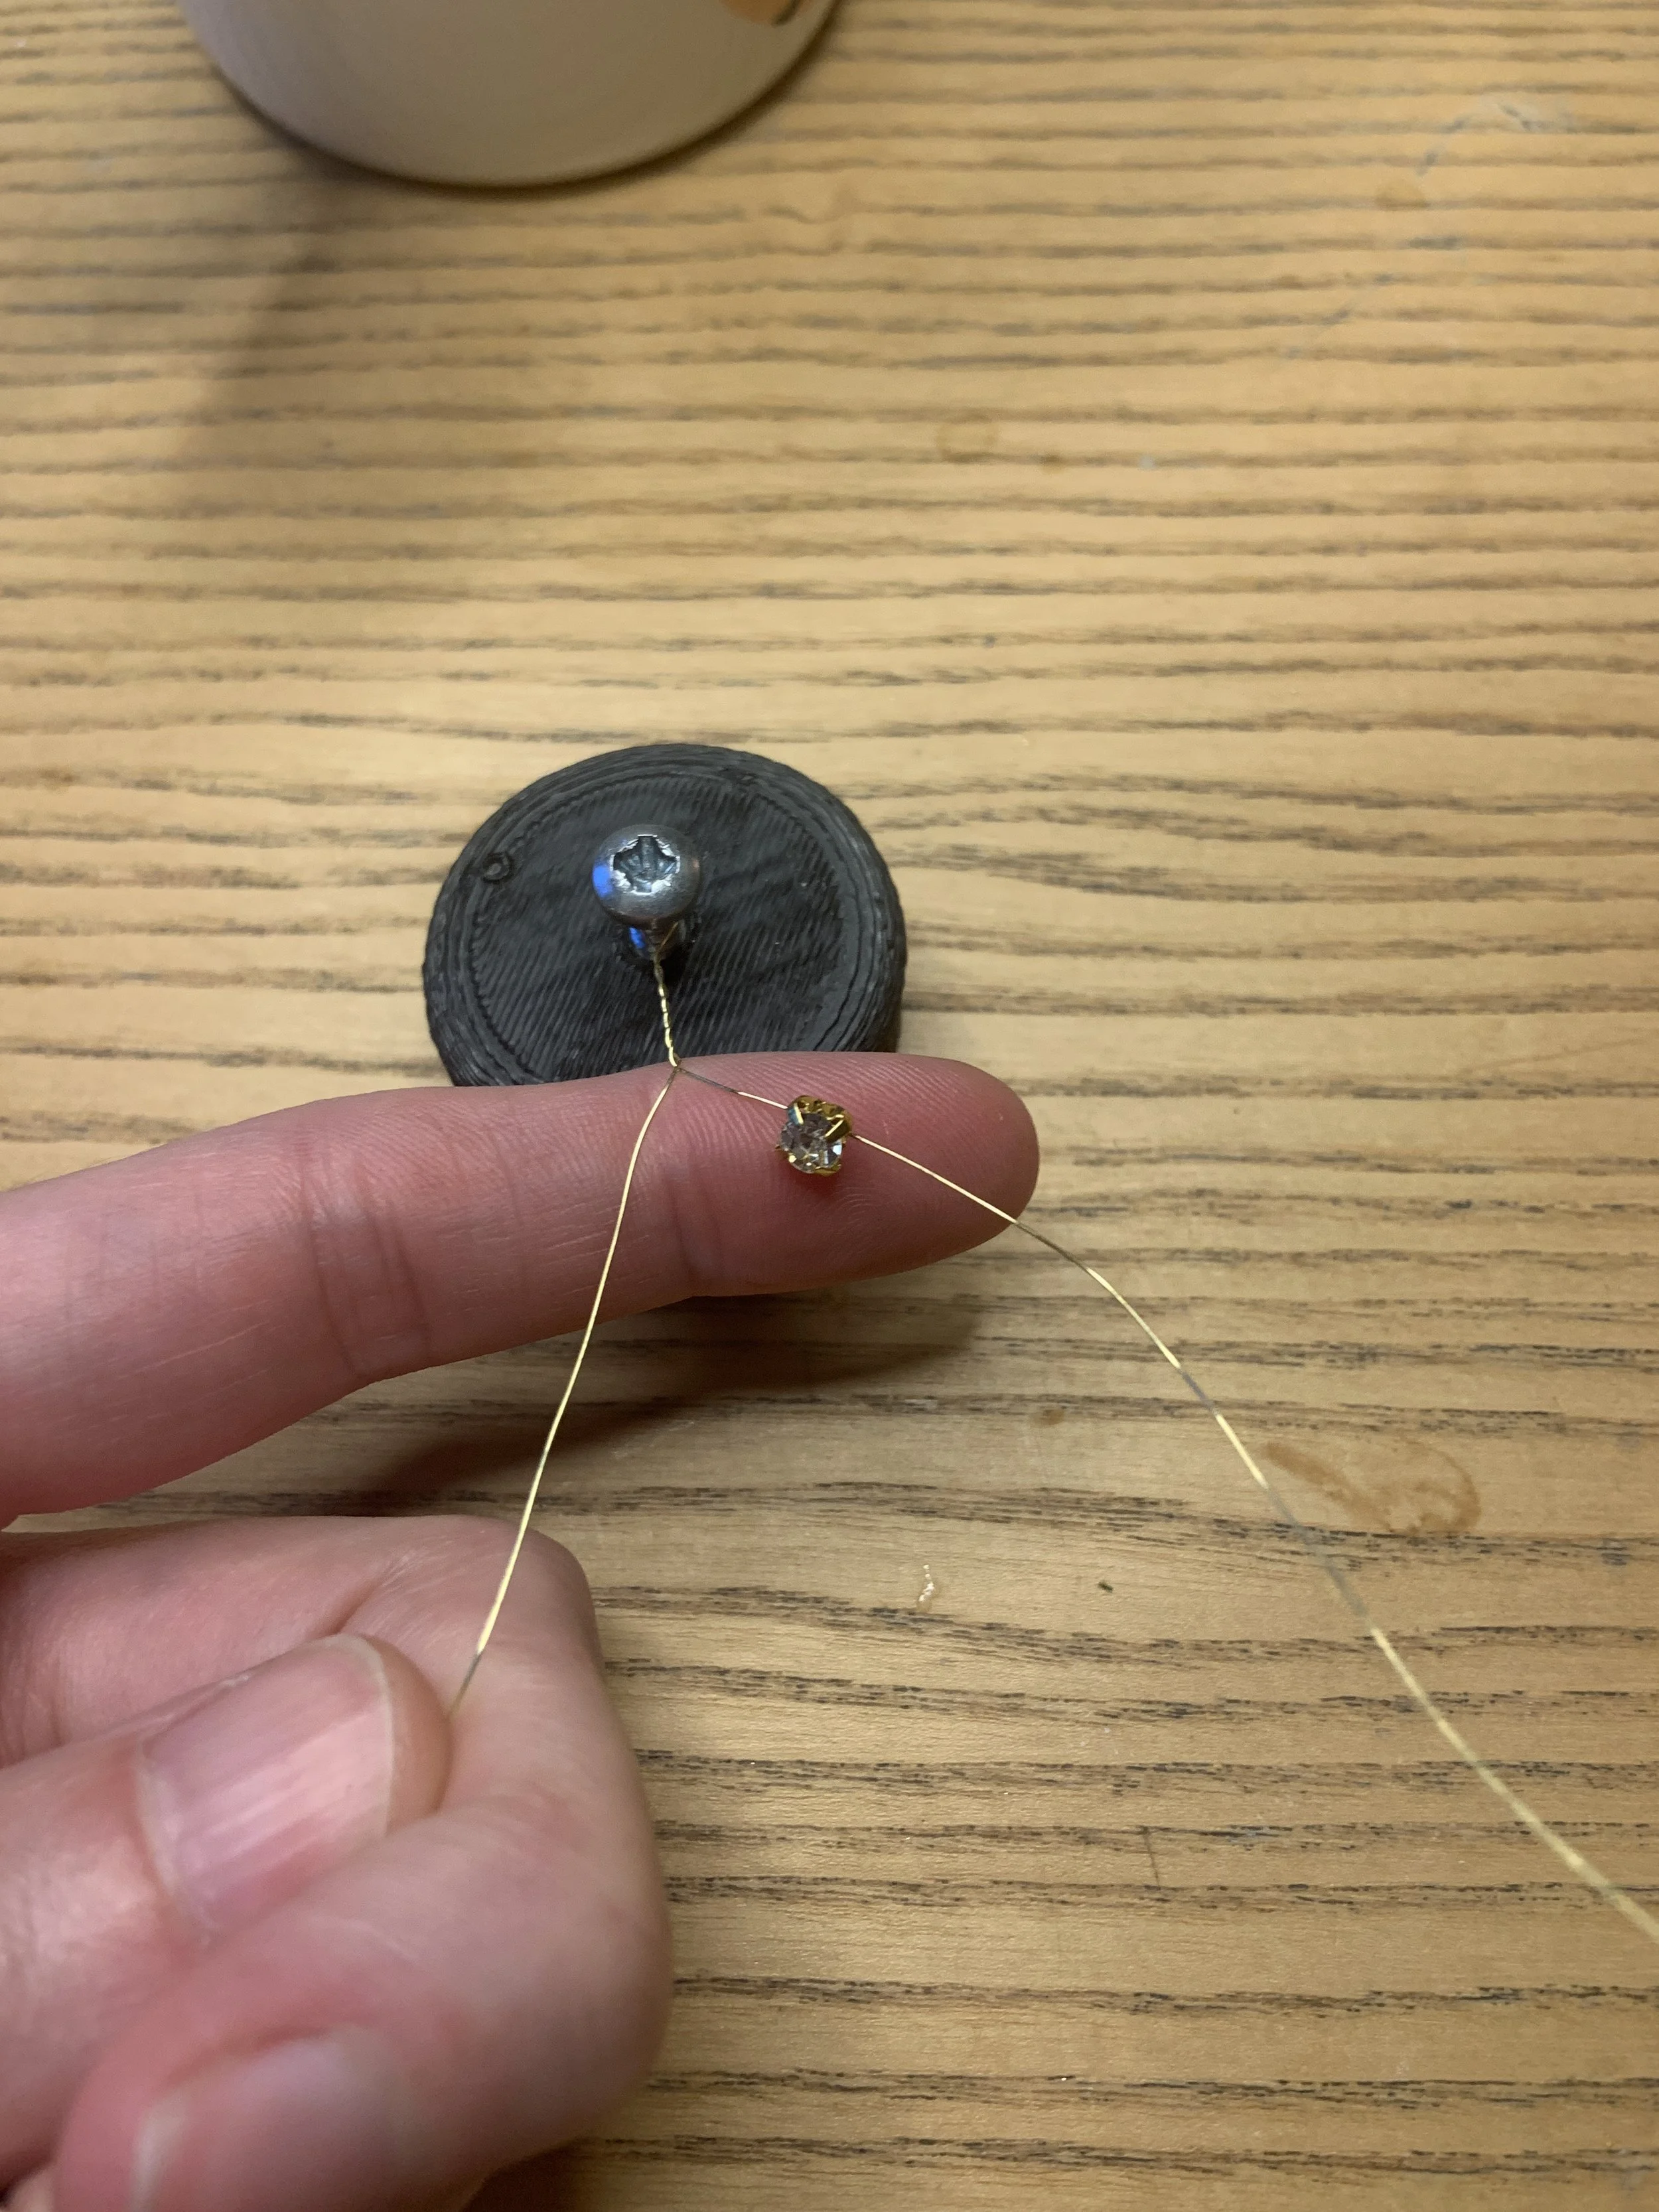
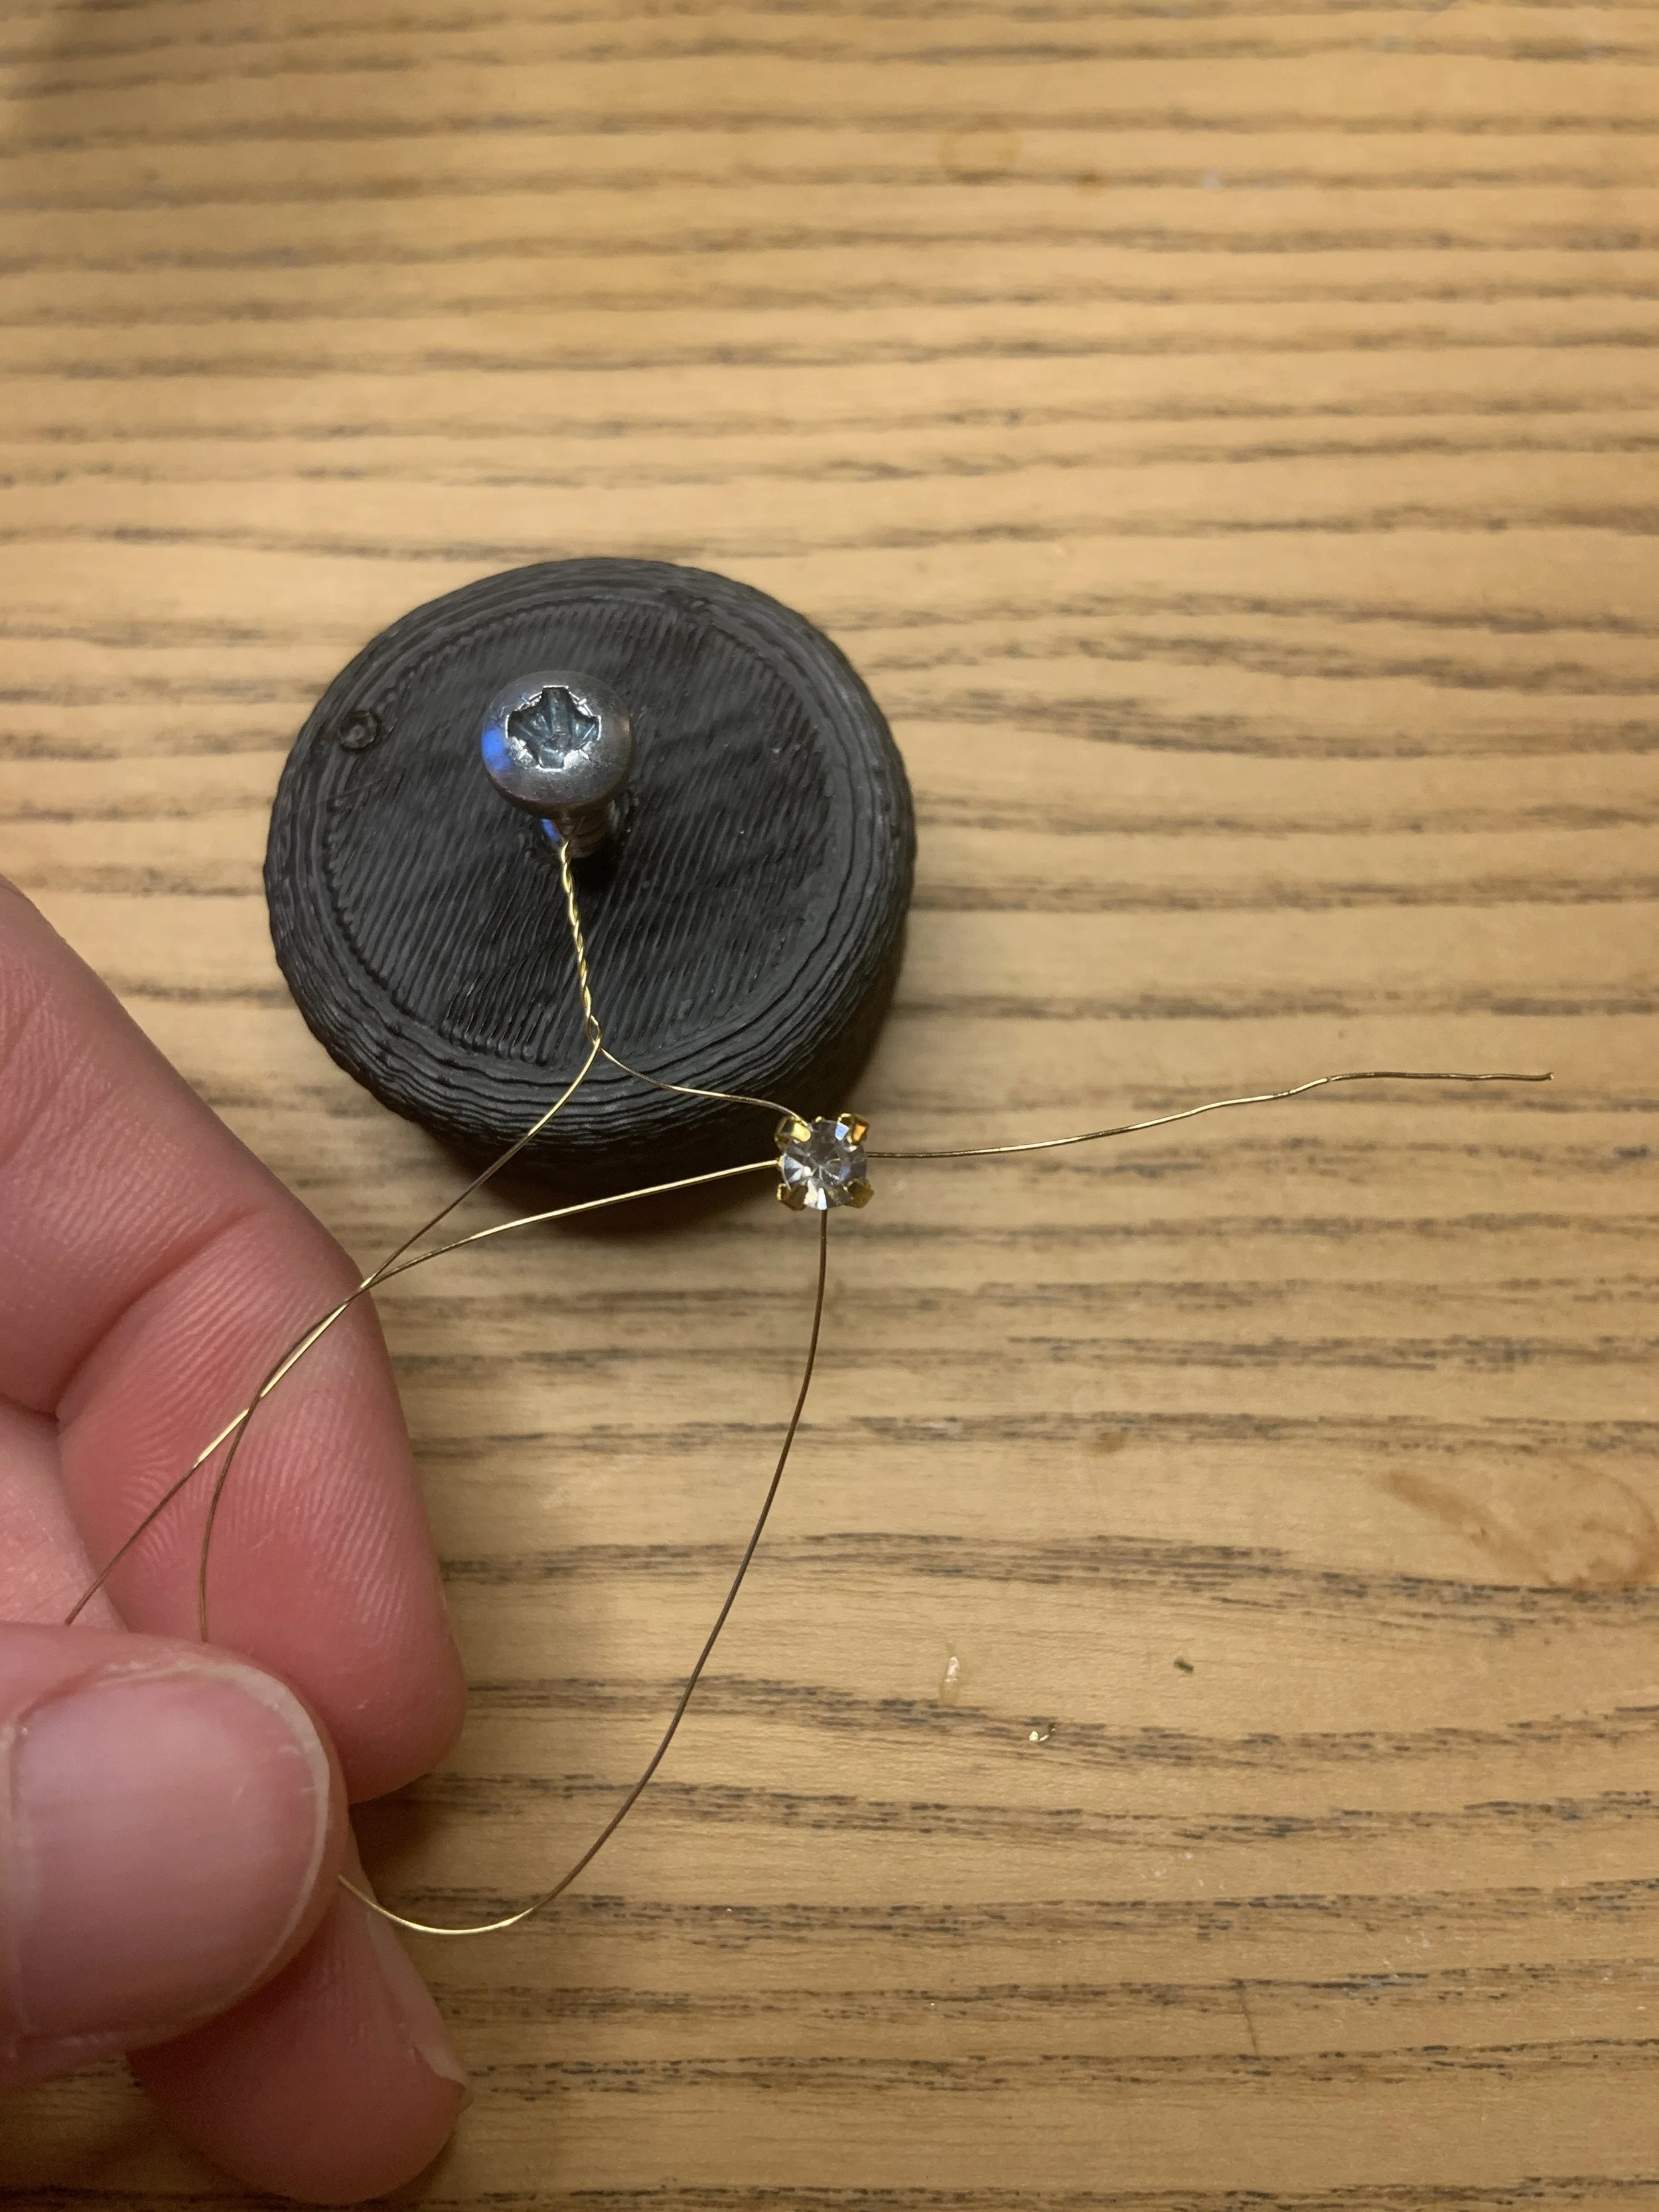
Start one of the ‘branches’ by threading a bead onto it. These crystals have 4 holes in the setting, so to ensure that it doesn’t spin around, I threaded the wire through all 4 holes. Then bend the wire back on itself to create a loop with the bead at the top.
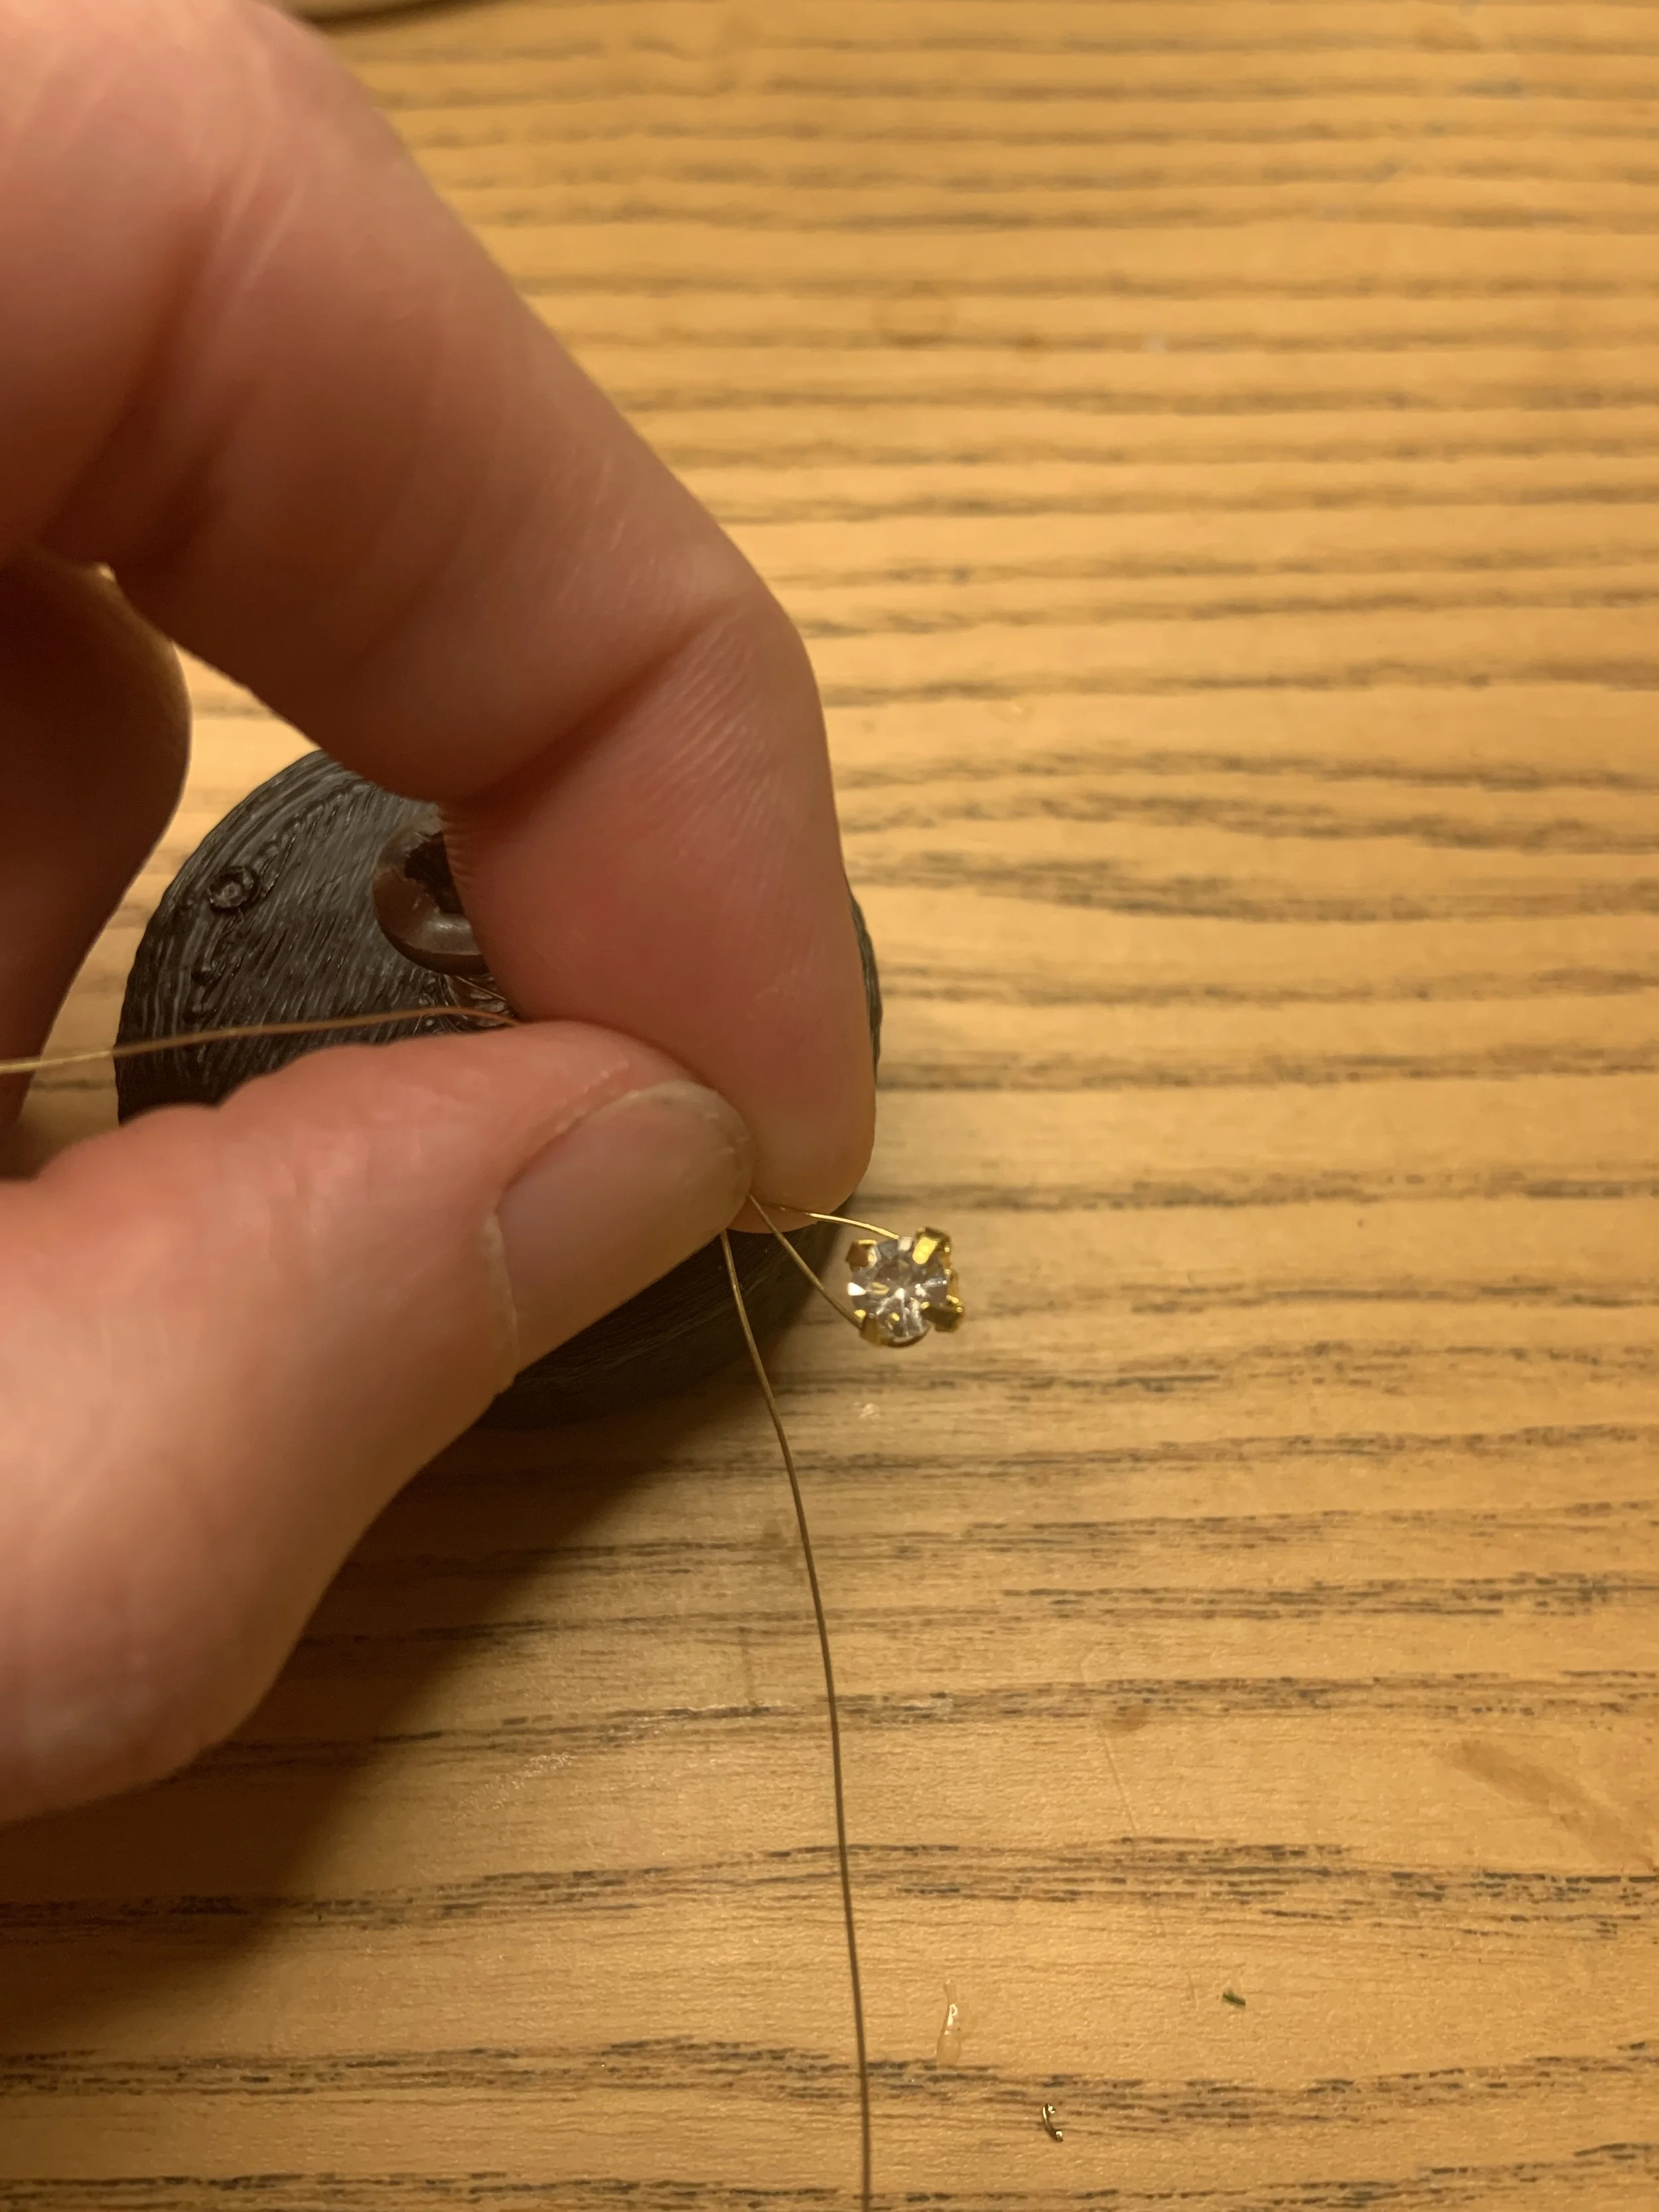
Twist the branch so the wire moves back down to the bottom of the junction.
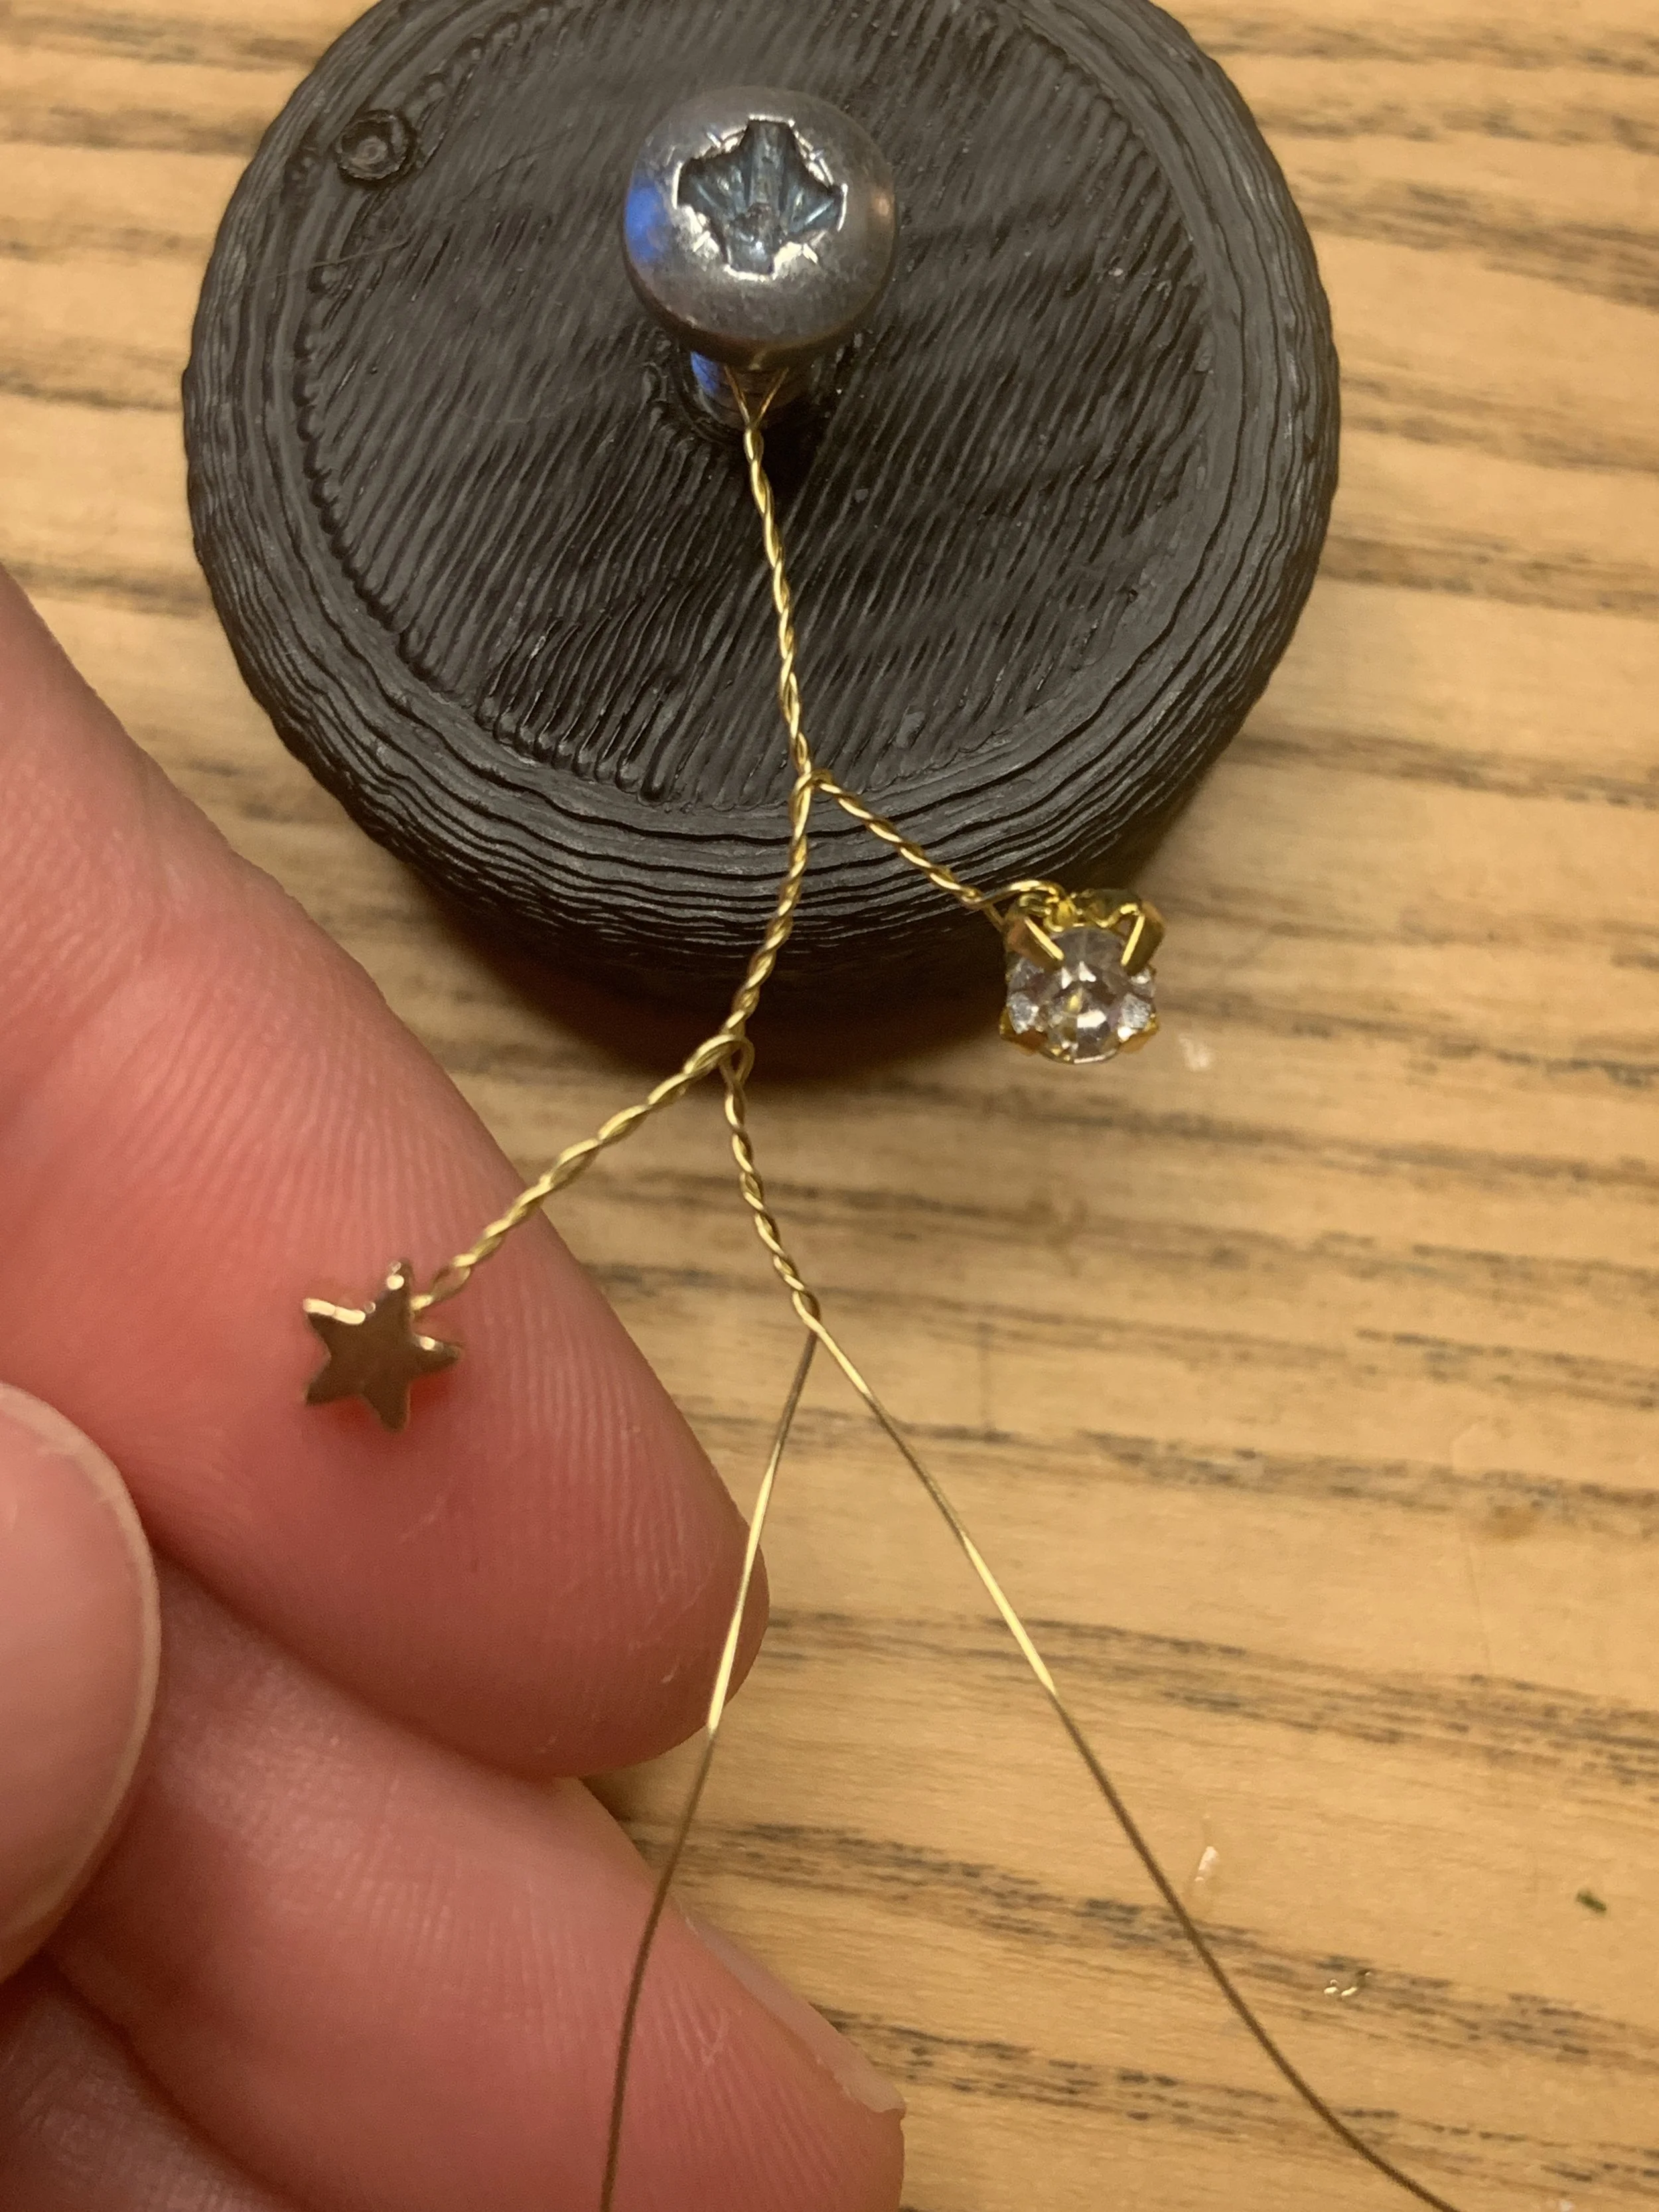
Twist the wire another centimetre or so, then add a different bead.
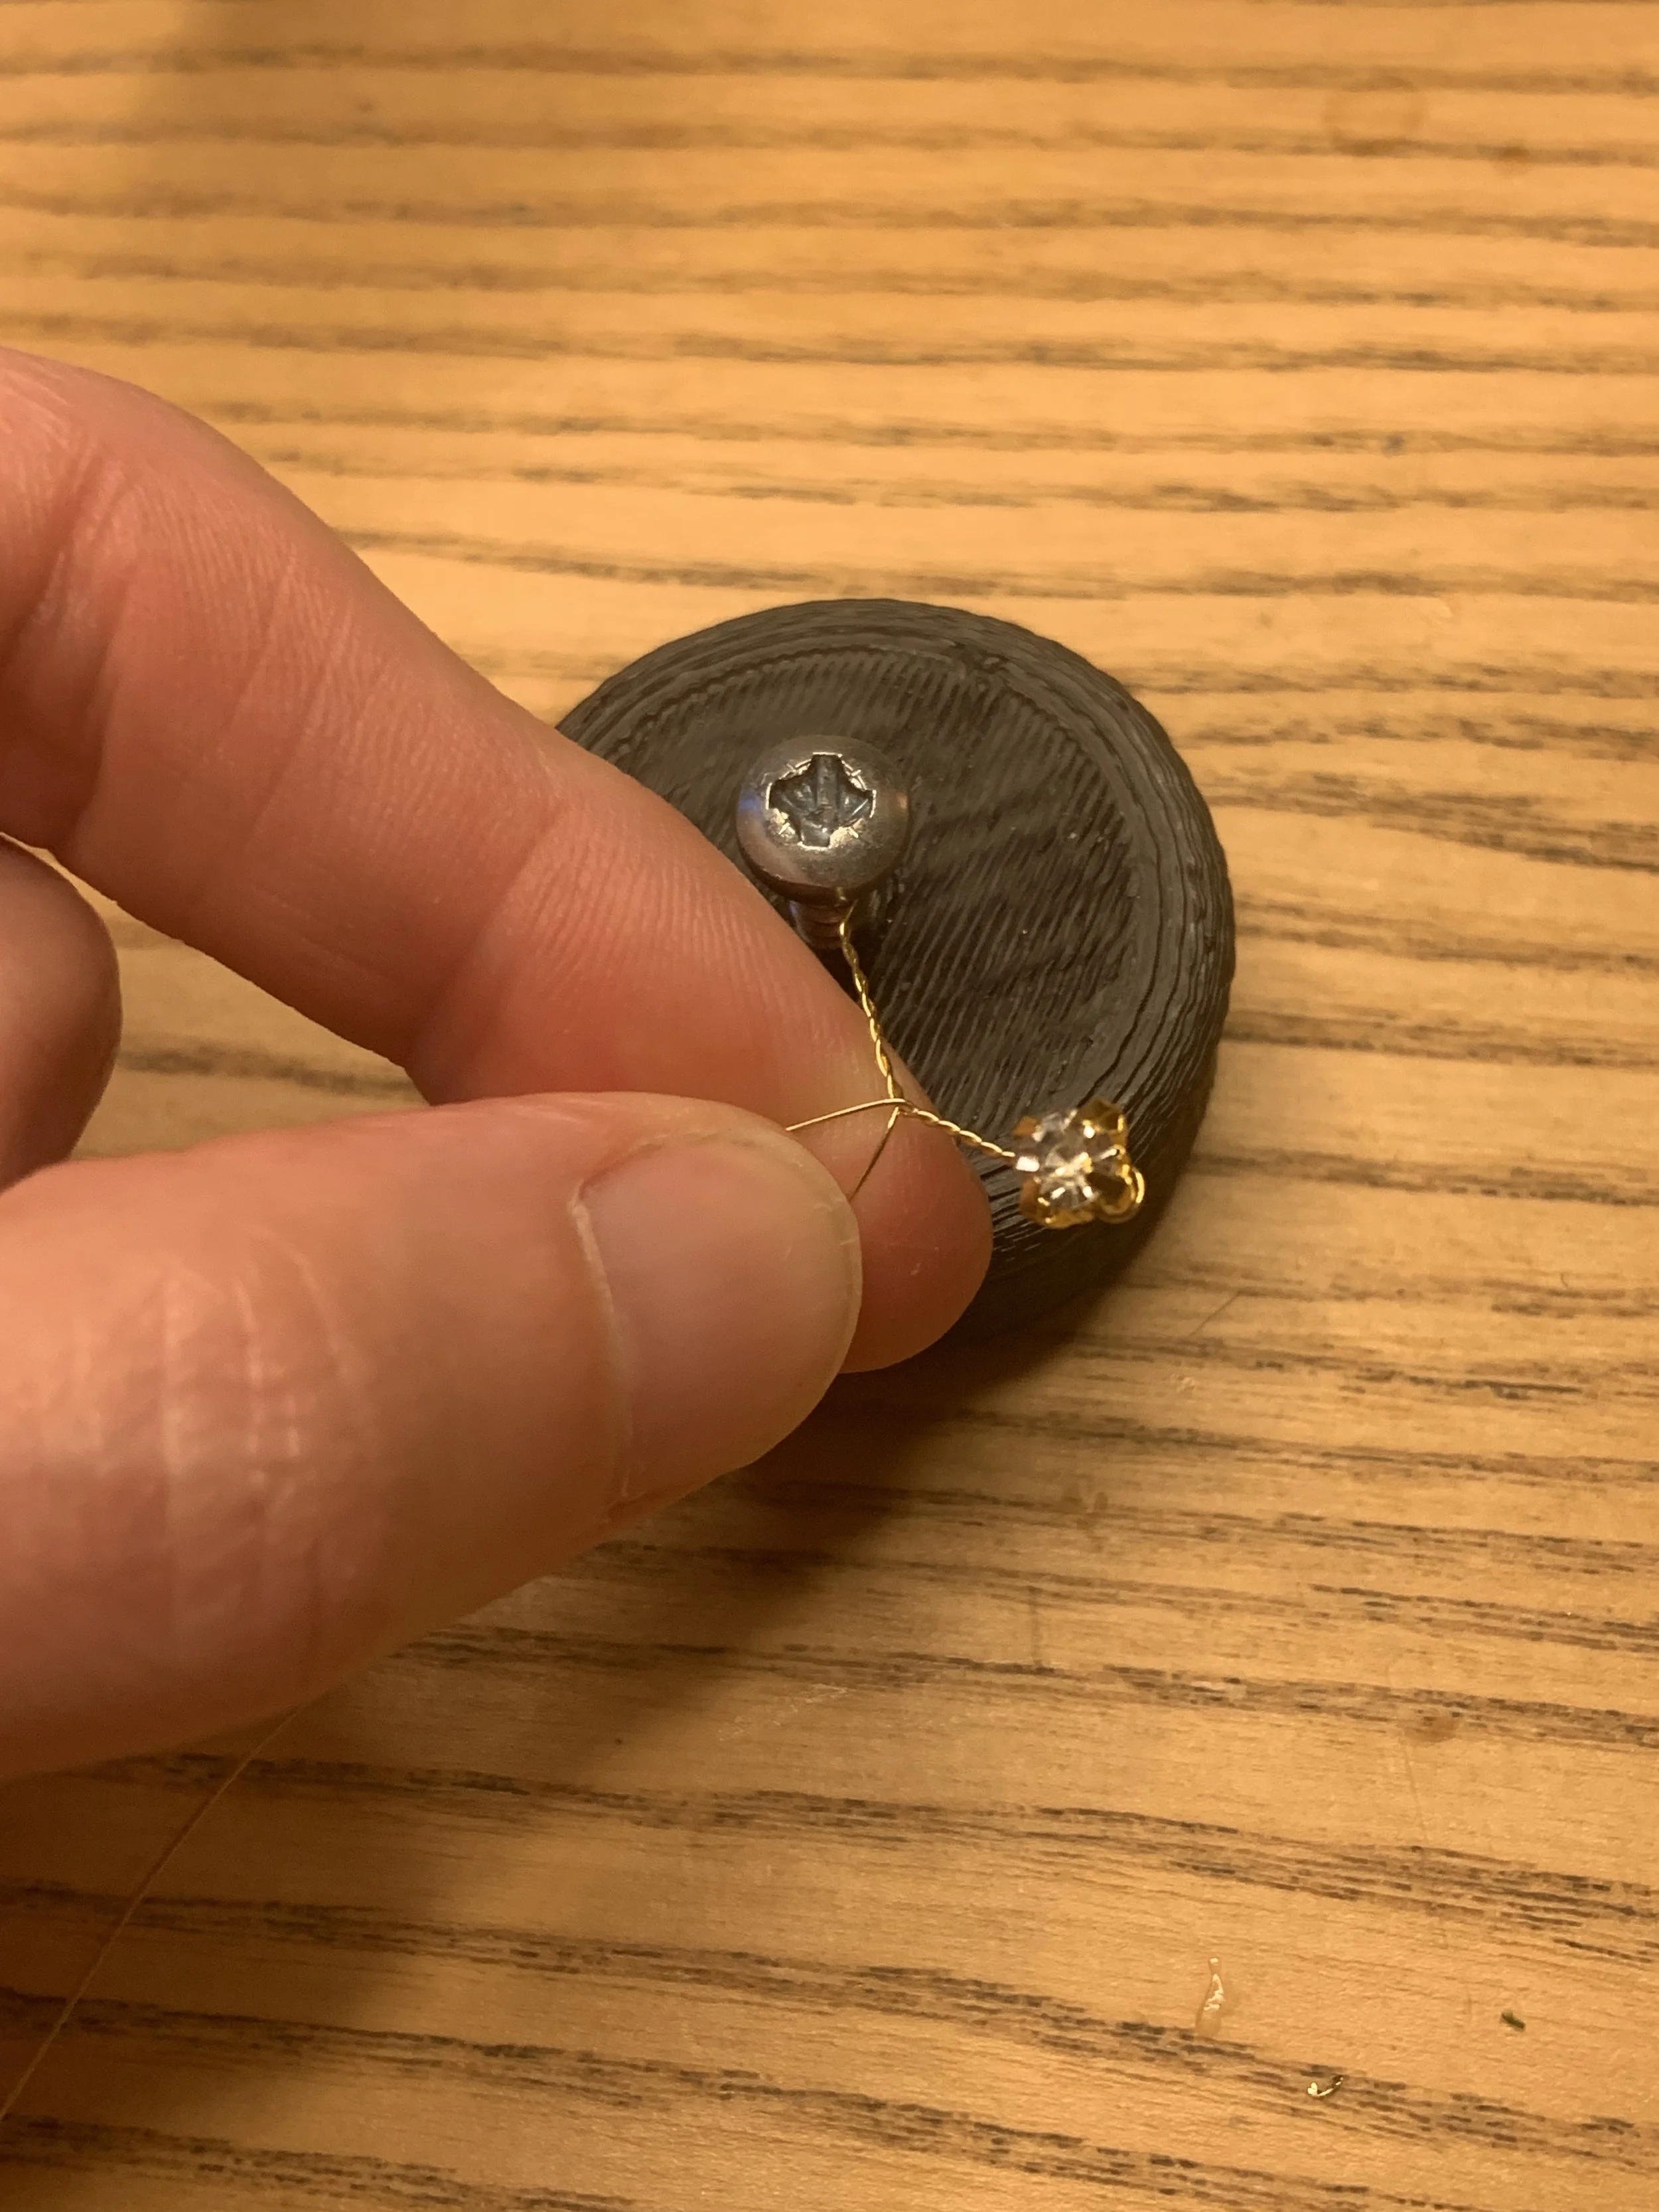
These beads only have two holes, so I twisted the wire tight under it to keep it in place. Then twist the wire back down to the base of the branch.
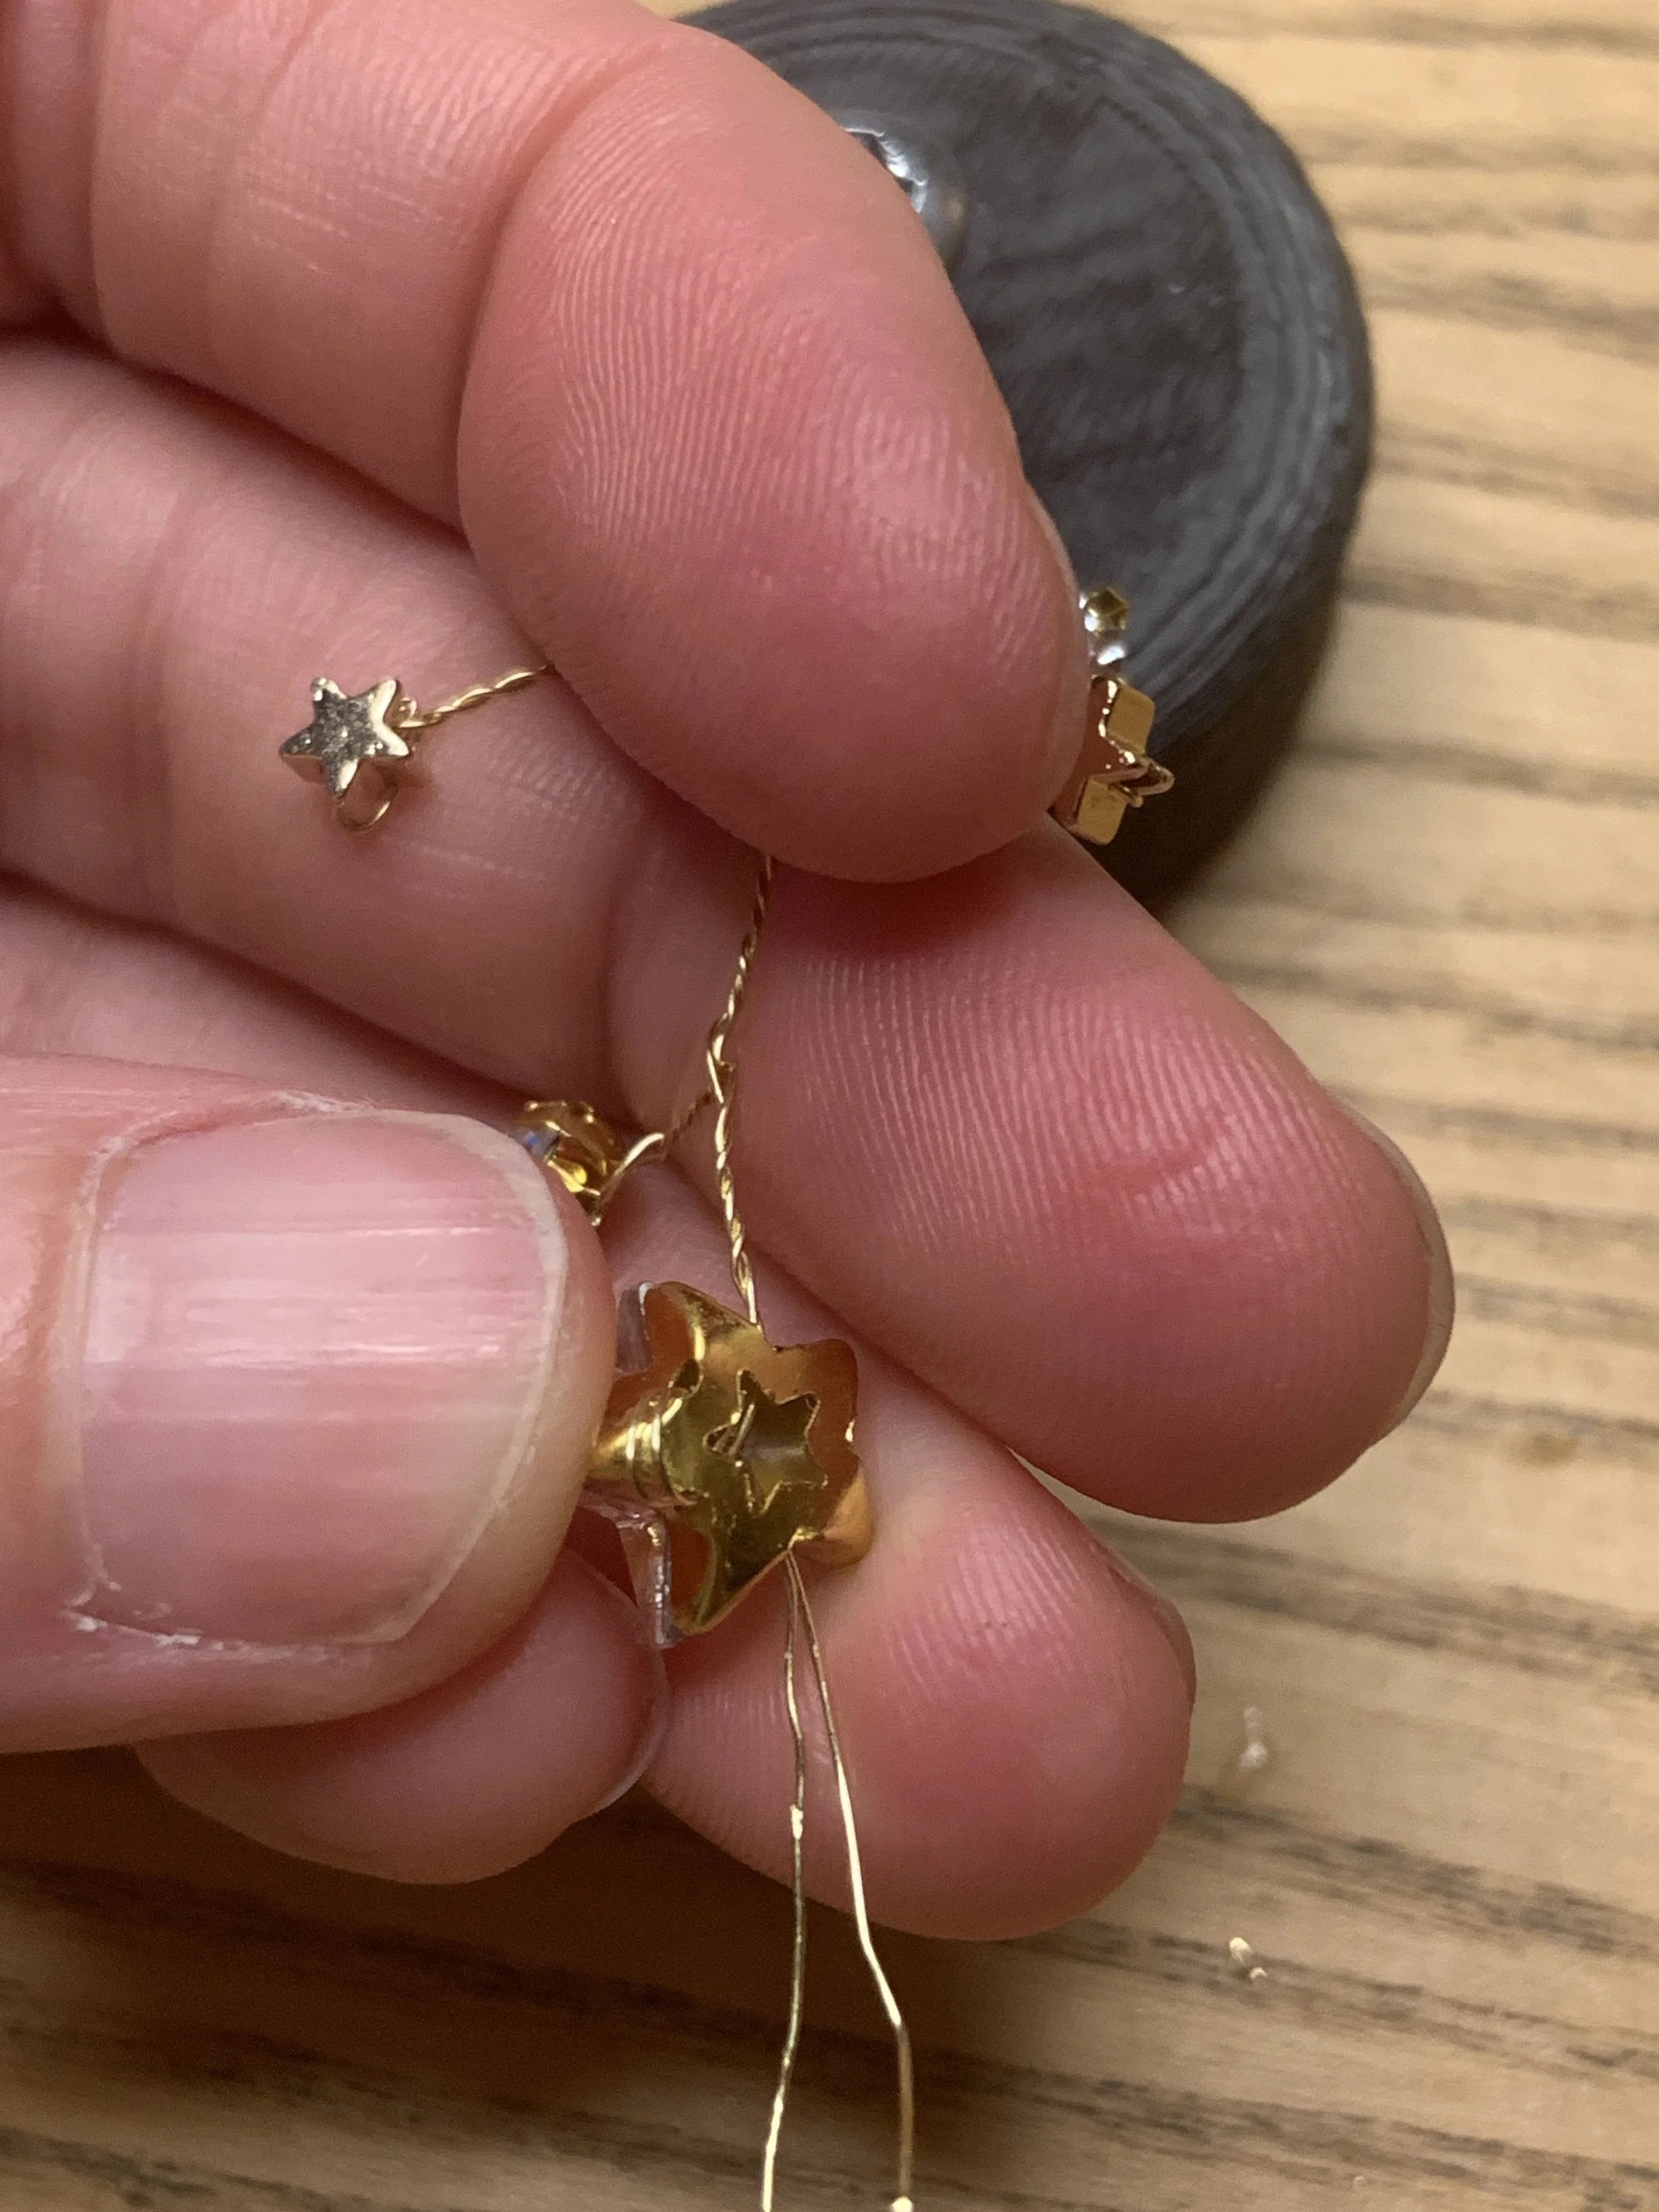
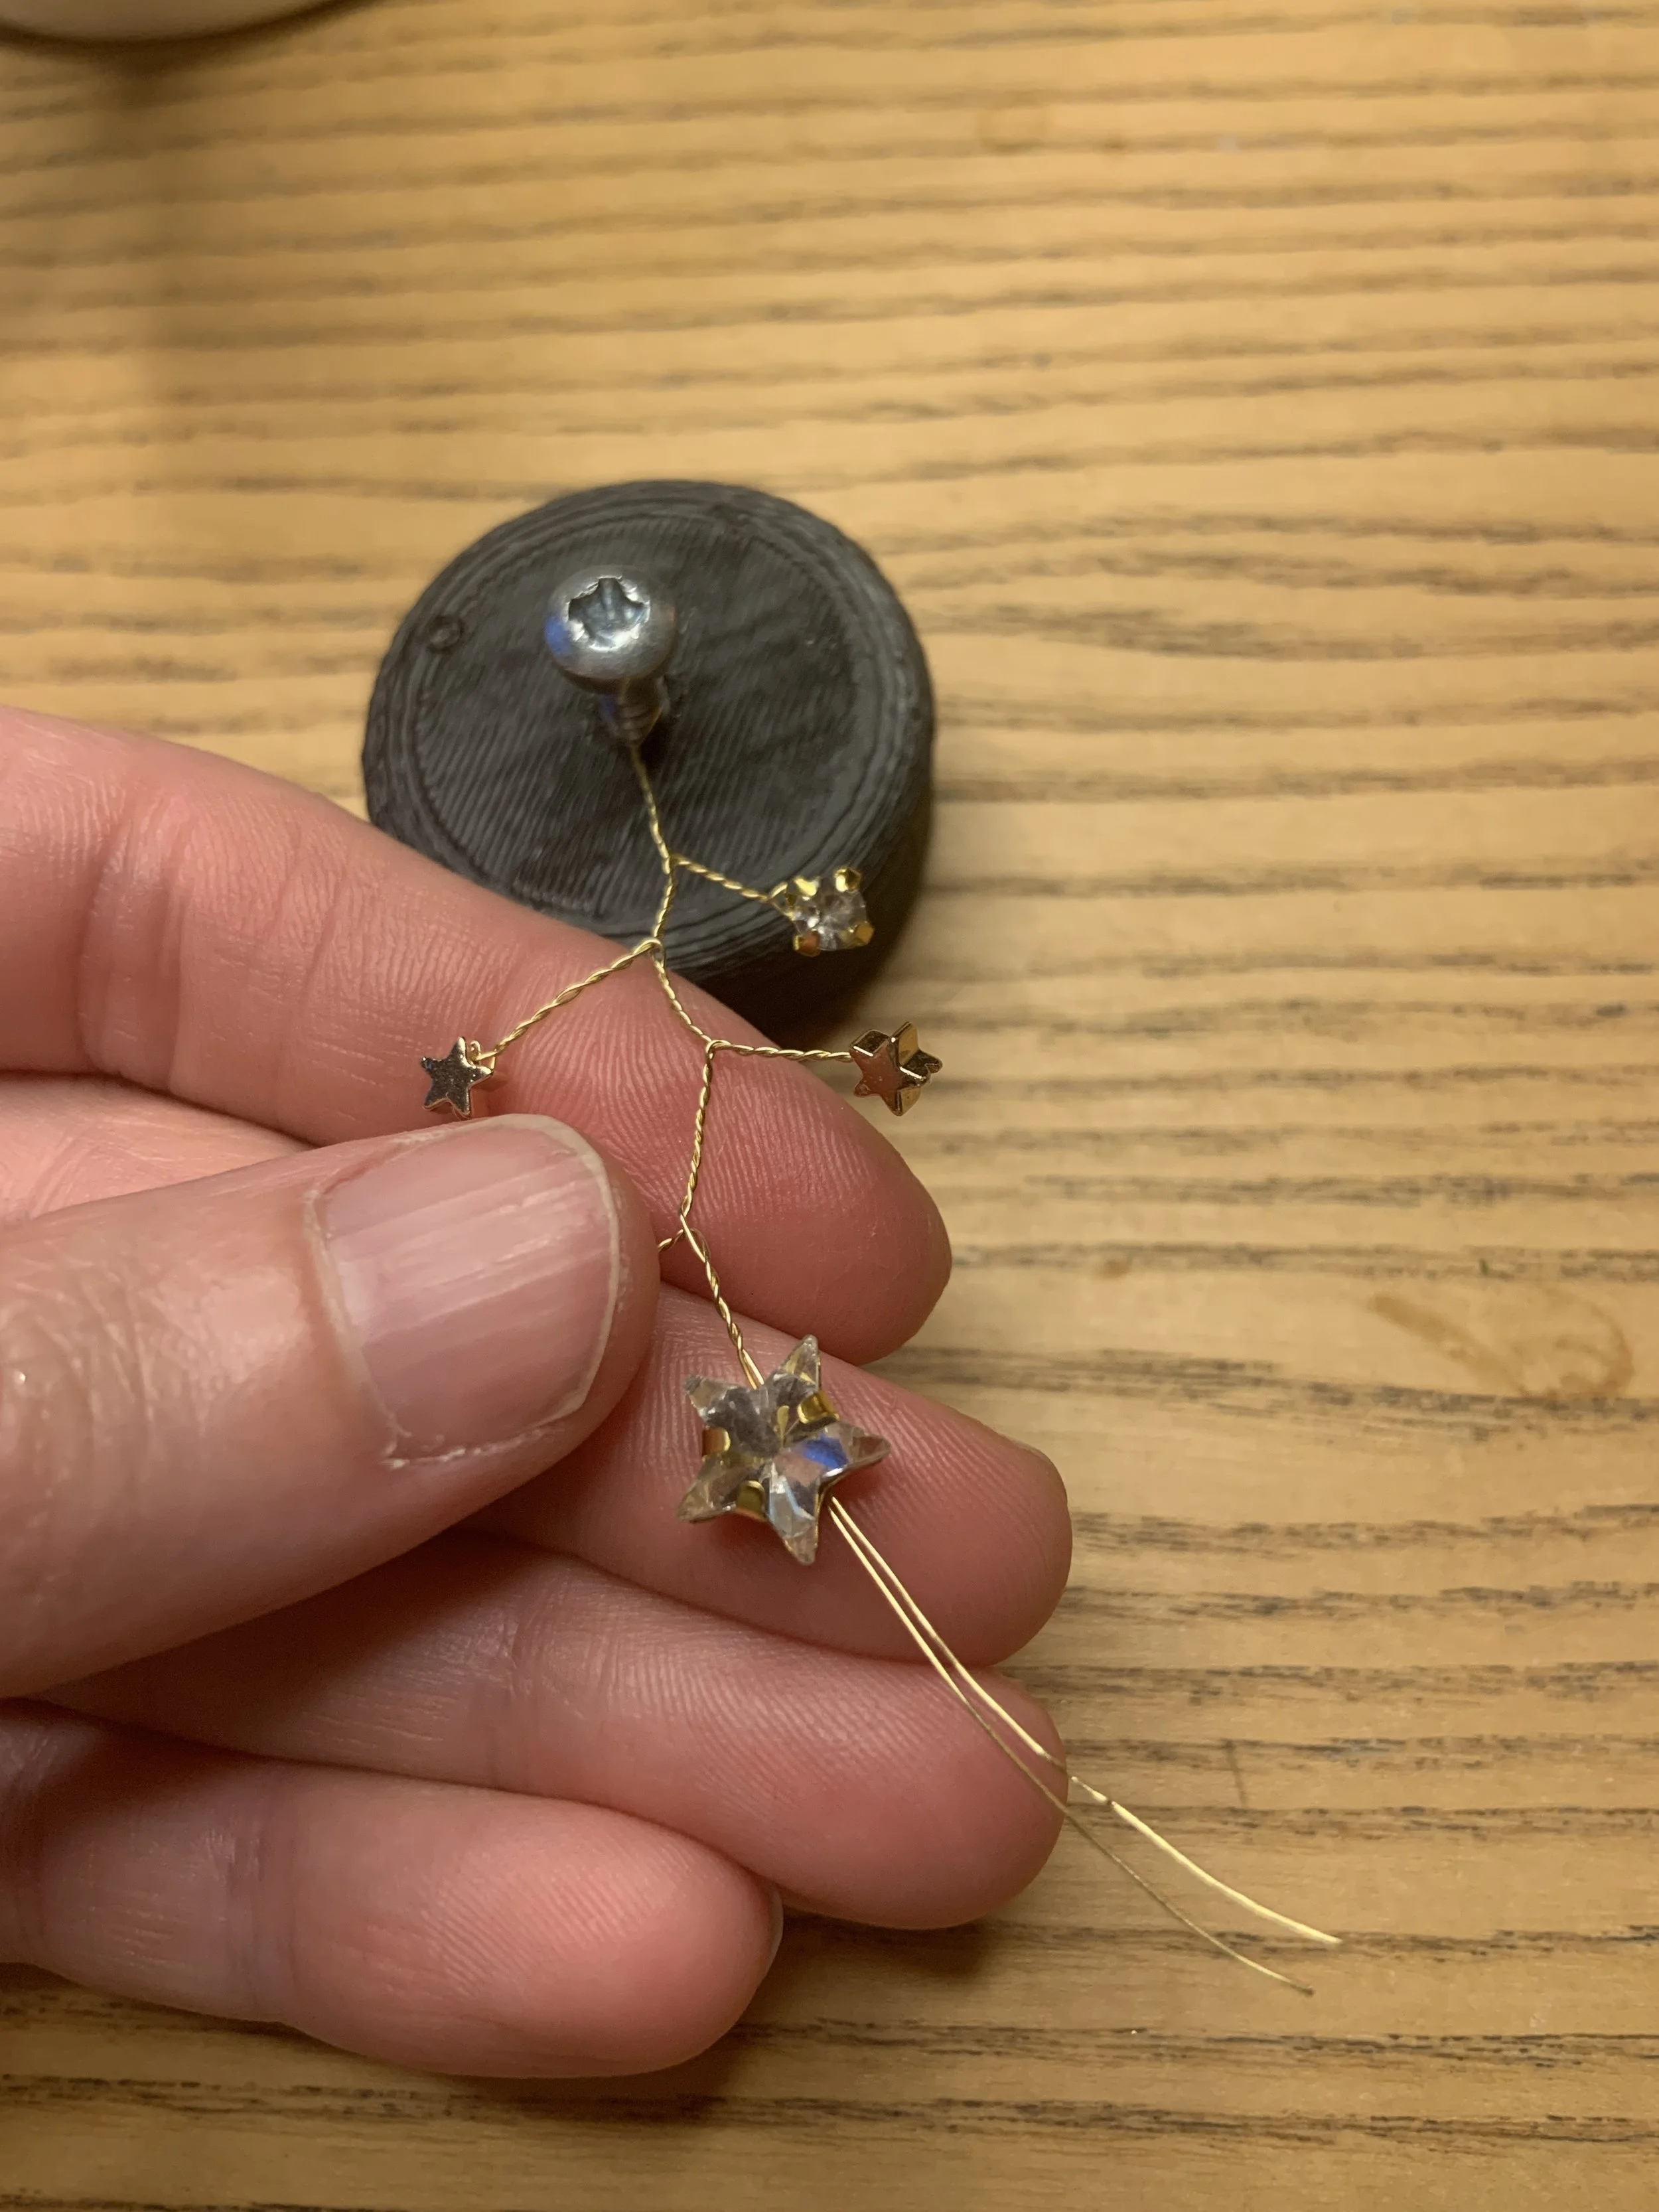
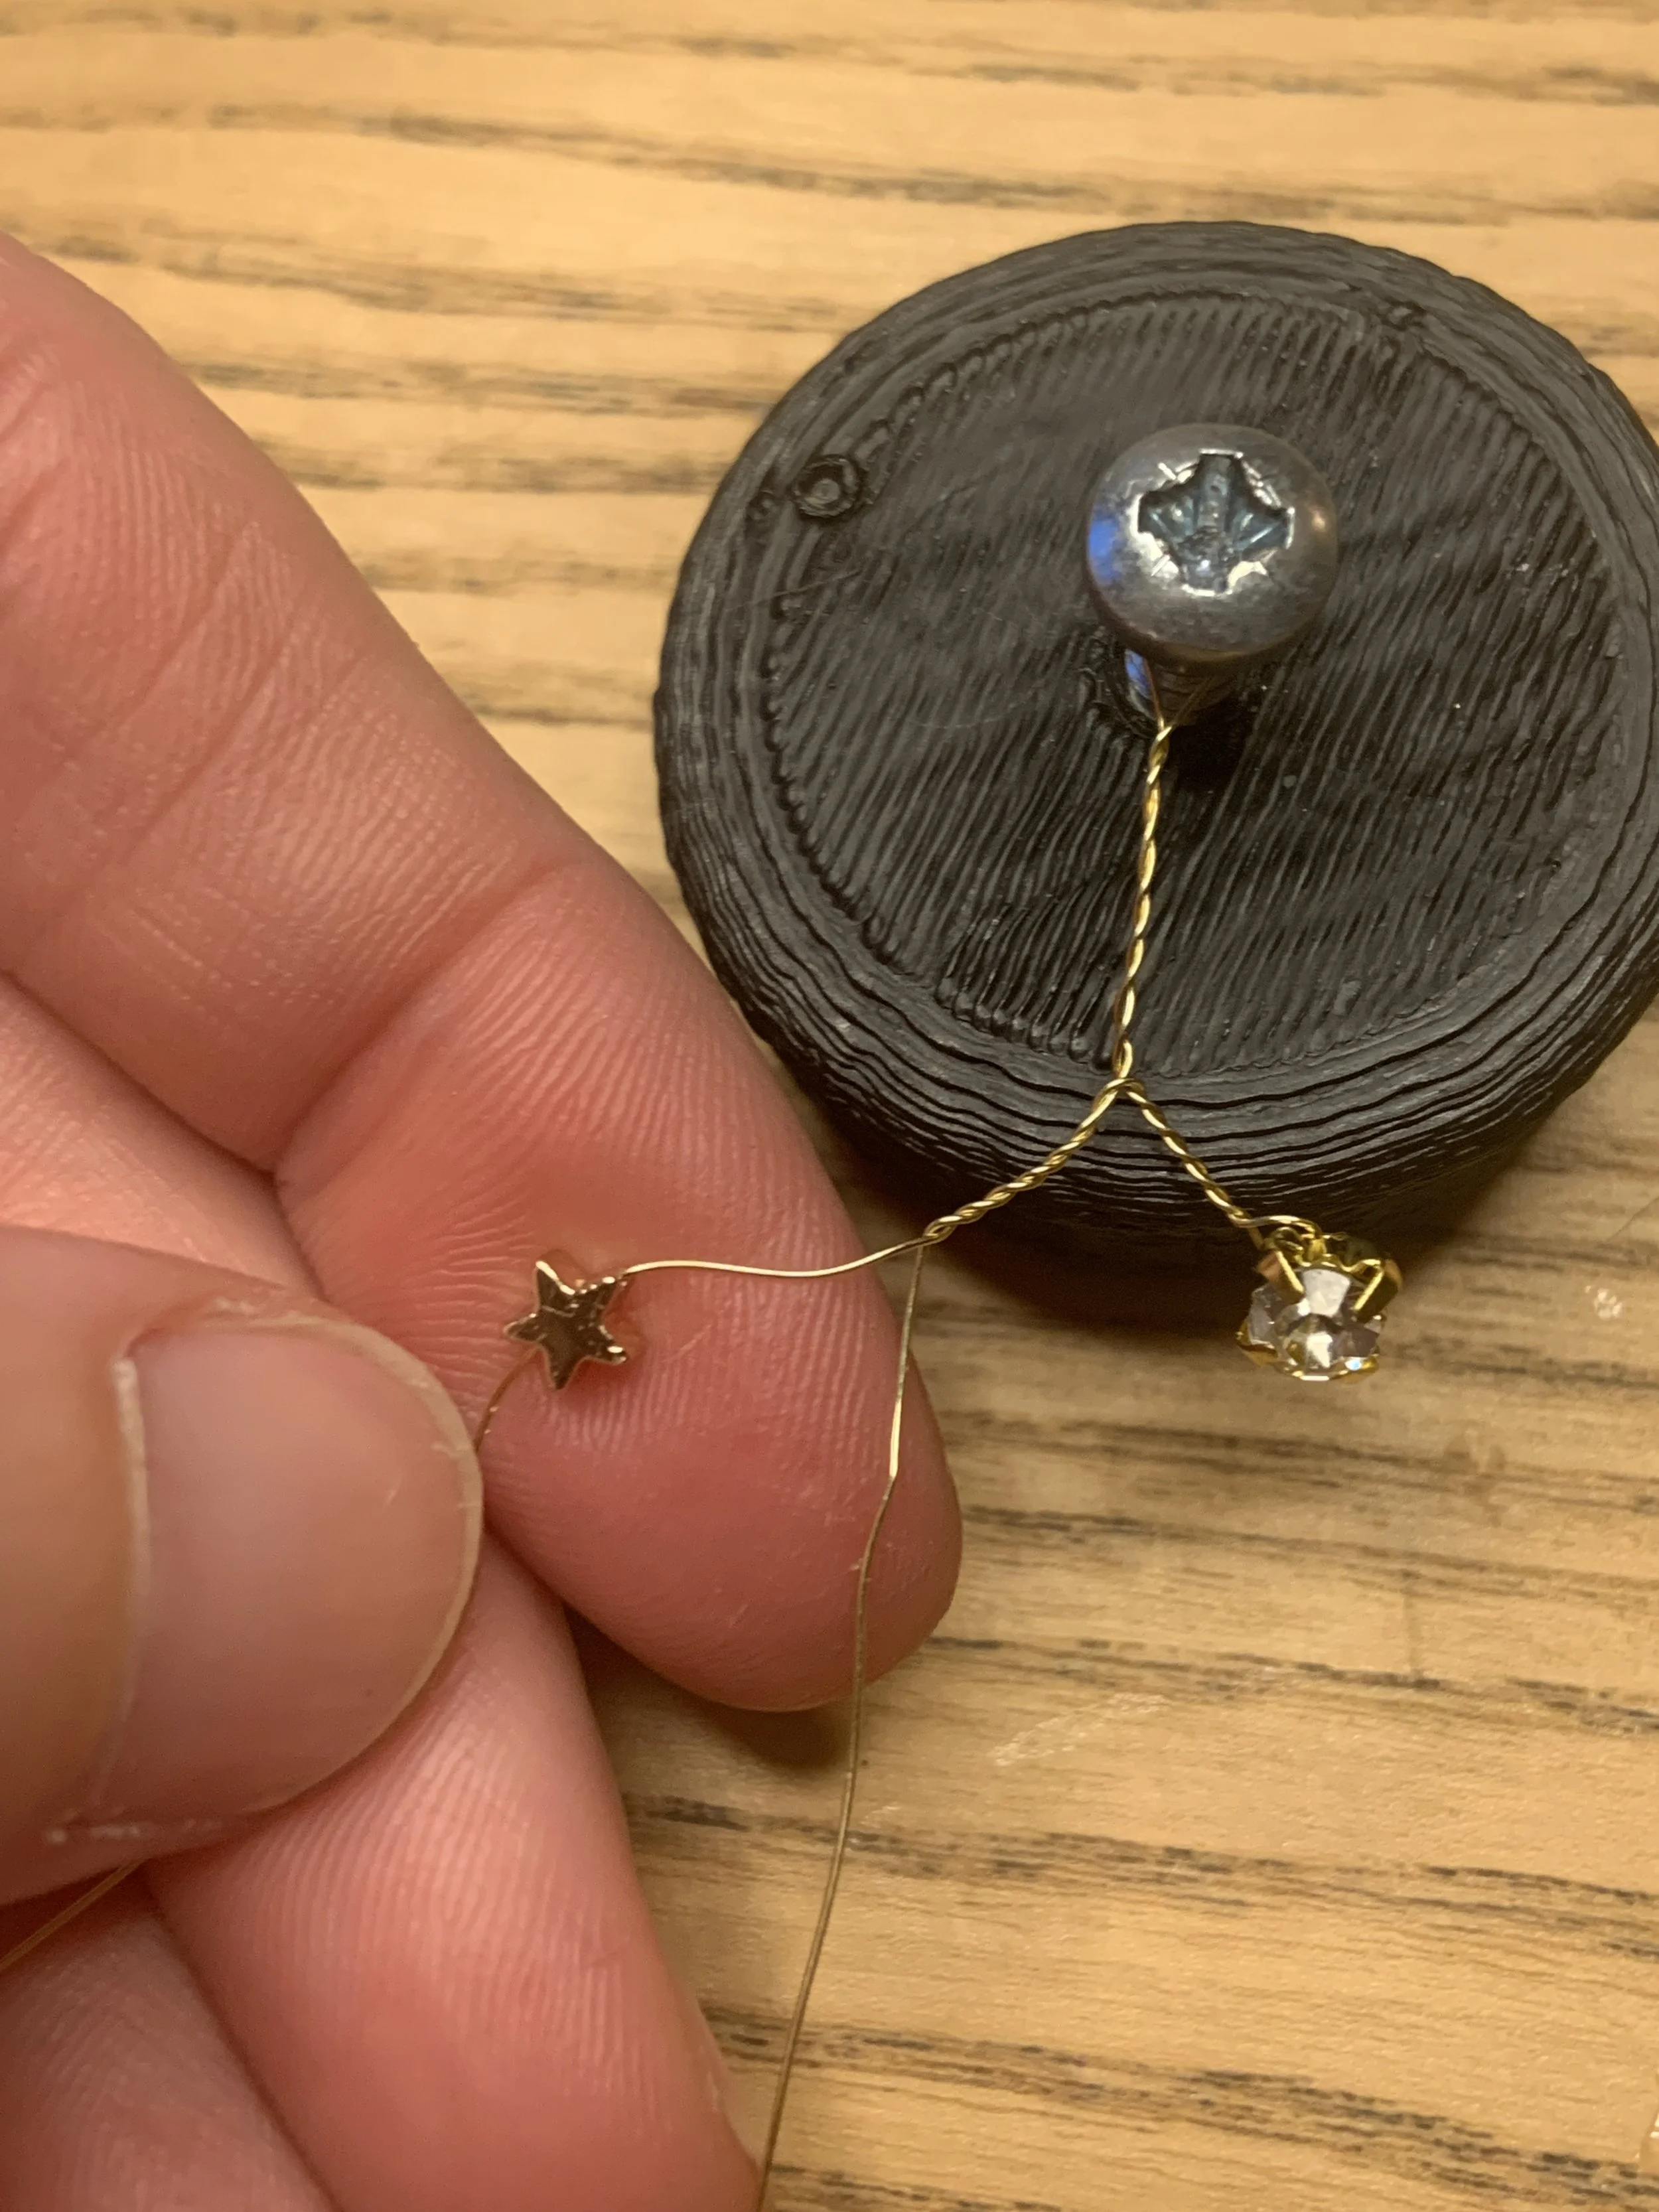
Repeat this process until you have as many branches as you want. To finish the branch, twist the wire up 1cm, then thread both parts of the wire through the bead you want at the end. These crystal stars have 5 holes, so I threaded through 2, then looped the wire around to go through another 2 to keep it in place. You can then twist the wire back down the branch to the junction between the top two branches and snip it off. You’ve made your first branch!
To affix the branches to the hairband, simply twist the bottoms of the branches tightly around the band. I used the lowest branch on the stalk to loop around the band and give it some more stability. Once all of them are on, I recommend carefully wrapping some ribbon of your colour choice carefully around the hairband over the twisted wire. Any little sharp pieces of wire will be covered. Affix at either end with a little dab of superglue.

The final crown!
I hope you found my instructions easy to follow! Enjoy making your crown!
Price Breakdown
Gold Plated Beading Wire- eBay- £3.35
Gold Tiara Base- eBay- £3.05
Gold/Haematite Star Beads- eBay- £7.00
Star/Round Crystal Beads- BeadsFactor on Etsy - £10.84
Clear AB Bicone Crystal Beads- eBay- £2.83
Purple Ribbon- eBay- £1.47
Total: £28.54
Customised Glitter Wedding Converse
So, if you’re me, you live and die in trainers and flat shoes. High heels don’t come naturally to me (being nearly 6 ft) and I certainly don’t intend to spend the entire day of my wedding in heels. I lusted after beautiful customised sneakers from Etsy sellers, but the price tag was pretty steep, so I resolved to customise a pair of Converse to wear after the formal pictures were done. Here’s how I did it!
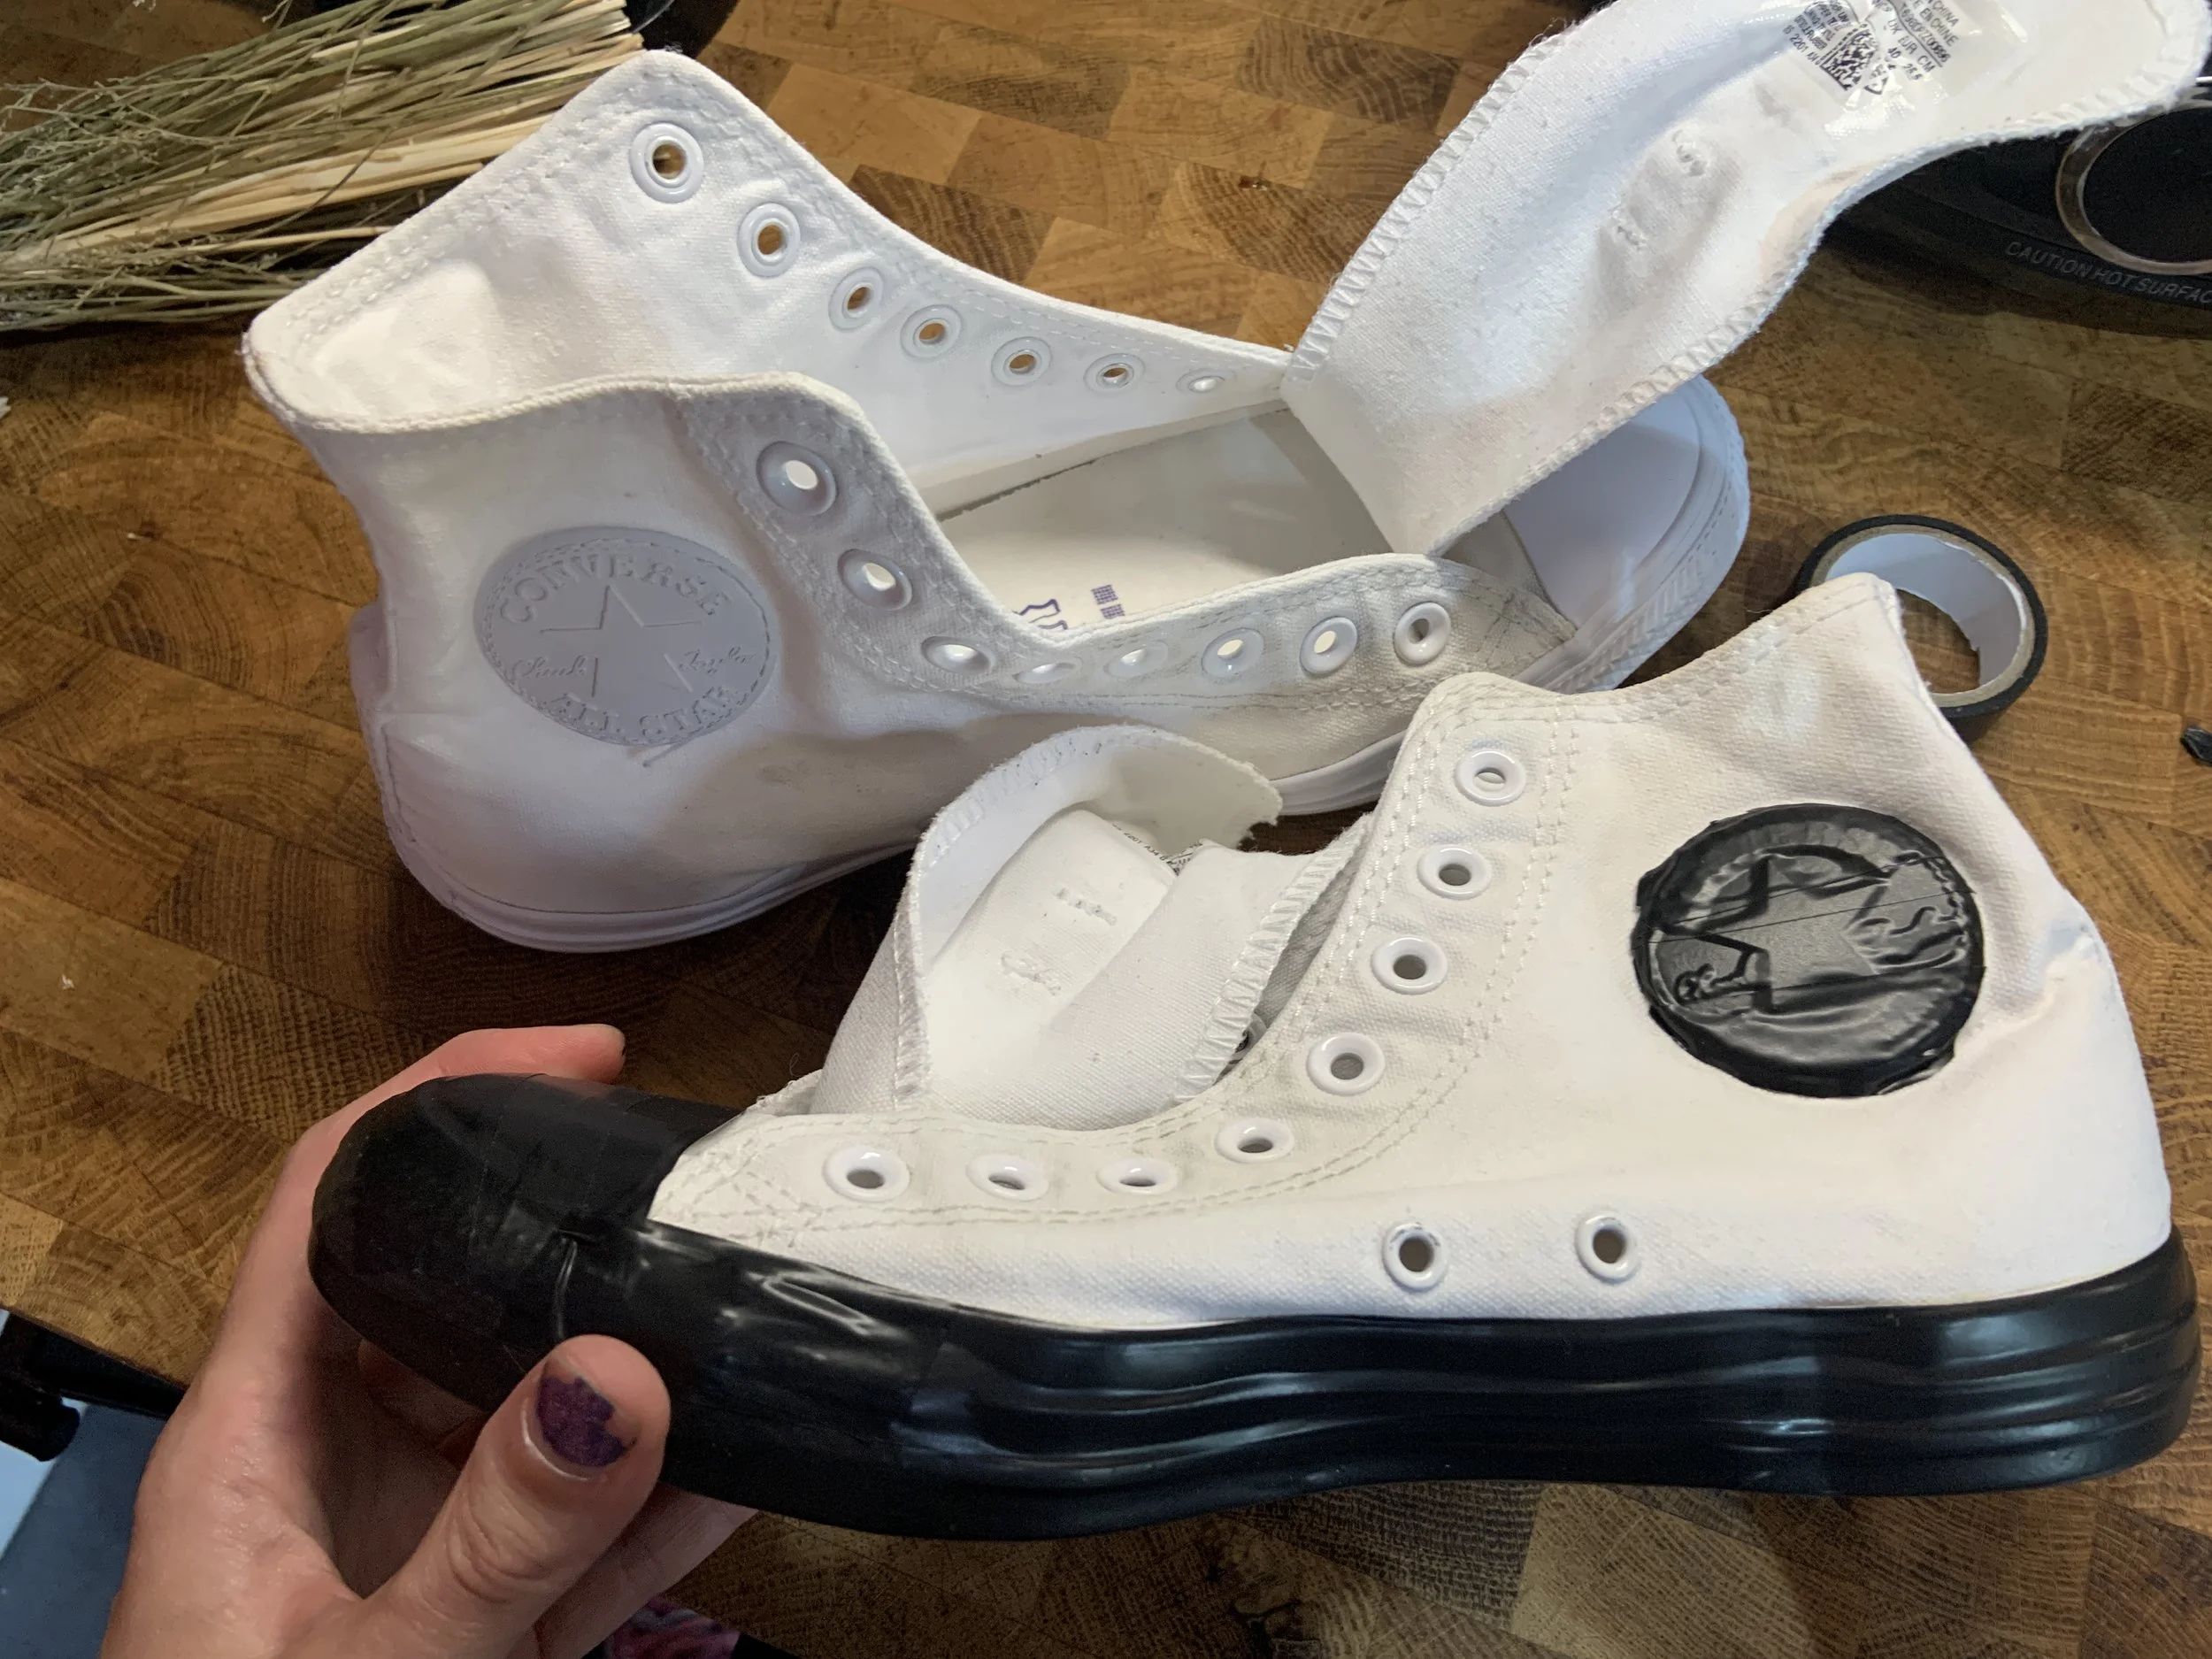
I got a cheap pair of nearly new white Converse from Vinted, for about £20. As my wedding dress is purple, I want them to match. The rubber parts of Converse do unfortunately stain, so I tried to minimise this by masking off the rubber parts with electrical tape.

This was not a perfect method as I found out later, but don’t worry if your dye leaks, we’ll sort that out later.
I used Rit Dye which gives a really strong bright colour.
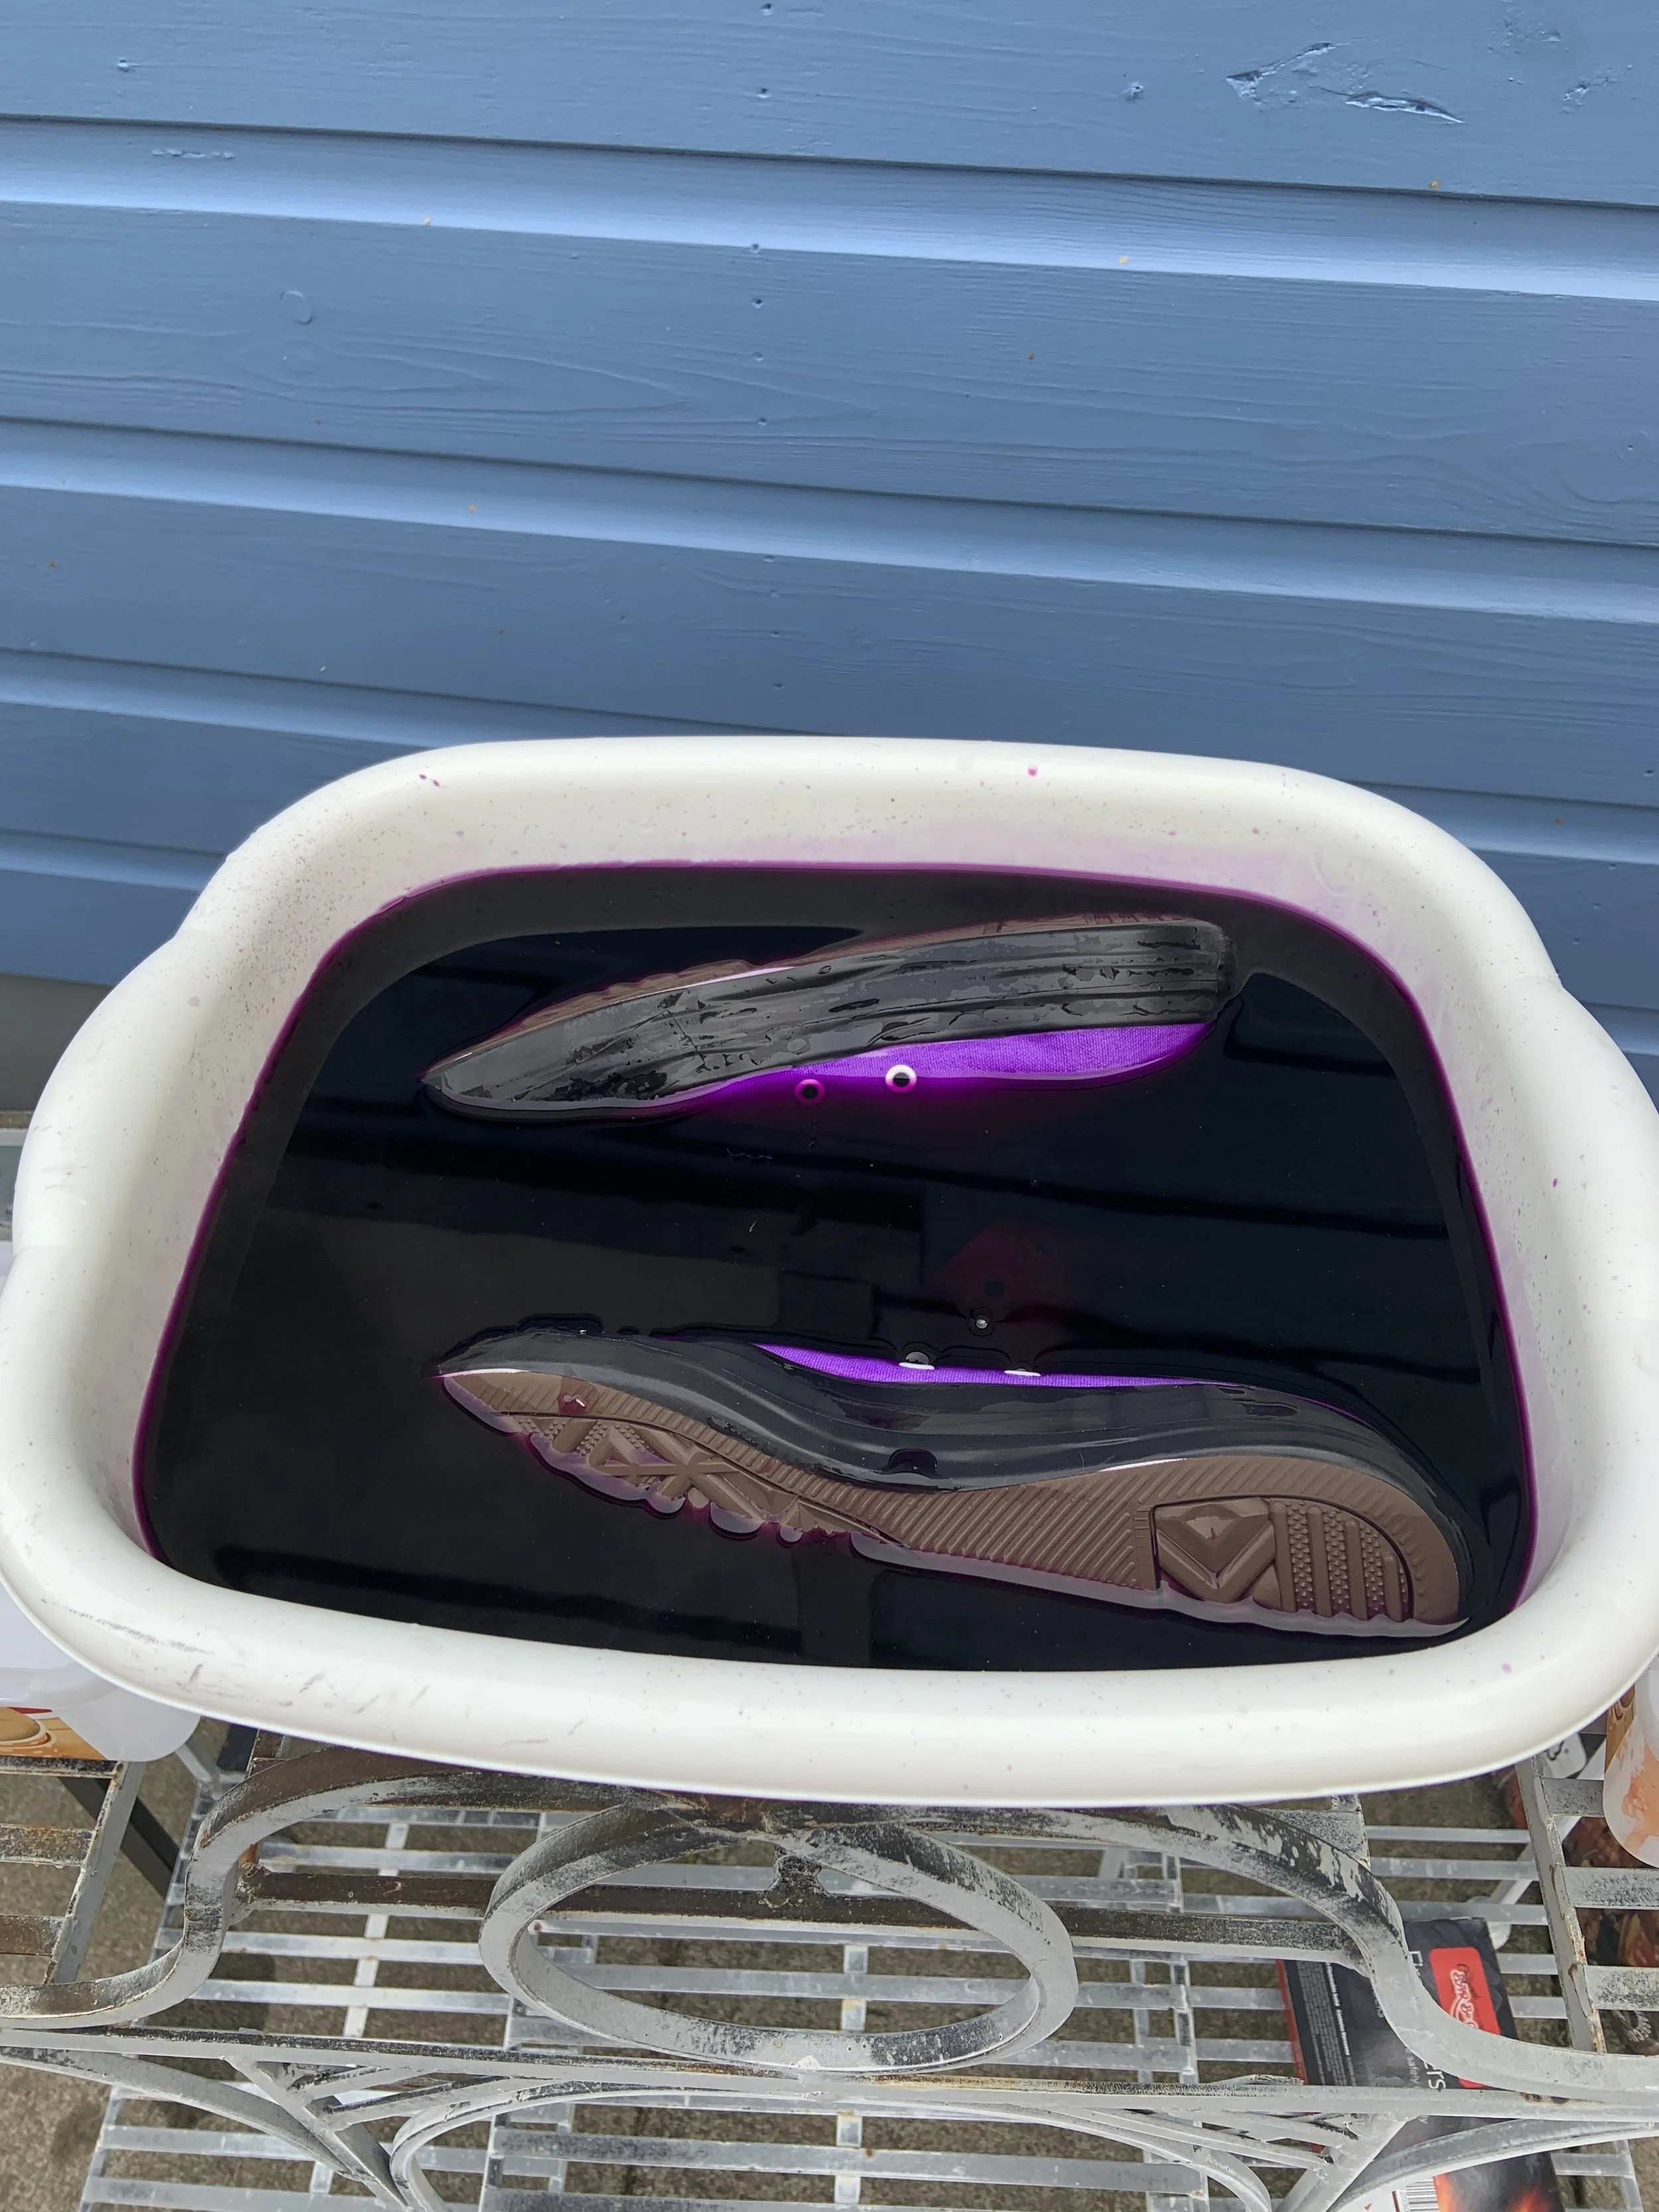
Let them soak for about 10 minutes
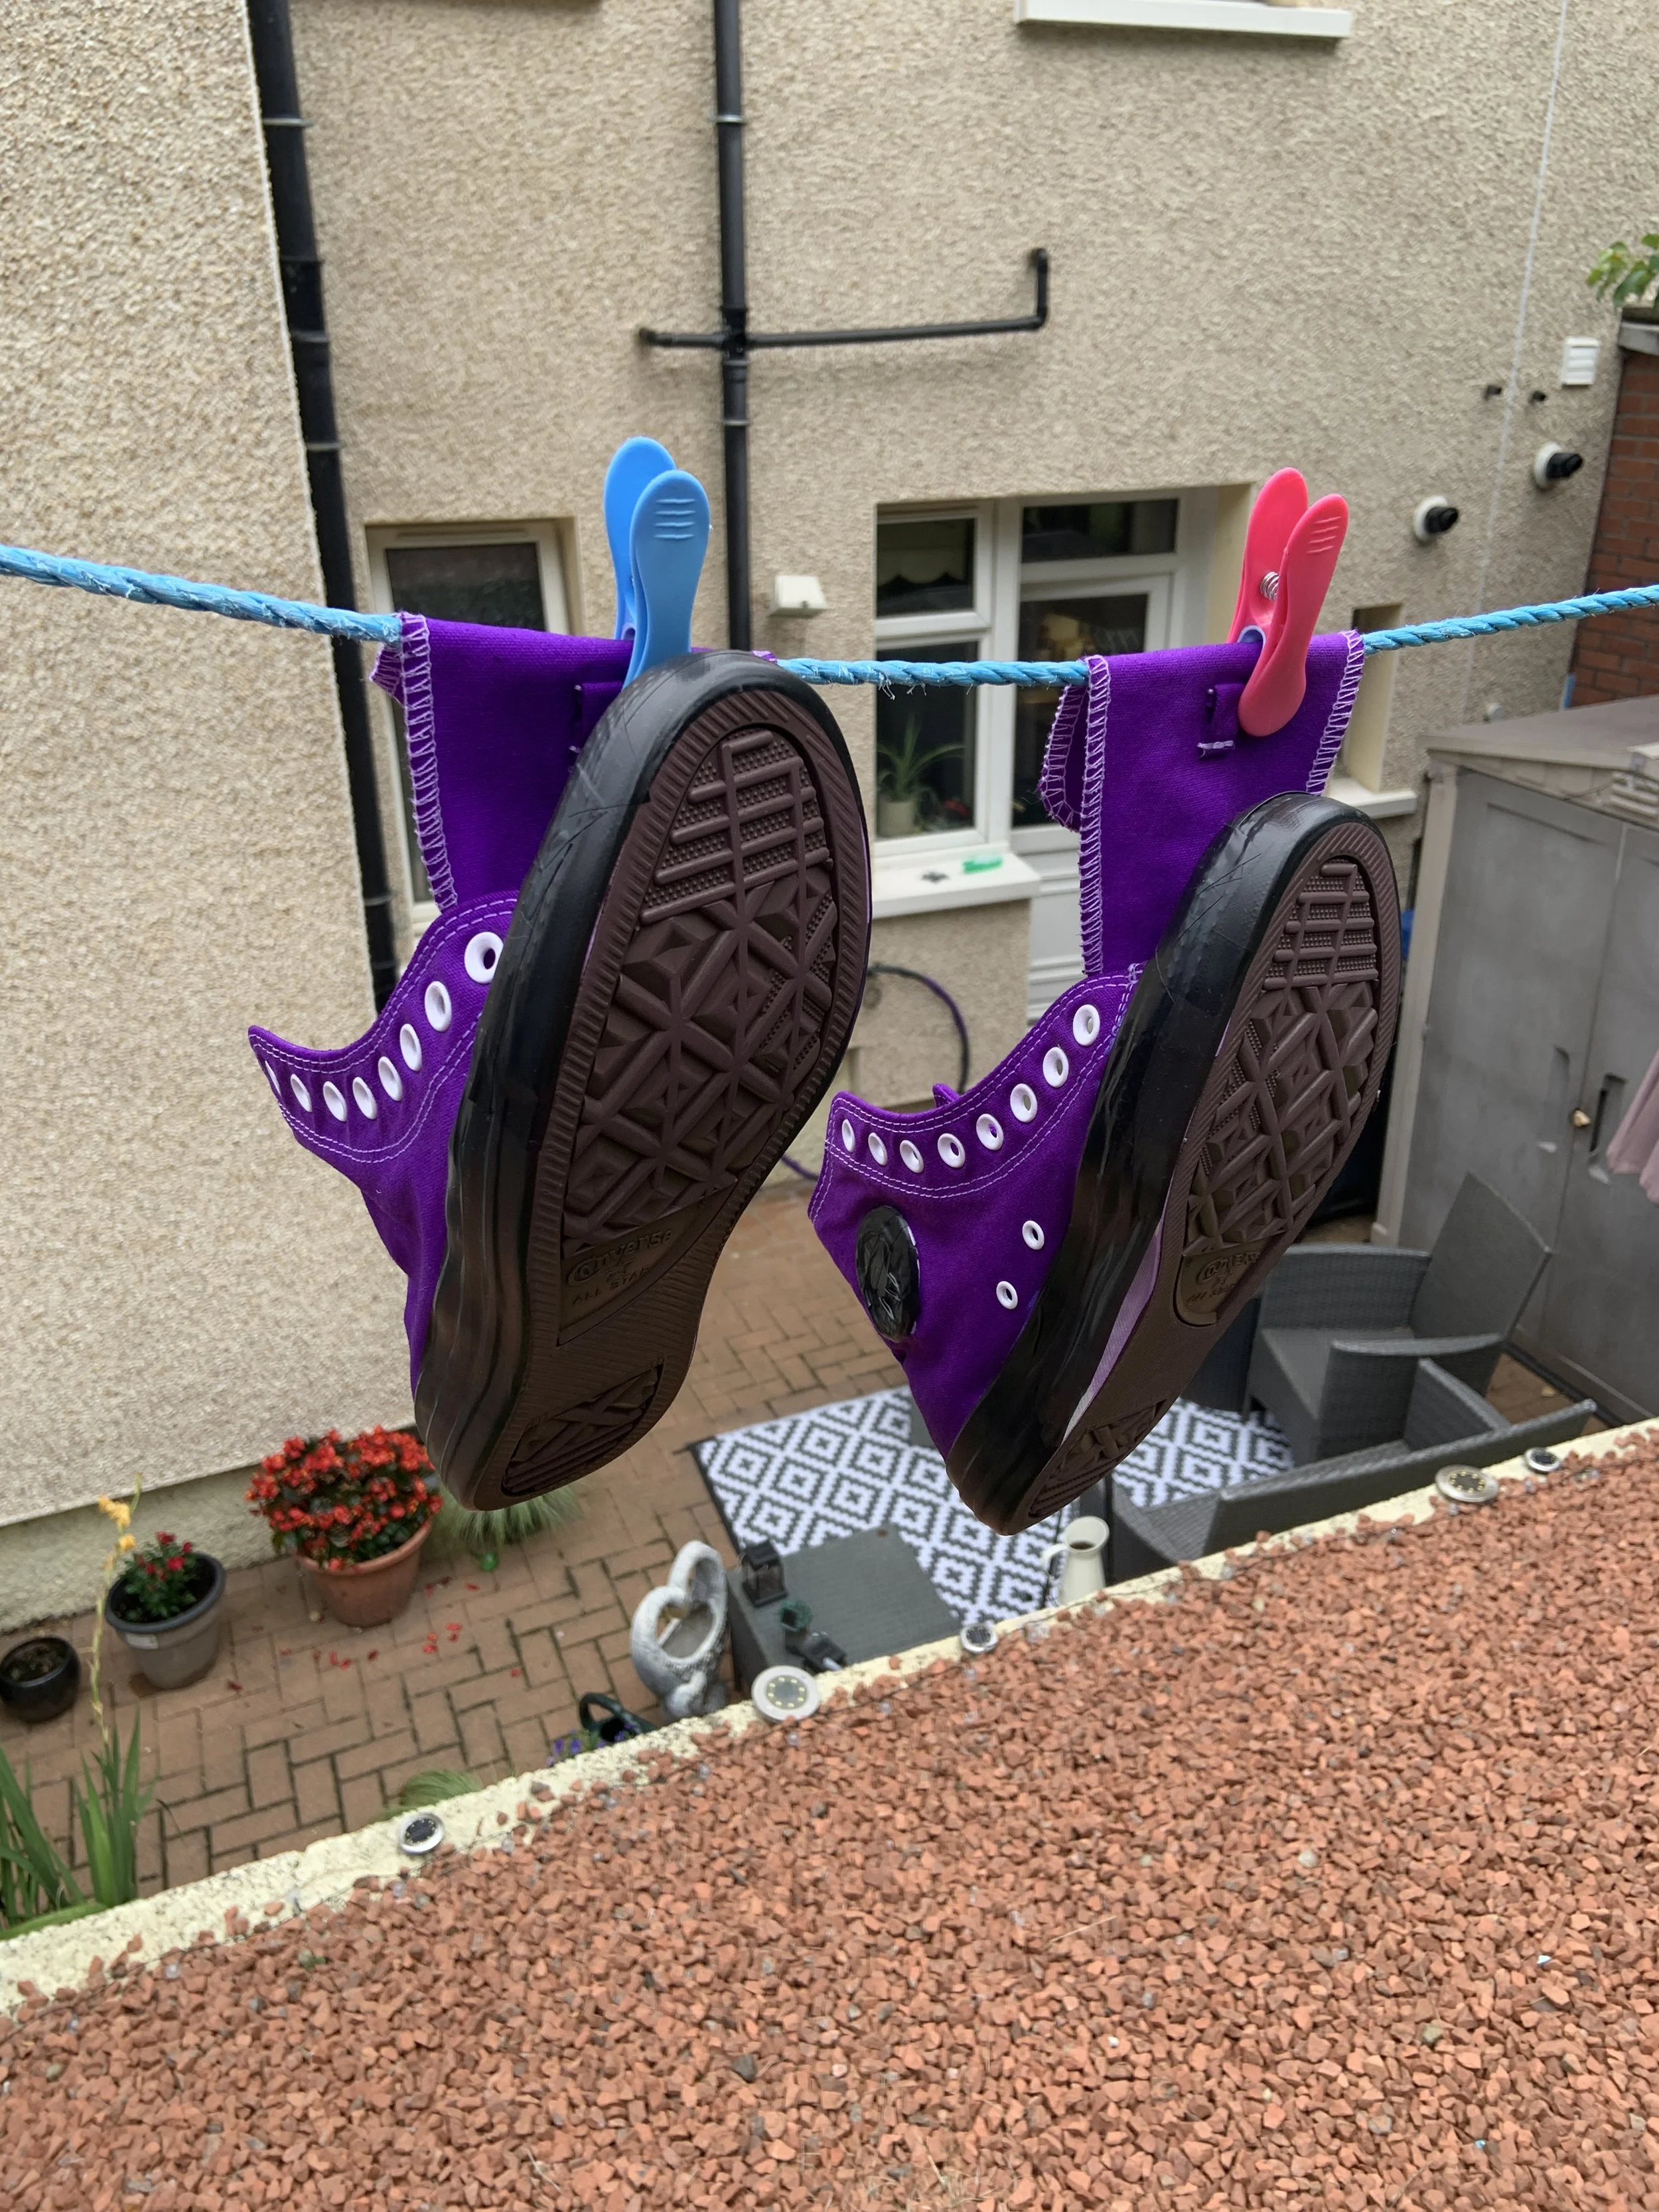
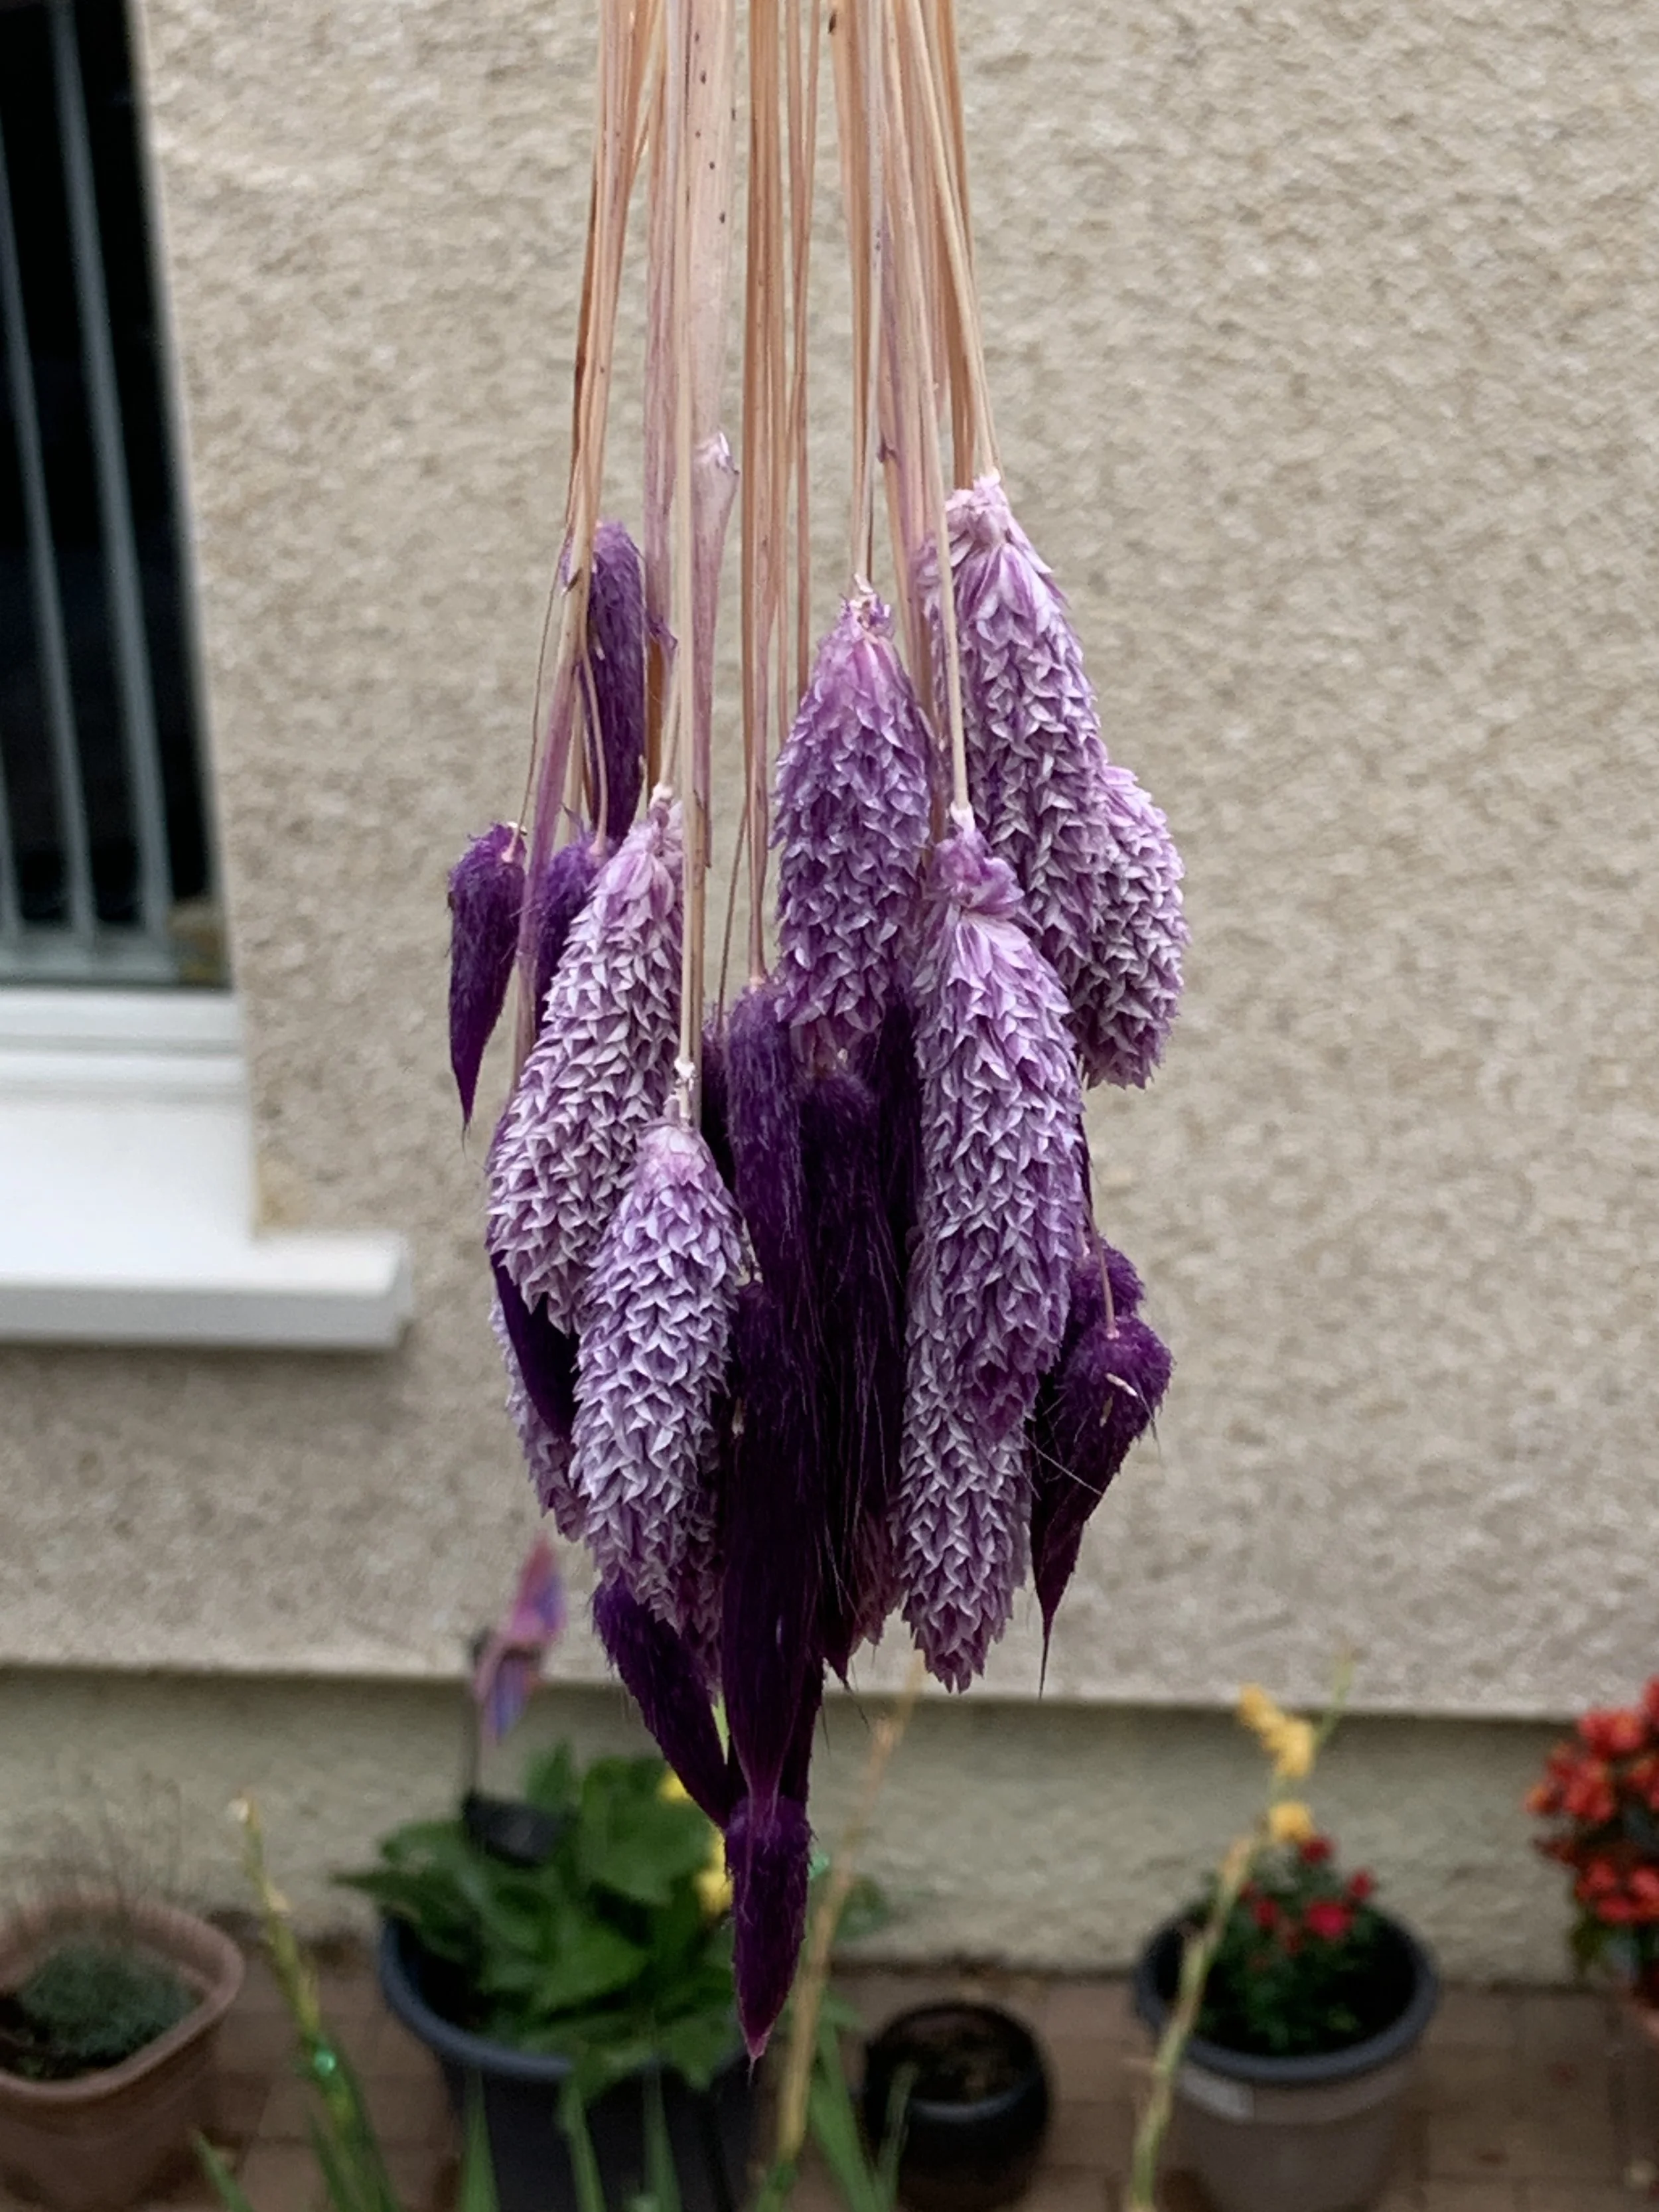
Not wanting to waste the dye, I took the opportunity to dye some flowers for bouquets…
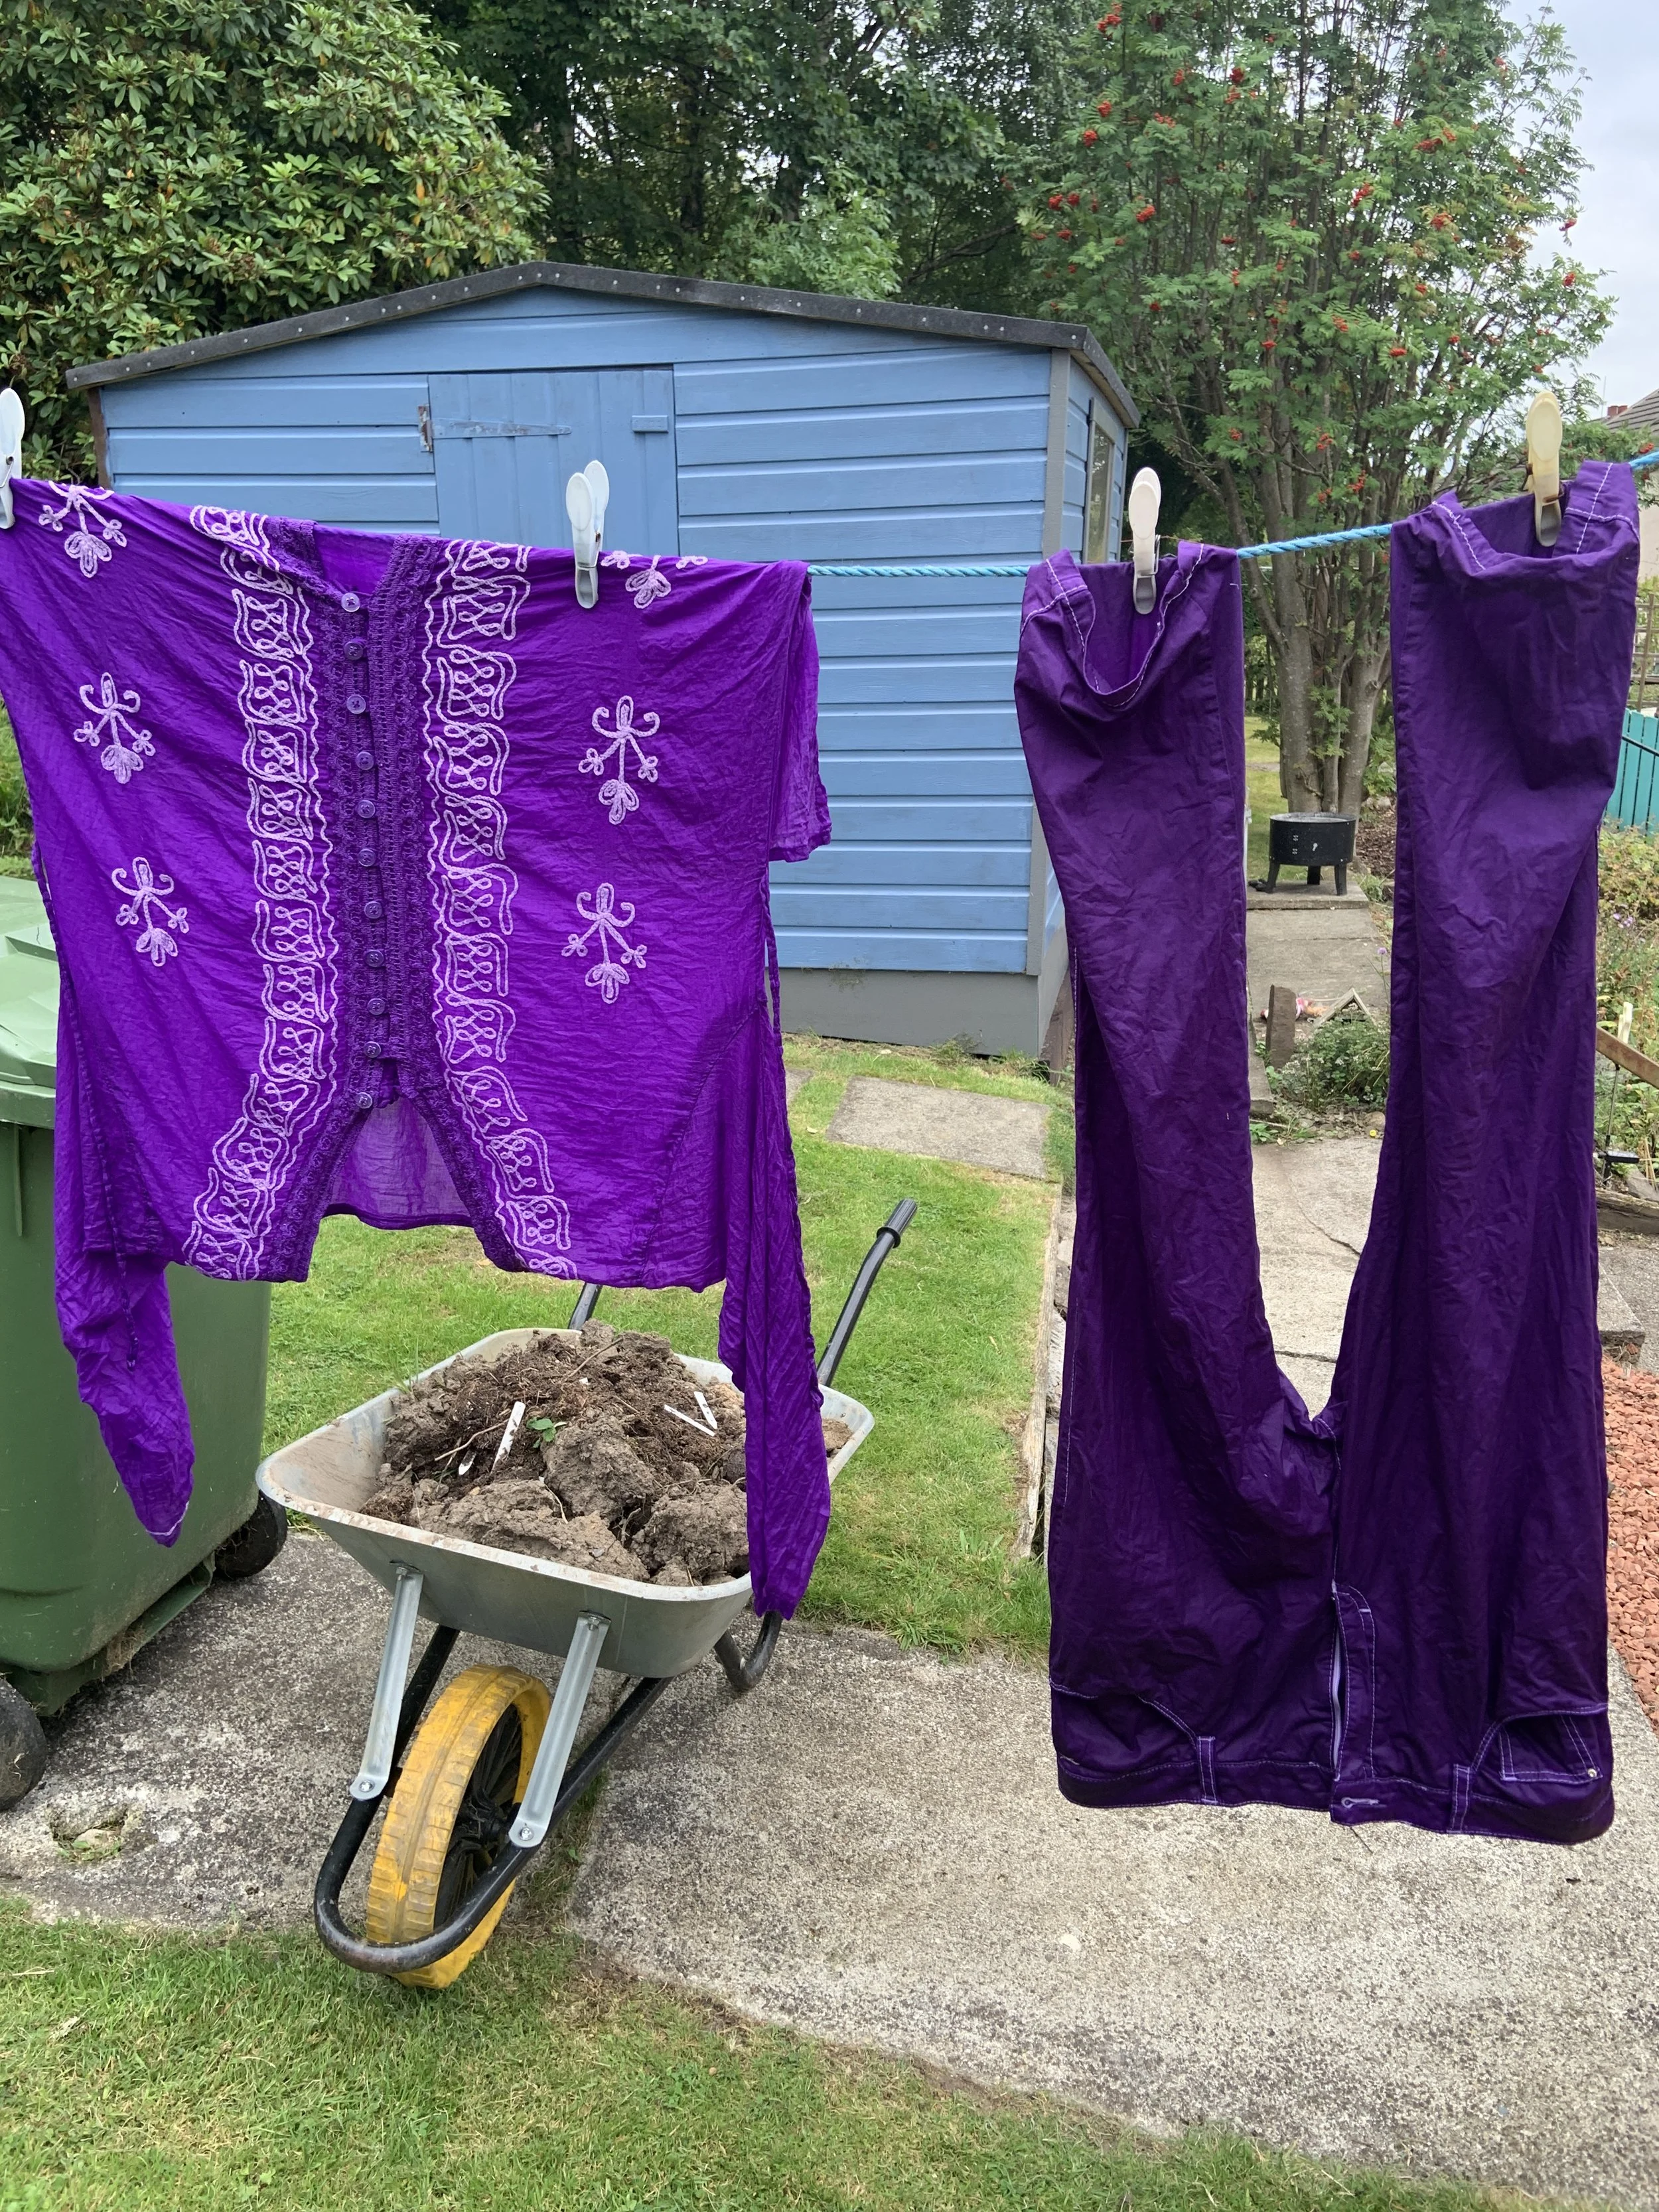
…and some clothes 😂
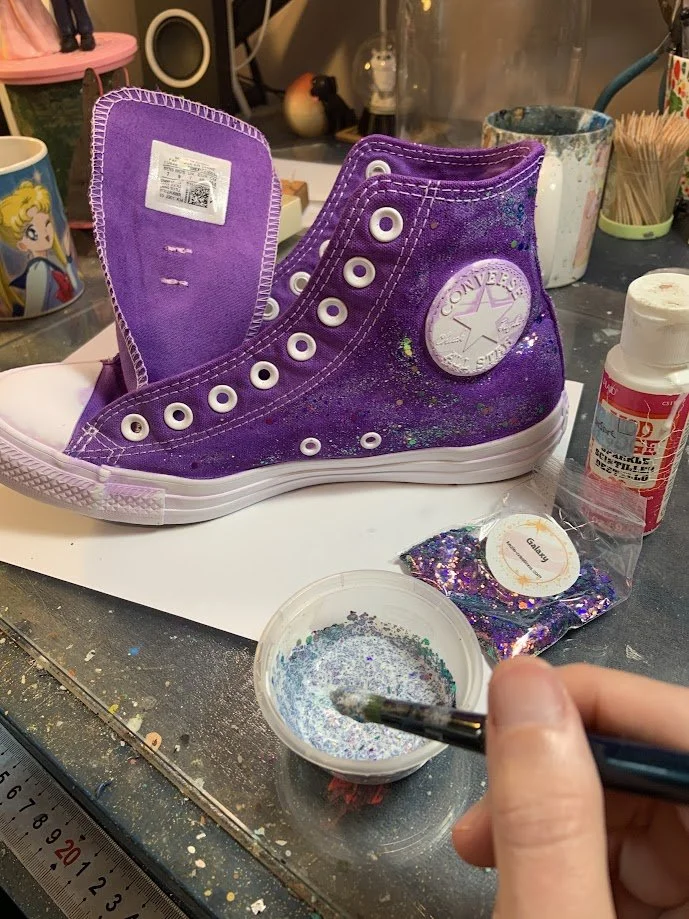
Once the shoes are fully dry, remove the masking and get glittering! I chose a galaxy glitter from Etsy. Mix a decent amount of the glitter with Mod Podge and layer it on evenly.
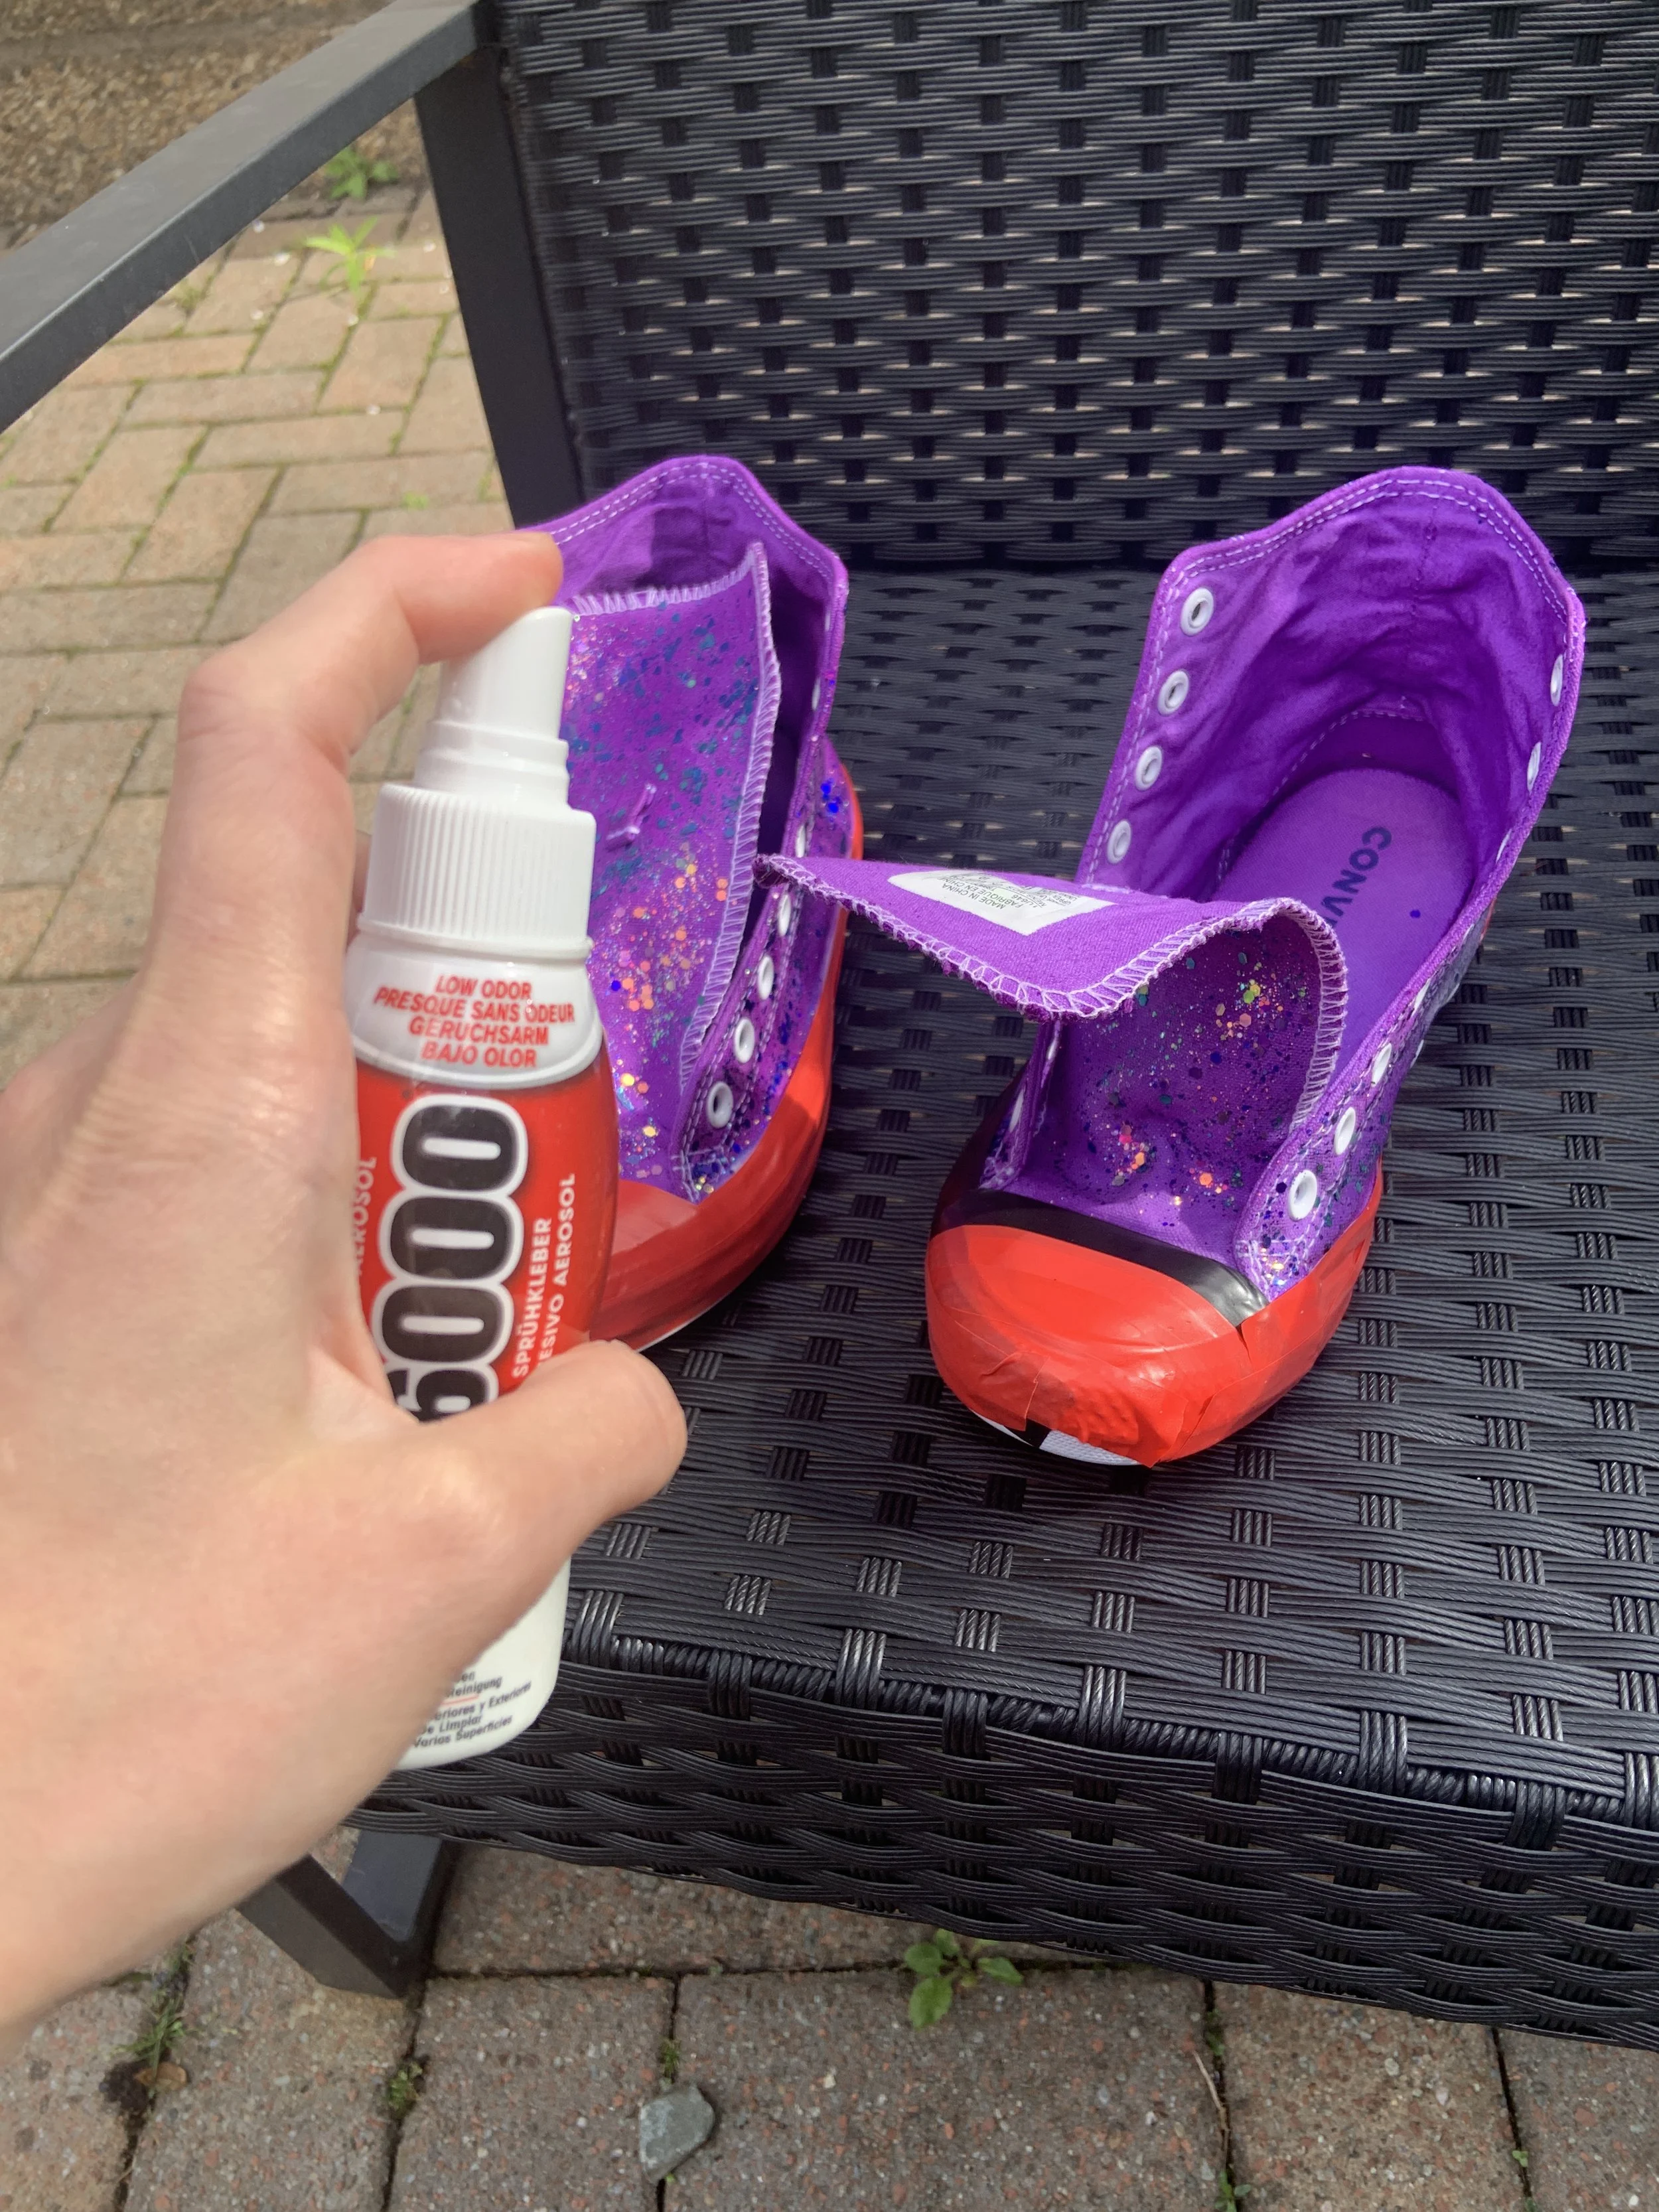
Once the glitter is dry, re-mask the rubber parts and spray the shoes with E6000 spray glue. This will seal the glitter and stop it flaking off.
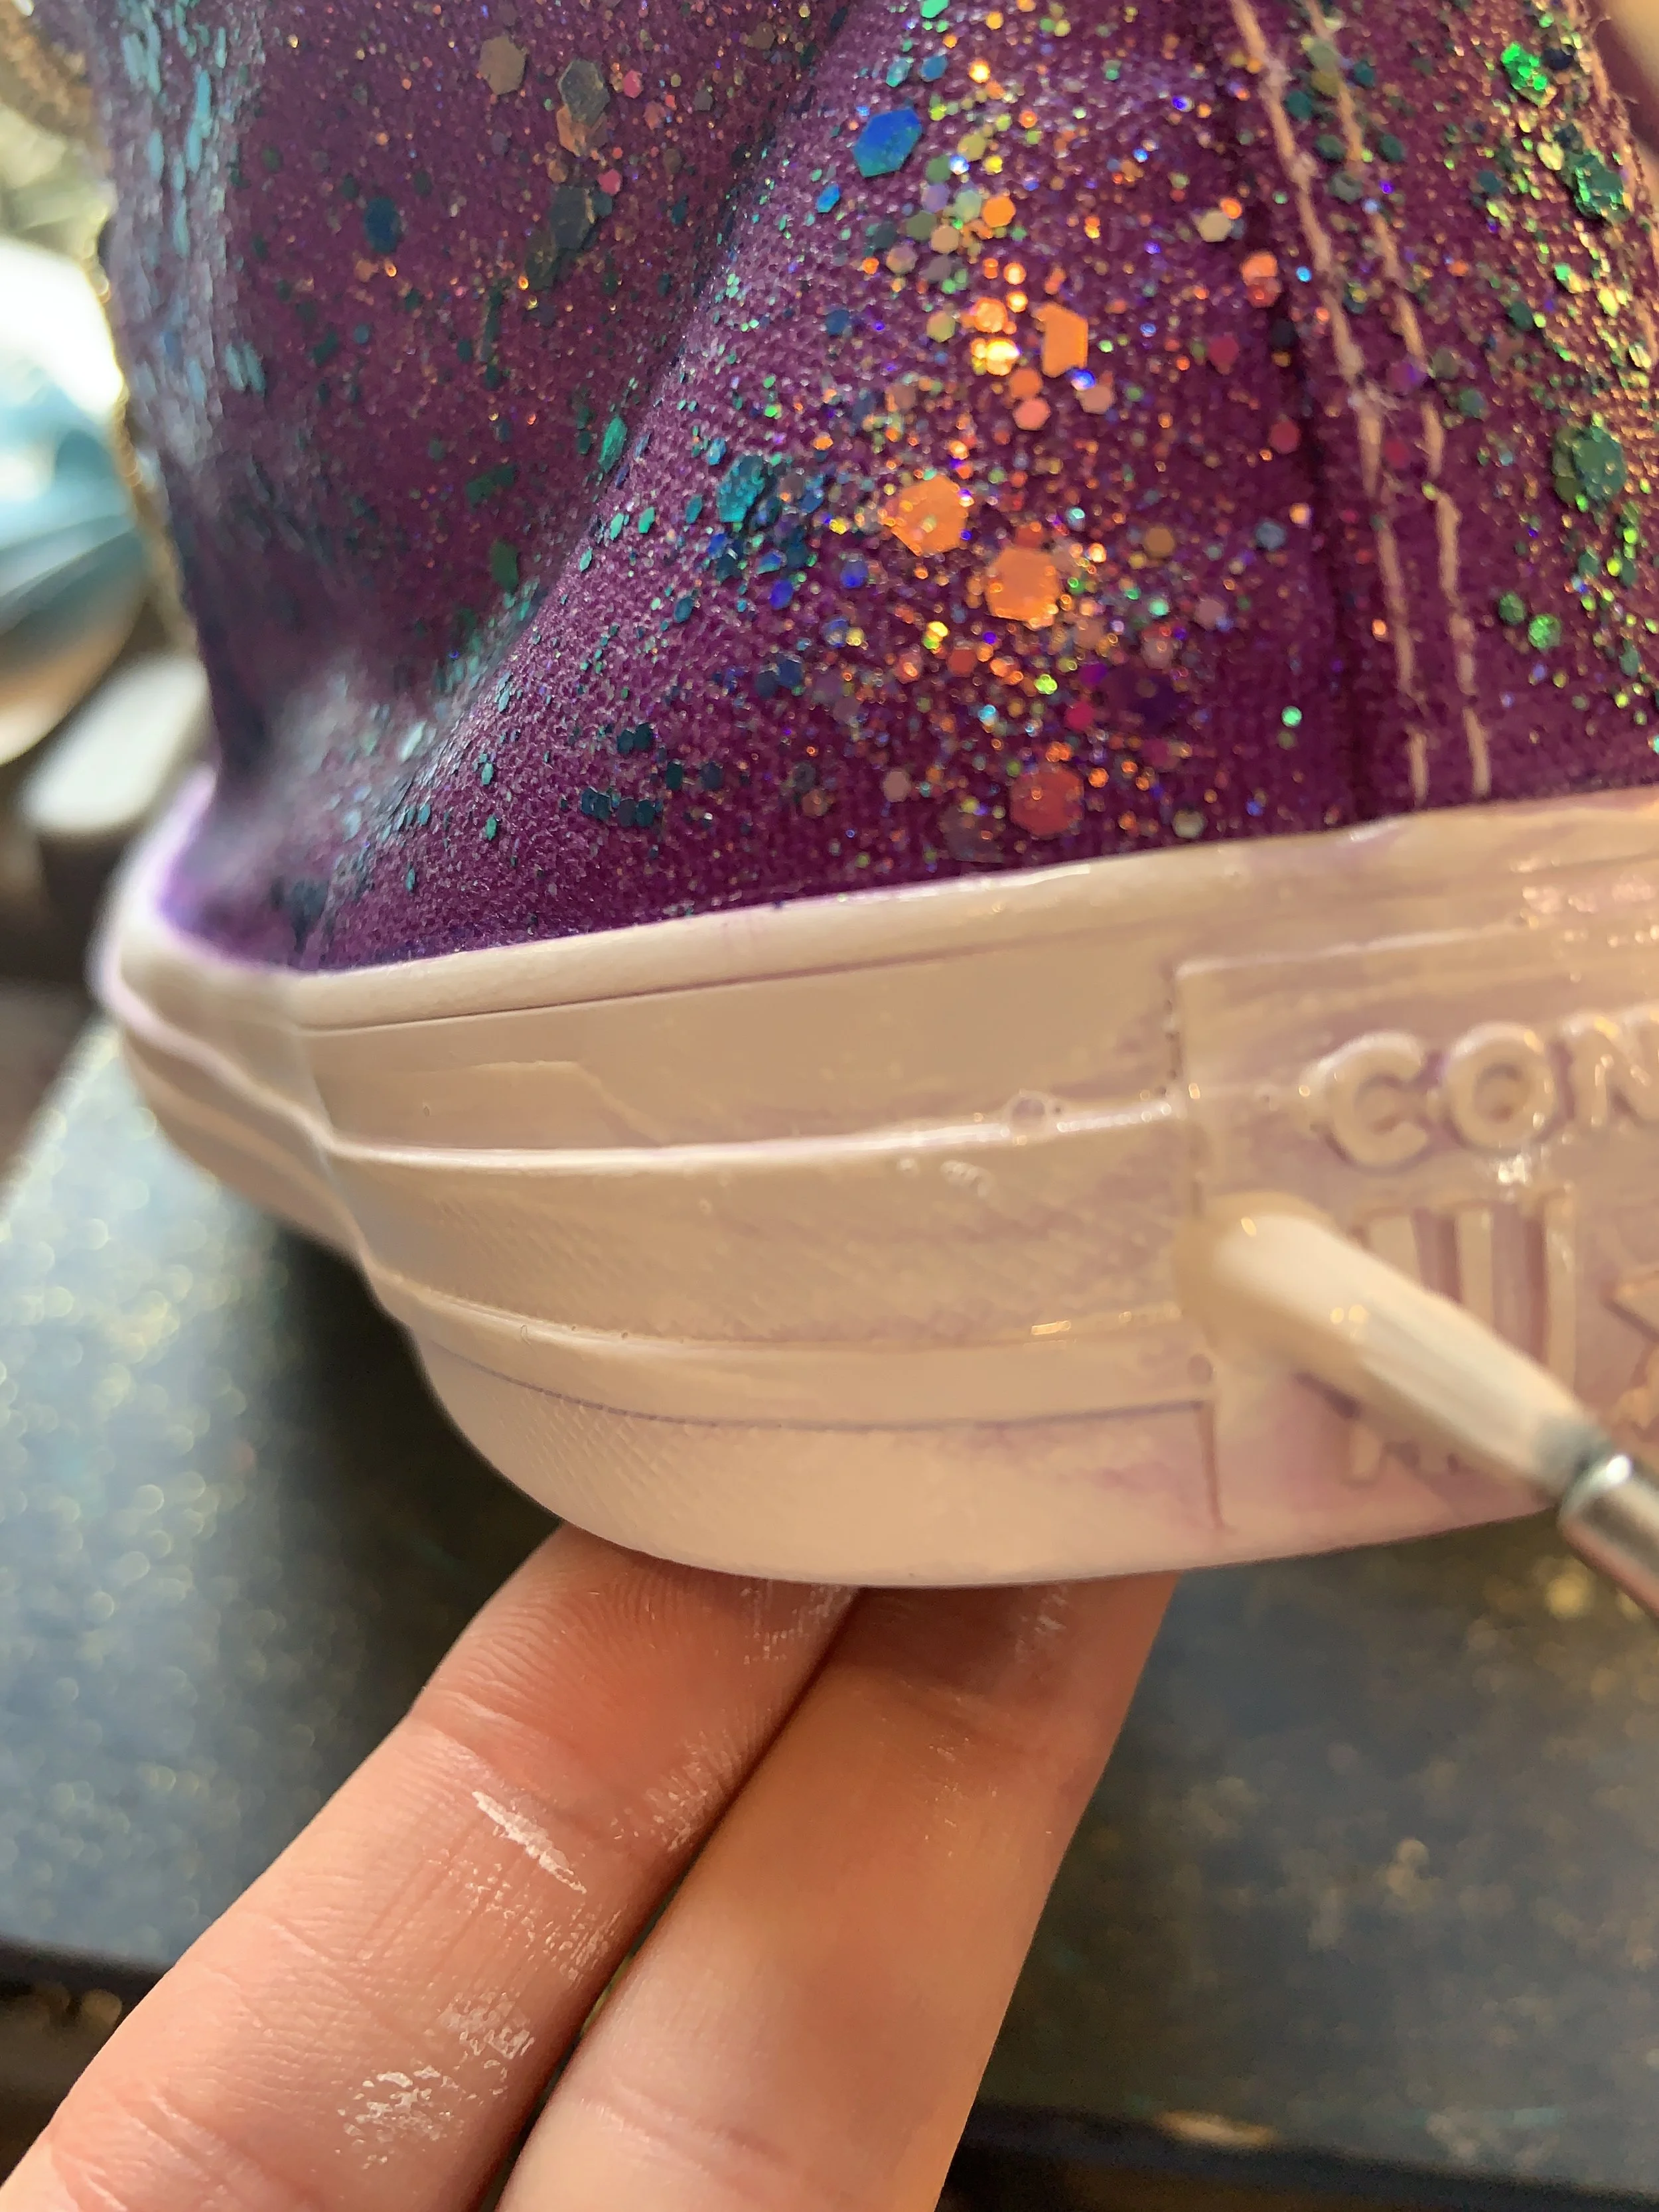
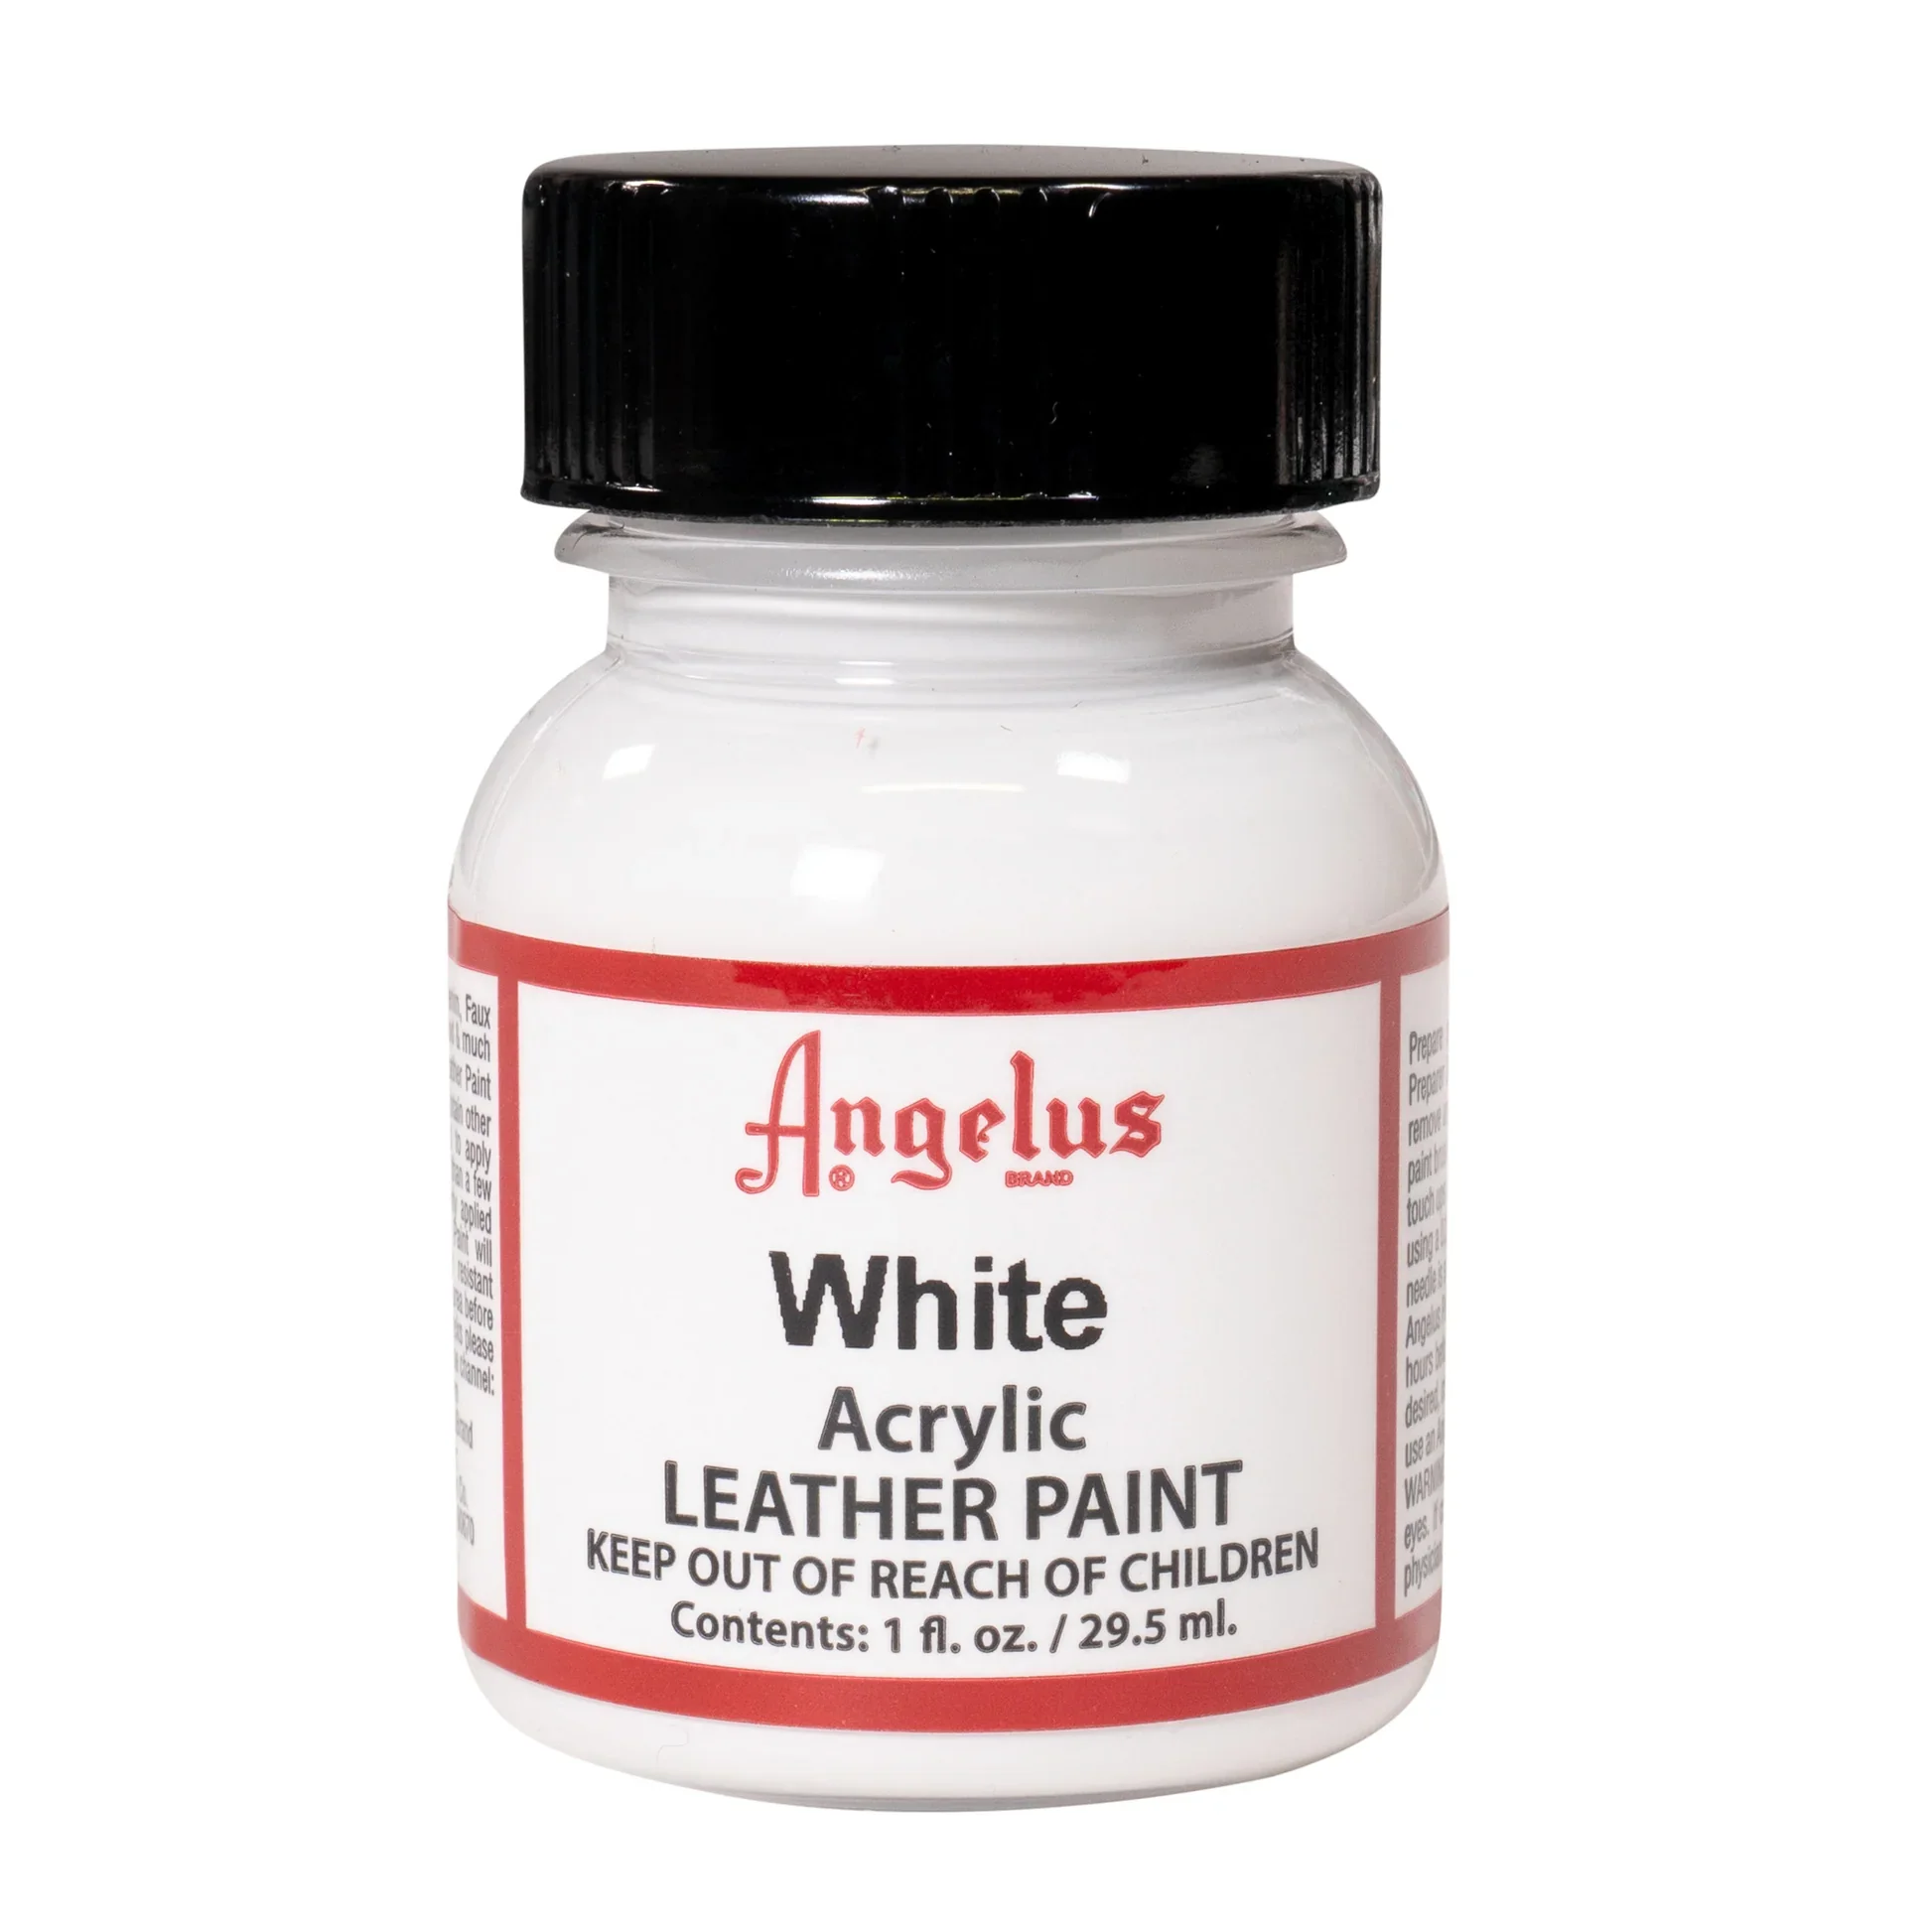
If you’ve had some dye leak onto the rubber parts, don’t worry! Angelus Leather Paint to the rescue! It might take a few coats but you’ll be left with a completely clean new-looking surface. Be sure to spread it evenly to avoid visible brush strokes.
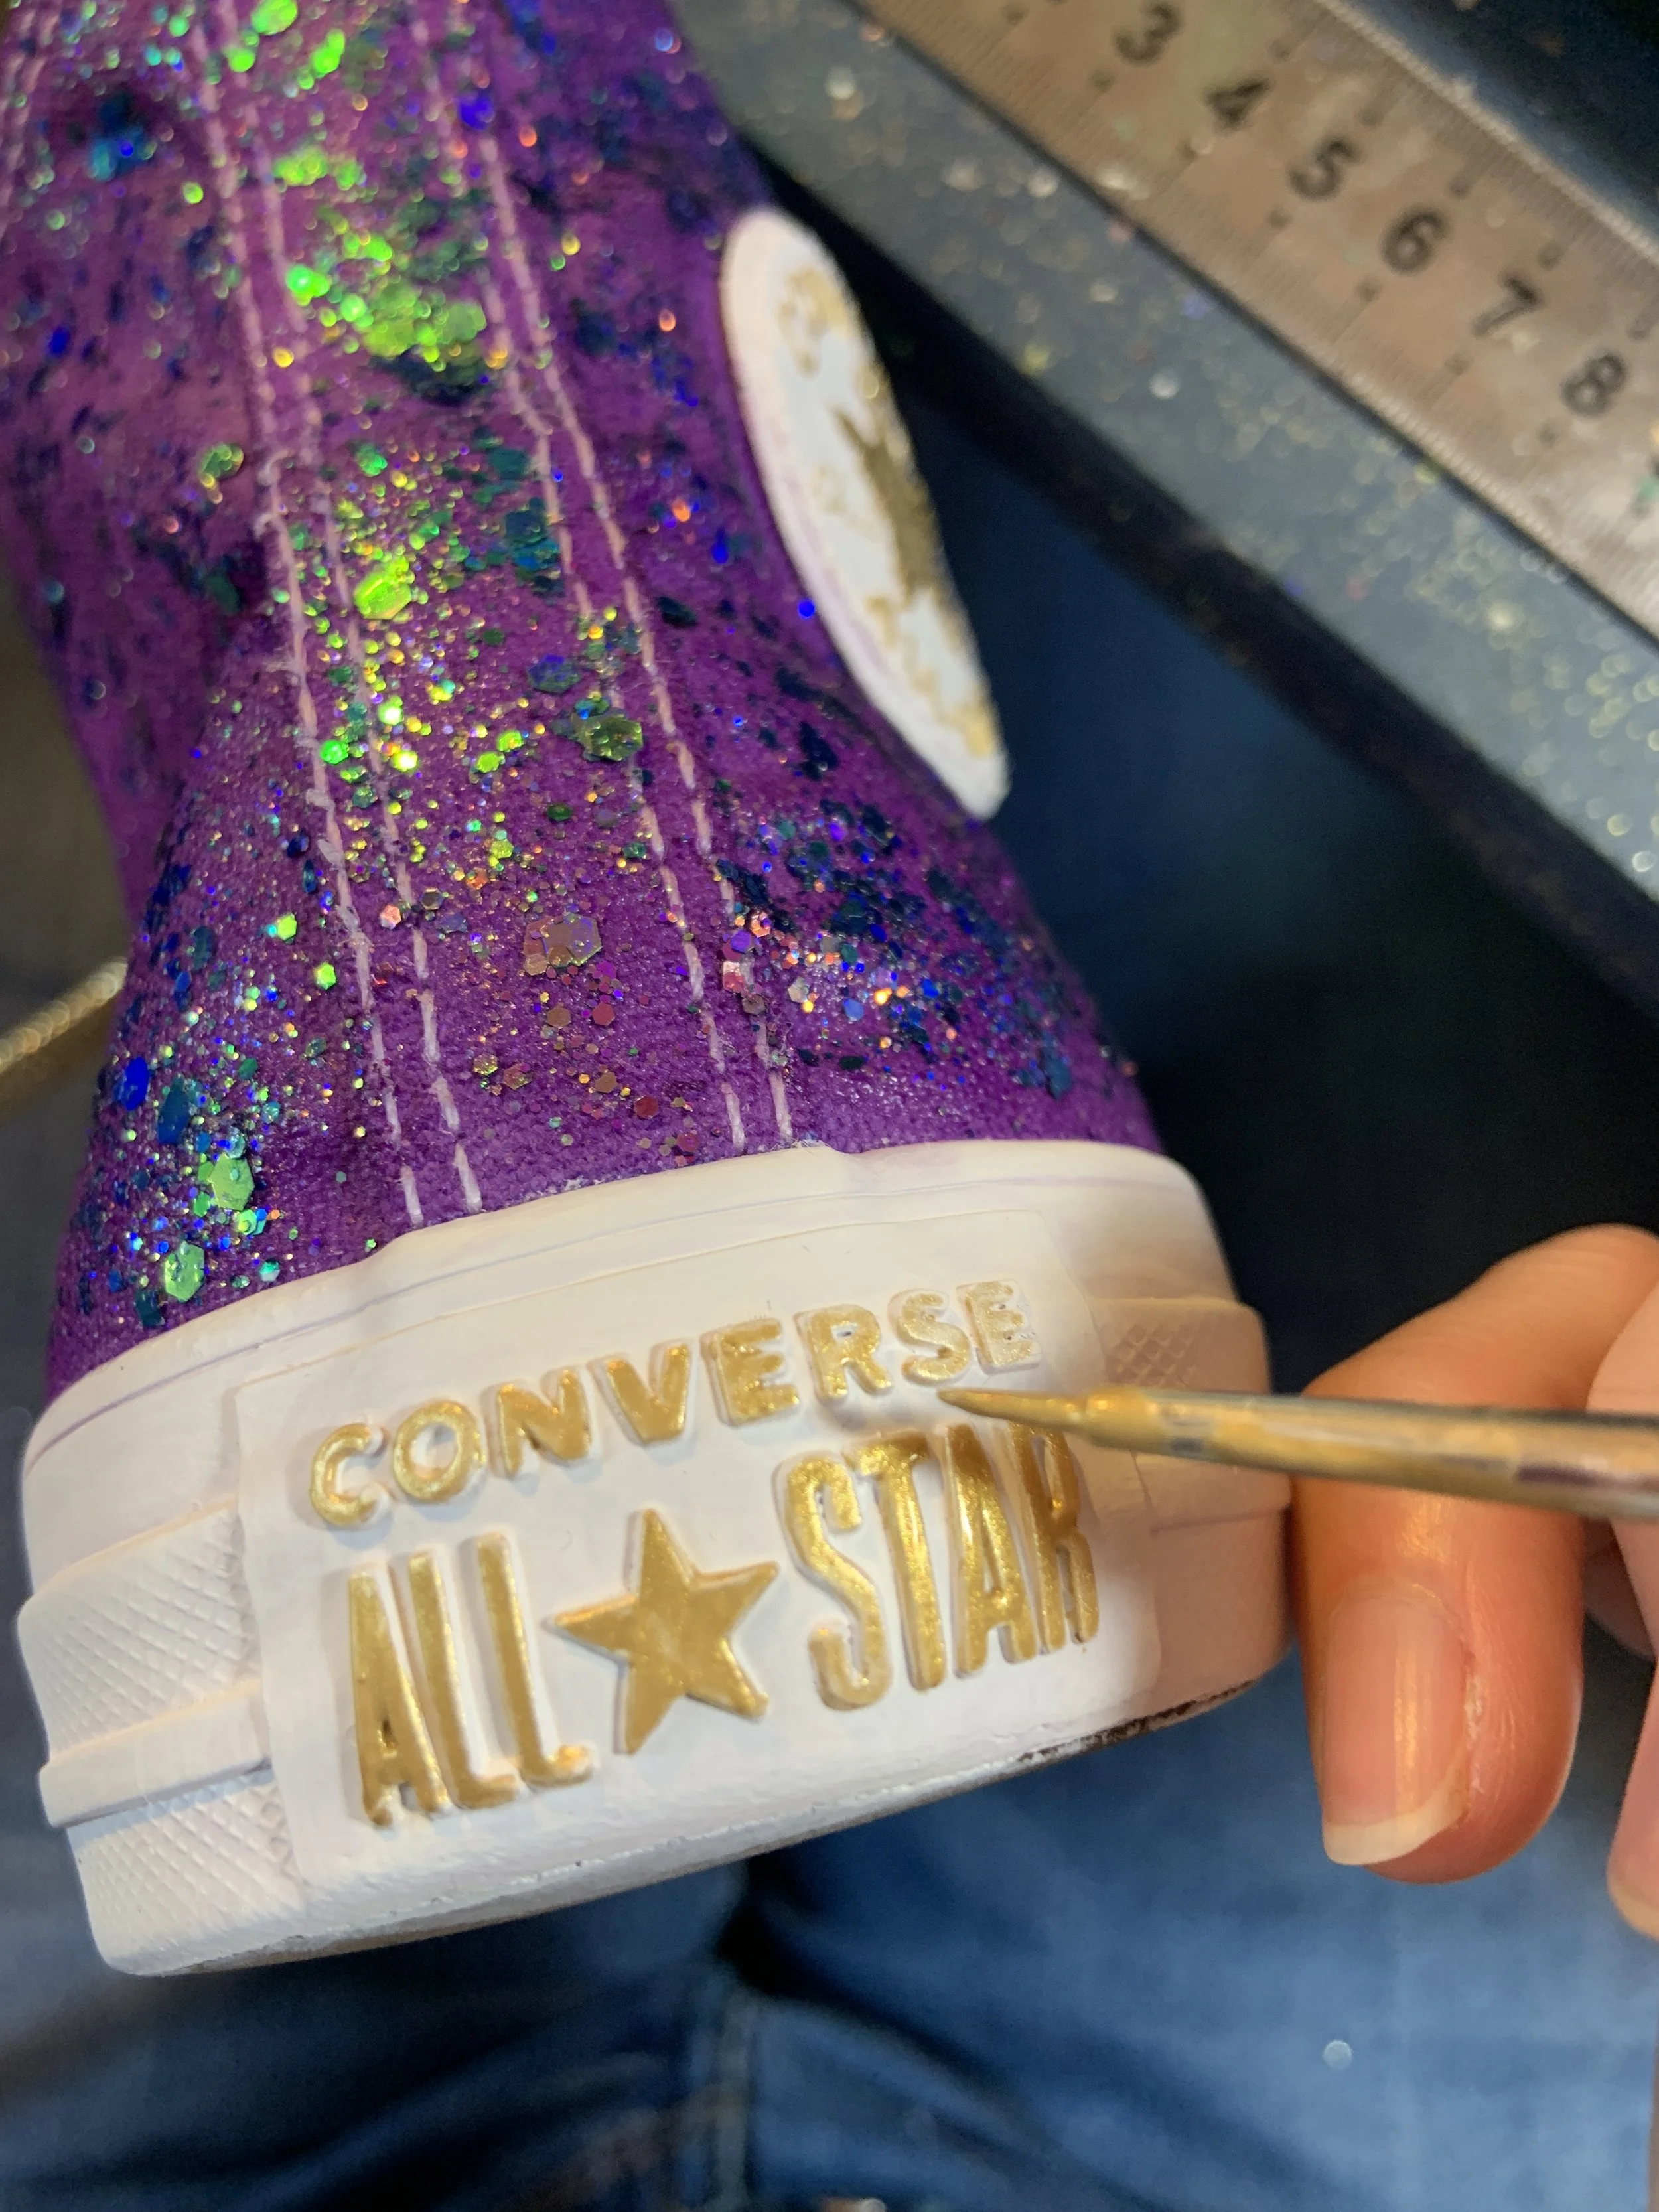
I decided to add extra gold detail
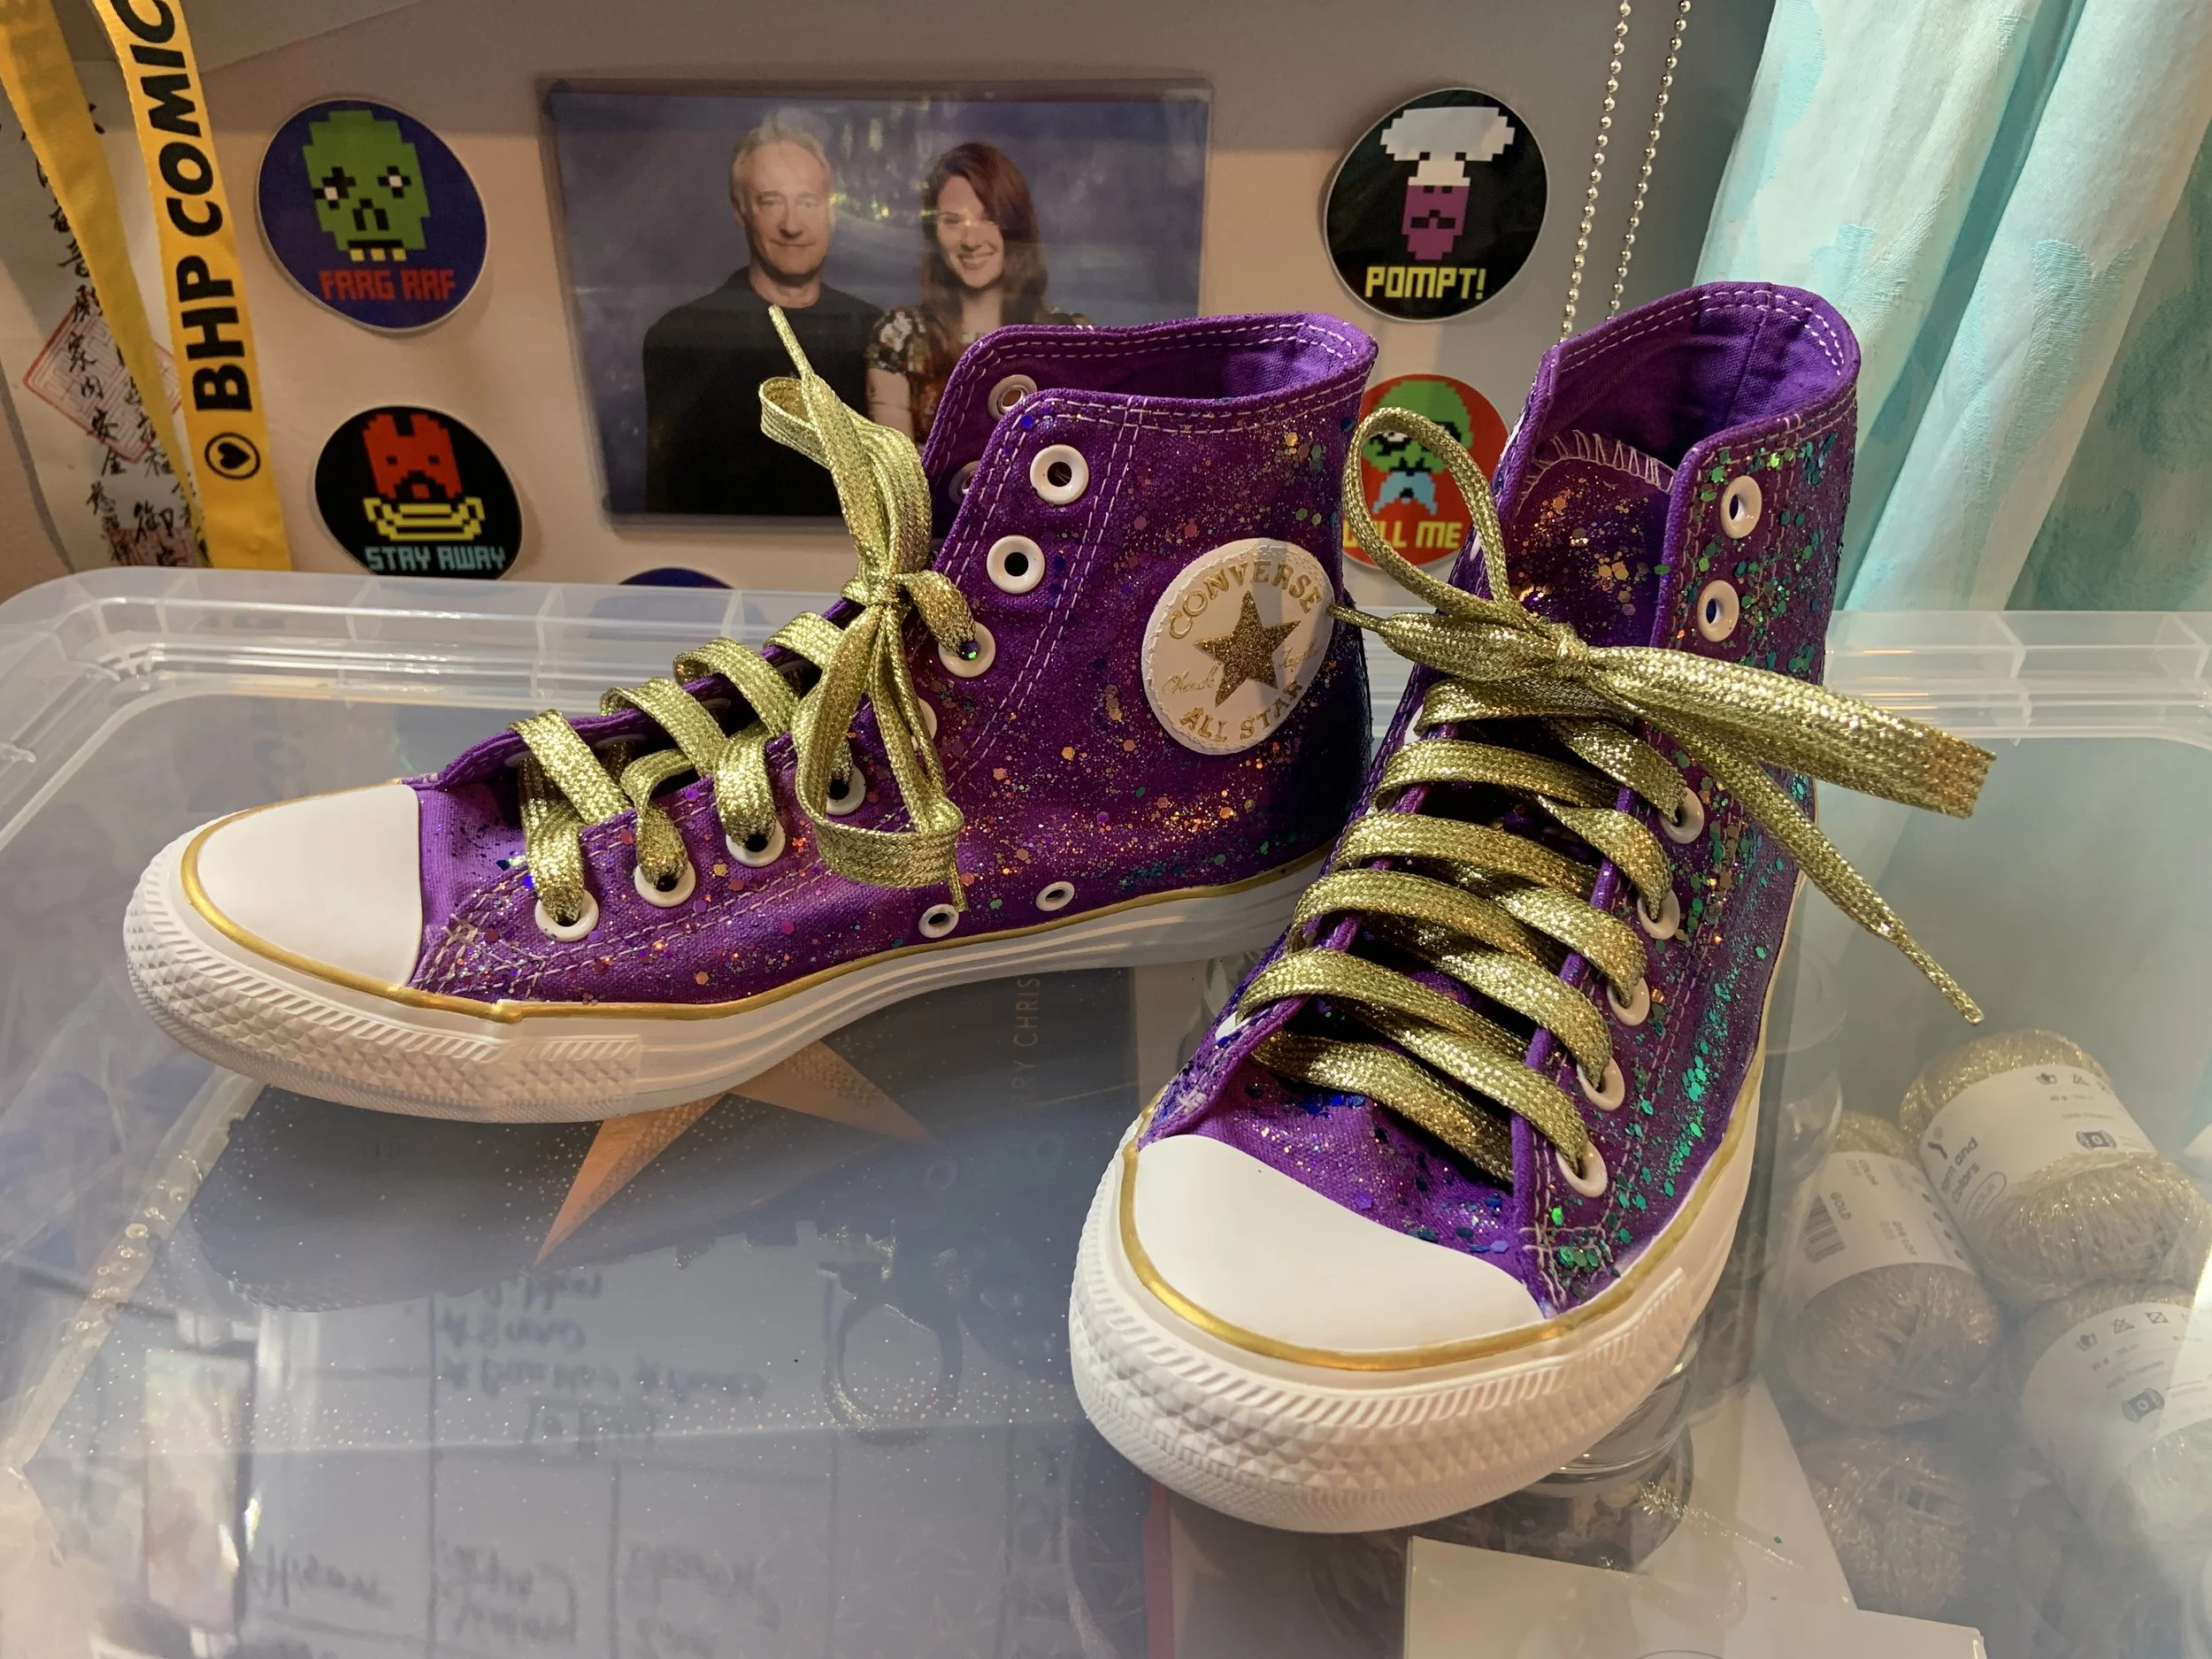
I added some gold shoelaces, et voila! Some sparkly dancing shoes!
Price Breakdown
Converse-Vinted- £20
Rit Purple Dye- eBay- £10.49
Angelus Leather Paint- eBay- £7.99
Chameleon Chunky Glitter- KenzieCreations - £7.25
E6000 Spray Adhesive- eBay- £9.99
Mod Podge- Hobbycraft- £5.50
Gold Shoelaces- eBay- £3.49
Total- £64.71
First Wedding Craft: Making Your Own Confetti
Let’s start with an easy one!
I will preface this by saying; we have been engaged since 2023, and we agreed initially to not act on the engagement and spend sometime saving, but that didn’t stop me from forward planning!
With throwing rice no longer in favour and paper confetti often considered wasteful, I opted for the most eco-friendly, and lets face it-free option. Dried flower petals! As soon as things in my garden started to bloom, I was out collecting fallen petals and begging past-it bouquets from confused neighbours and friends.

He loves me…he loves me not…
After pulling all the petals off the stems, lay them out in a warm dry room to dry. This monopolised my dining table for a few weeks.

Throw some leaves in for extra colour
I opted for all colours, but you can colour co-ordinate it according to your theme colours as well. I recommend throwing in some dried lavender and maybe some jasmine flowers too to make it smell nice! One thing I learned though, is that white petals rarely stay white and often go a brownish yellow, especially rose petals. Flowers like bluebells and gypsopila (Baby’s Breath) dry brilliantly and are a good size for confetti.
If you’re on a tighter schedule than me, you can absolutely dry petals in the oven on a low heat (around 80°C (100°F) Make sure the fan assist isn’t on or they’ll all fly about!
Finally store them in an airtight container with a couple of sillica packets if you have them, to avoid moisture making them go mouldy.

Yankee Candle jars make great containers
Et voila! Free, biodegradable confetti.
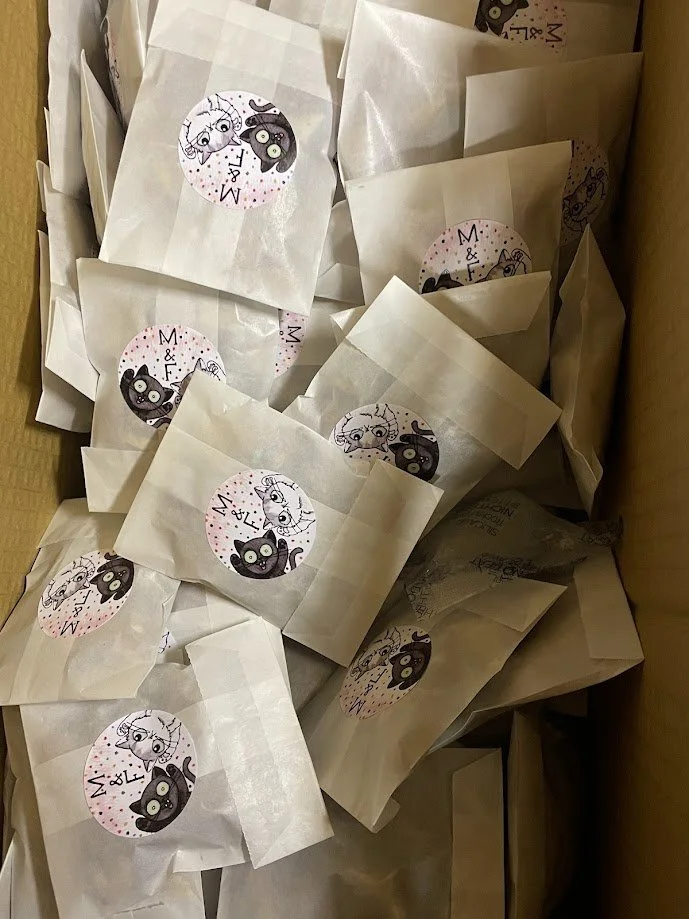
Now for packaging it. I ordered Glassine bags from eBay, which are a kind of semi transluscent paper, and are biodegradable, along with some stickers. I did the artwork for these, but you can make up something easily on Canva.
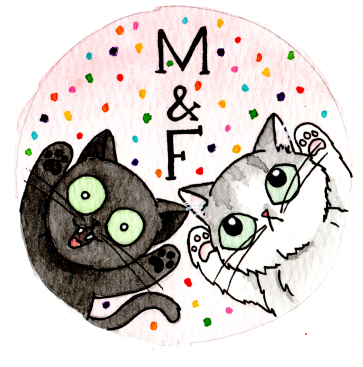
Featuring our cats, of course
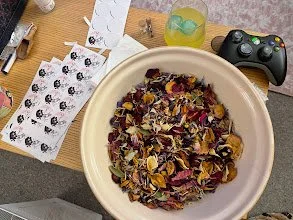
Grab yourself a drink and a movie to watch!
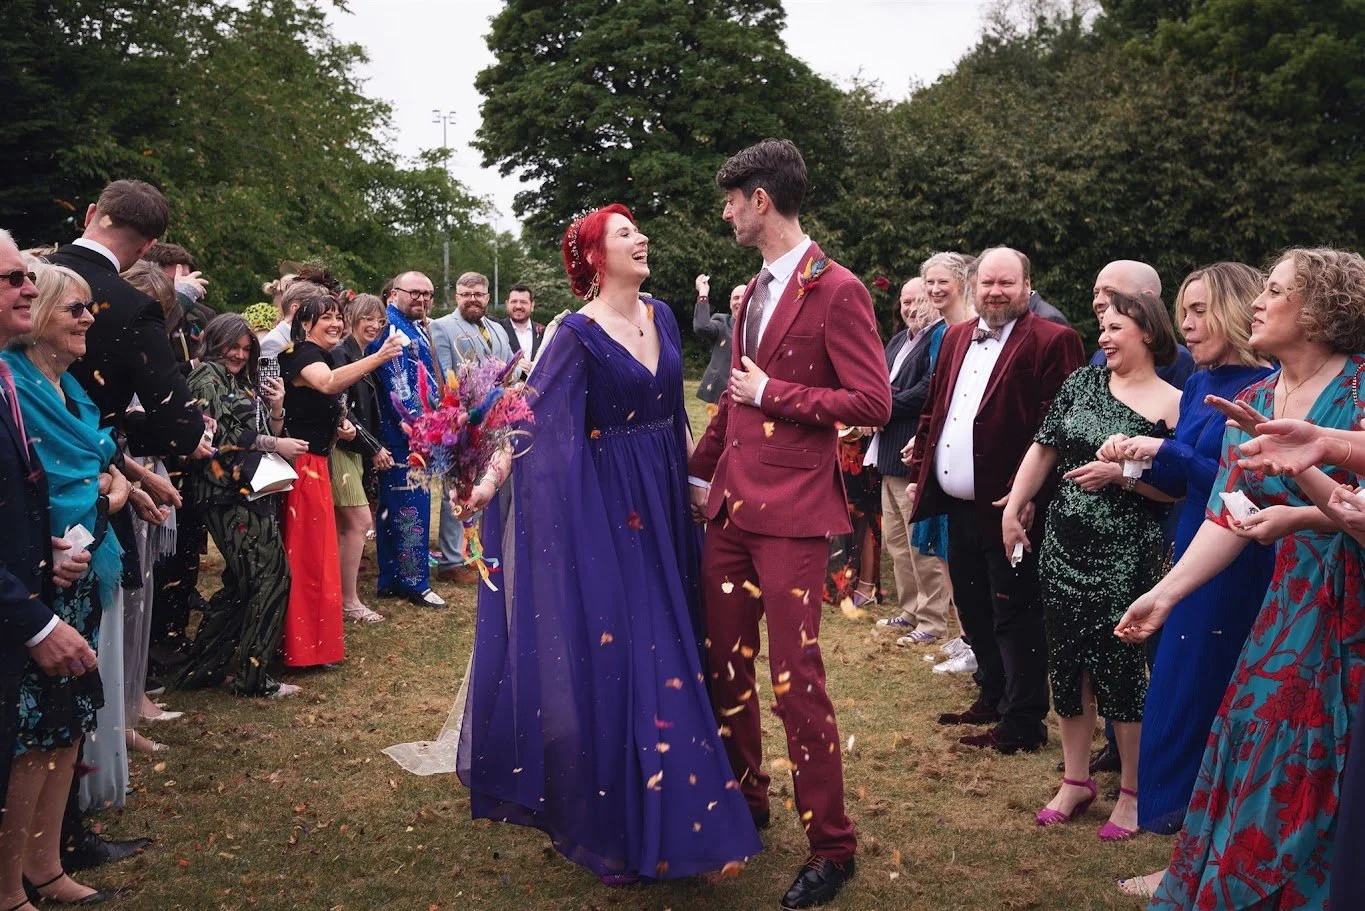
The confetti in action
100+ confetti bags!
Price breakdown
Bags- £9.95- eBay
Stickers- £6.50- eBay
Petals- Free!
Total: £16.45
Where Do I Start?

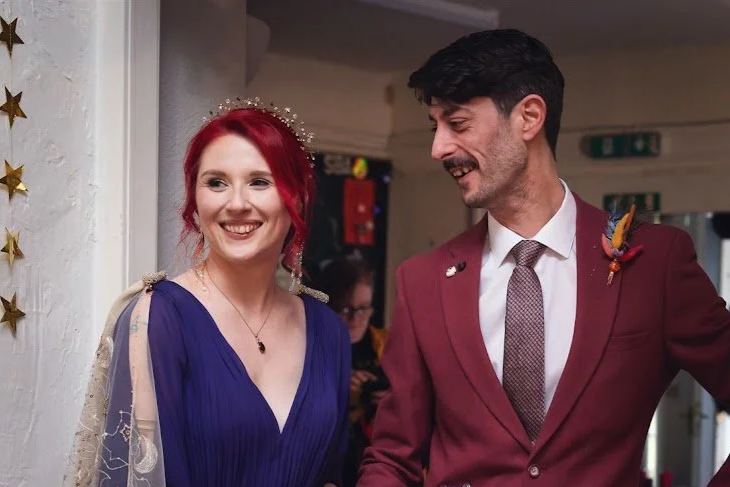
This is us. Morag and Fran. We live in the southside of Glasgow and got engaged in 2023. As you can see we don’t take ourselves very seriously.
I’d pretty much resigned myself to the likelyhood that I’d never get married, but on receiving a surprise proposal from Fran on the rooftop of a Riad in Tangier, we’re now embarking on our first foray into wedding planning at 43 and 40.
As an artist and crafts-person, I always dreamed of having a super-crafty wedding, and as a couple of limited financial means, this is perfect. From the standpoint of not spending the next year completely overwhelmed with a multitude of projects, it’s not. Don’t be me.I have a bad habit of over-burdening myself with projects. I always feel like the outcome is worth it, but it’s a struggle.
Browsing through wedding websites and Pinterest, I came across lots and lots of cute ideas and services. But with the likelyhood that we will only be able to save around £5k before the wedding in May 2026, I started considering more and more how many of these ideas I could make myself.
So here I am, your guide to thrifting and DIY-ing your own wedding! I’ll be periodically updating with ideas, advice and tutorials on on wedding craft projects to help you achieve your wedding goals on a budget!